14
Continuous Mode (PRS-801B only)
Press to switch mode to CONTINUOUS. This is the same as for Auto. However, the
Electrification Period is controlled by the user. The Electrification Period continues until SAVE, RESET
or CLEAR is pressed.
If the Electrification Period exceeds 999 seconds, the SECONDS digits will wrap and go back to 000.
The meter’s firmware keeps track of the actual Electrification Period. For example, the meter may
store 1005 seconds.
Making a Measurement
To make a measurement, follow these steps:
1. Press and hold for 2 seconds to turn the meter ON.
2. By default, the active mode is AUTO.
3. Press to toggle between the different modes.
4. Press . The meter will begin measuring. Depending on the resistance range under test,
the Electrification Period will automatically determine the best wait time for optimum
accuracy. Refer to Table 9 to see what the EP is for each of the range.
5. Once a measurement is stable, will be displayed.
6. To proceed with the next measurement, simply press again.
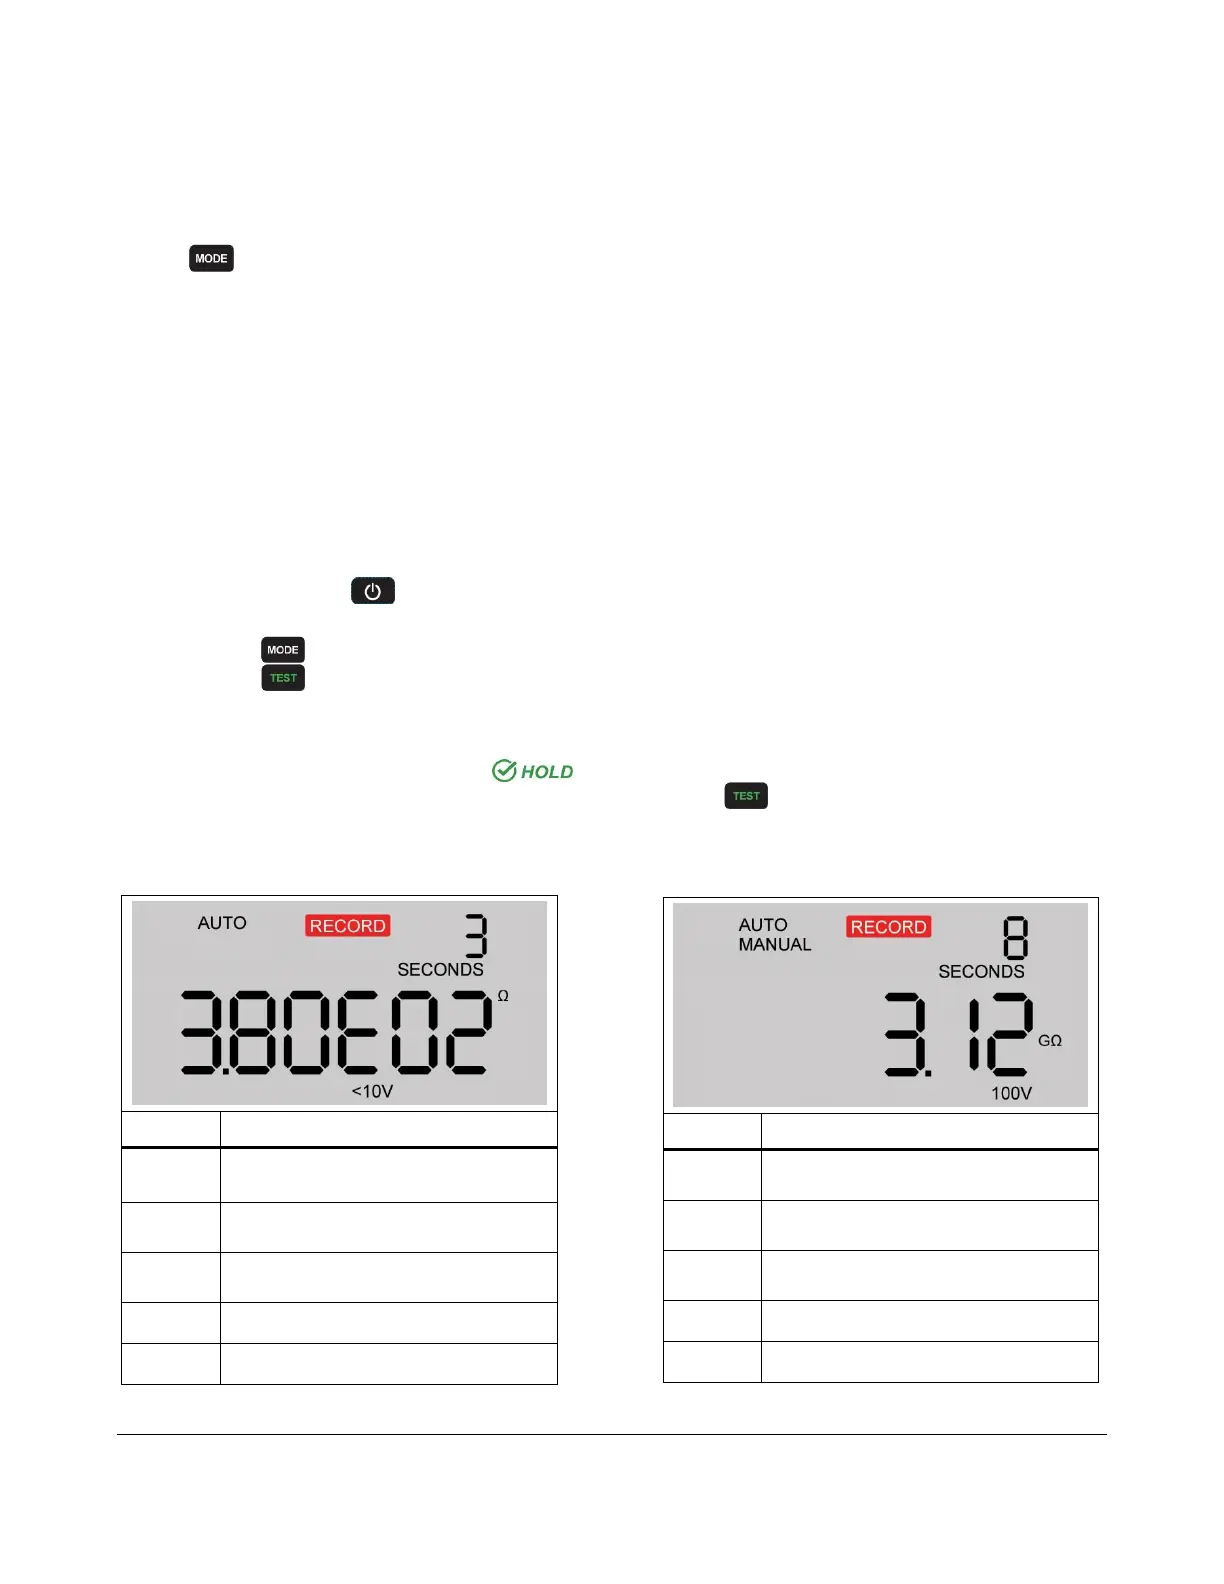
Tables 6 and 7 are lists of visible readings and what the symbols mean during a live measurement:
Table 6. Display in scientific format Table 7. Display in ohmic format
Measurement in ohms
1.00E02 = 100
ohms
Test voltage applied during
measurement
Electrification period in seconds
Measurement in gigaohms
1 gigaohm = 10
9
ohms
Test voltage applied during
measurement
Electrification period in seconds