N93-582-02 Issue 1 NH Page 11 of 28 © Protec Fire Detection plc 2015
8.10 Connecting the PC to the Digilite® DL500
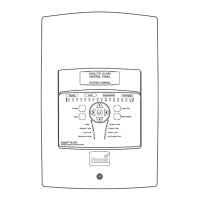
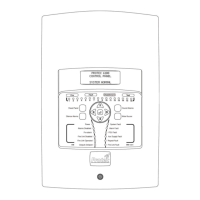
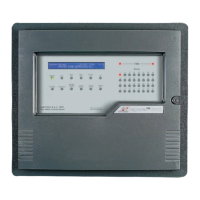
The USB communication port is located on the centre left of the Digilite® DL500 PCB housing ( see figure
8.0 ).
Ensuring the Digilite® DL500 is powered up, connect the USB cable to a free USB port on the host PC, then
carefully plug the other end of the USB cable into the USB port on the Digilite® DL500.
Using the menus on the Digilite® DL500 select the CONNECT TO PC USING USB option and press the ↵
↵↵
↵
key to enter the menu.
When the Digilite® DL500 panel is connected to the PC it WILL NOT operate as a lighting test
panel
At the warning screen press the ↵
↵↵
↵ key to continue, or to exit press the Escape key.
Note: When the Digilite® DL500 is connected to a PC for the first time the PC must recognise the Digilite®
DL500 and load appropriate software drivers, this can take up to 1 minute. Standard Windows drivers are
used, no special drivers are required. Subsequent connections to the same PC will not require this phase.
Once connected to a PC the Digilite® DL500 will display its PC connection screen, all further control is now
performed using the PC only.
8.20 Disconnecting the PC from the Digilite® DL500
When all commissioning has been completed the following procedure must be followed to correctly
disconnect the PC from the Digilite® DL500.
• Close the Digilite® DL500 Configuration Tool.
• Disconnect the Digilite® DL500 from the PC by using the Windows
®
‘Safely Remove Hardware ‘
feature.
• Carefully remove USB lead from the Digilite® DL500.
The Digilite® DL500 automatically detects the USB lead has been removed and resets. The loop will be
re-powered and a full panel re-initialisation sequence will be instigated.
IMPORTANT. The system must be tested to ensure all aspects function as expected.