5
C: Using the Keyfob
If a PCX-RIX32-WE (Enforcer wireless expander) is connected to the PCX 46, it is possible to learn up to 32
wireless 4 button keyfobs that may be programmed for specic functions: no action, show system status,
arm area, disarm area, operate user automation outputs and PA alarm activation. Please see the Installation
manual (RINS1605) for more information on installing a PCX-RIX32-WE.
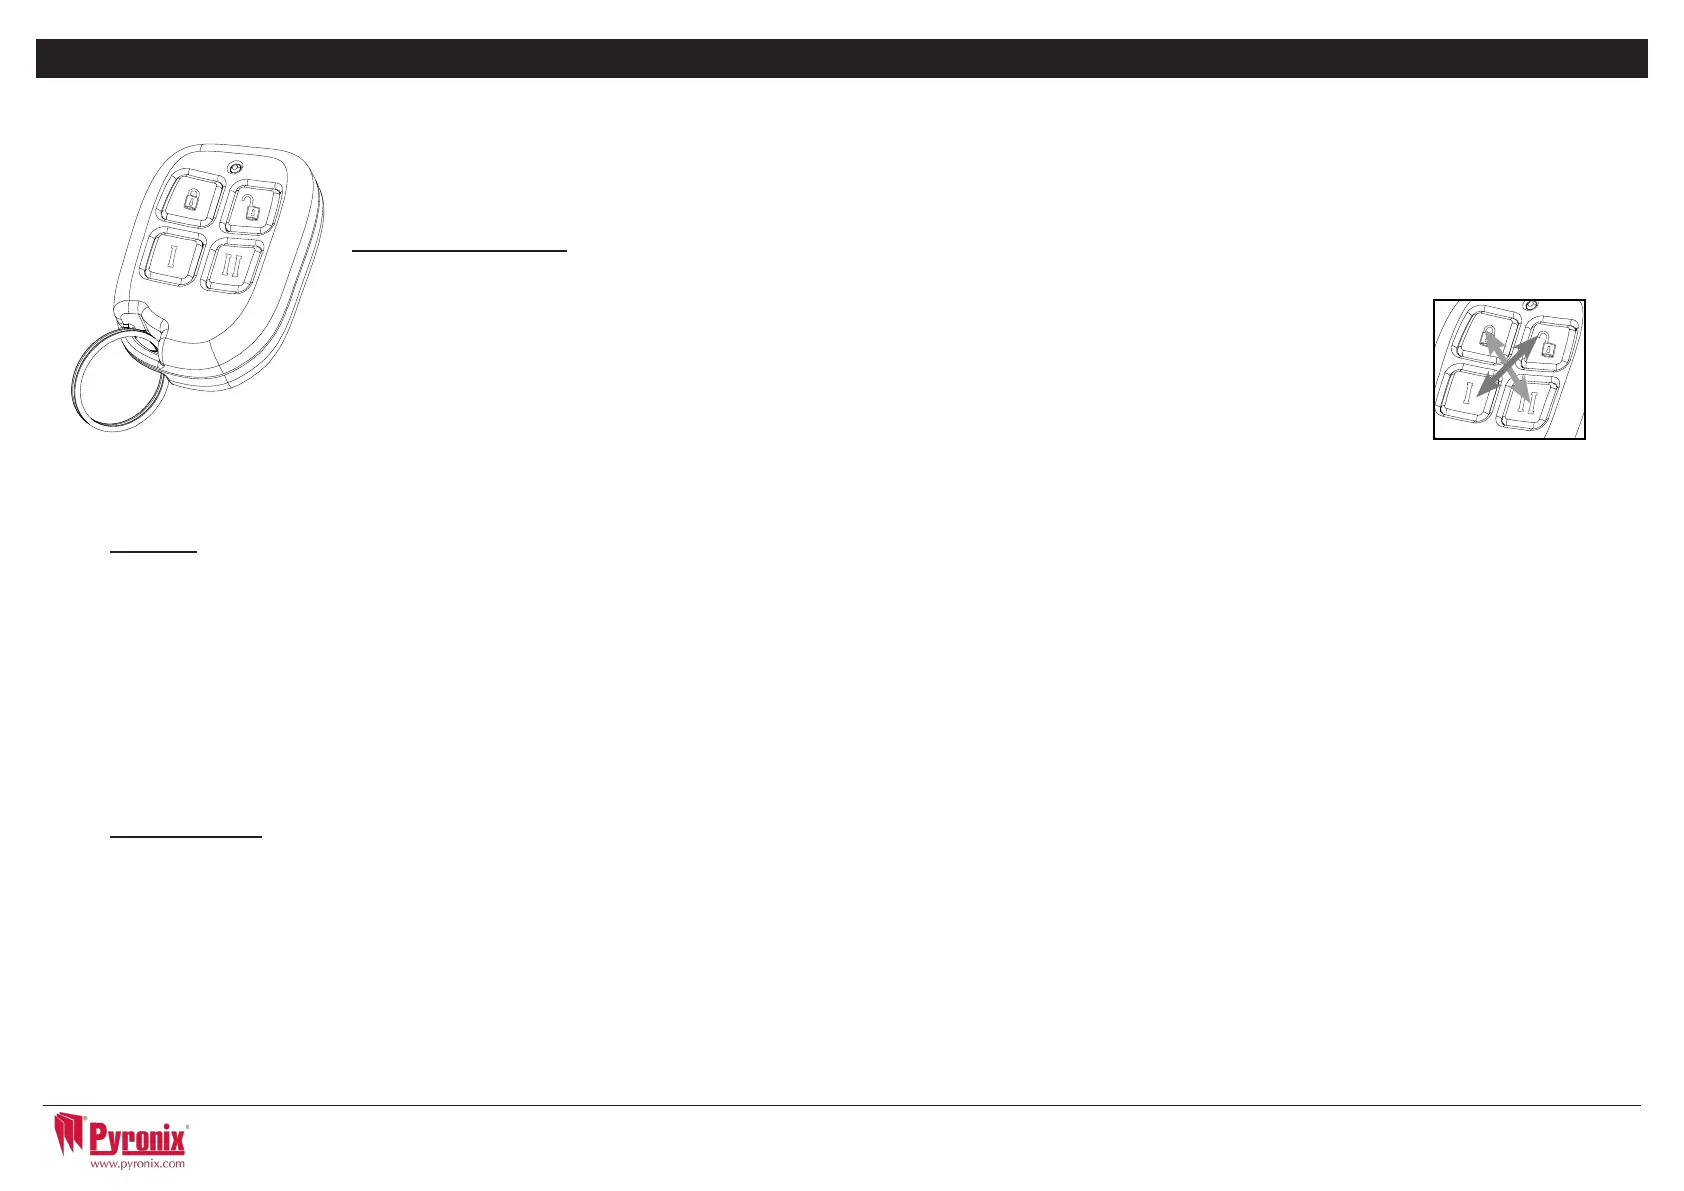
Locking the Keyfob
Allfourbuttonsonthekeyfobmaybe‘locked’topreventfromauseraccidentallypressingthem.
Locking the keys on the keyfob is performed by pressing any buttons that are diagonal with one another
atthesametime(LOCK&IIorUNLOCK&I).
TheREDLEDwillashindicatingthatthefobhasbeenlocked.
Tounlock,pressbothbuttonstogetheragainandtheGREENLEDwillashindicatingthatthekeyfobis
now unlocked.
NOTE: When the keyfob is locked, all indications are also disabled.
Buttons
Thebuttonscanbecustomisedtooperateasdesired(programmedinthefunction‘LearnUserCodes,Keyfobs&Tags’).Belowareexampleson
how each button can be programmed:
BUTTON = Programmedfor‘ArmArea’Whenpressed,oneormoreareaswillbearmed
BUTTON=Programmedfor‘DisarmArea’.Whenpressed,oneormoreareaswilldisarmed.
I BUTTON =Programmedfor‘UserOutput’.Forexamplewhenpressed,agatecanbeopened.Whenpressedagain,agatecanbeclosed.
II BUTTON=Programmedfor‘‘StatusLED’.Forexamplewhenpressed,thesystemstatusisshown’RED=Armed,GREEN=Disarmed,AMBER
= Fault.
+ I BUTTON = Programmed for “PA”. When pressed a personal attack alarm will be generated.
Quick Arming
Ifoneofthebuttonsisprogrammedas‘ArmArea’,thealarmsystemcanbearmedbythekeyfob.Thekeypadwillthenstarttocountdownthe
exittime(dependingwhattheexitmodeisprogrammedbytheengineer).Oncethealarmpanelisinthis‘arming’stage,itispossibleto‘quick
arm’thesystembypressingthesamebuttonagain;thiswillreducethetimeofarmingandthereforemakingthesystemarmimmediately.
ThedisarmLEDonthekeypadwillturnoffandabeepwillbeheardoncethesystemhasbeenarmedandtheREDLEDonthekeyfobwillbe
illuminated for a short time.
Page: 8
C H A P T E R 5 : S E T T I N G T H E A L A R M ( C O D E / T A G )
Enter your user code
Or
Present a valid tag
Enter the level set you wish to set, and
press the
I key
‘Please wait arming wireless’ will be
displayed
There are three different setting
methods your installer will instruct you
through which of these has been
designed into your system.
Final Door: Leave the building and
make sure the exit door is closed
properly
Timed: Make sure you leave the
building before the timer shown on the
keypad expires
Push to set: Press the push to set
button installed by your engineer to
arm the system
SETTING USING A WIRELESS KEY-FOB
To set via a key-fob. Press the key
The key-fob LED will start to flash
GREEN indicating that the system is
starting to set
‘Please wait arming wireless’ will be
displayed on the keypad and the
programmed area will begin to set.
To ‘quick set’, press the
key again.
Once set, the key-fob LED will
illuminate RED indicating that the
system is now set