7
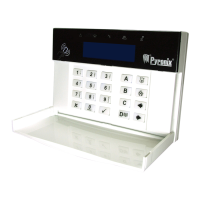
Enter Your Code
[**** ]
1 2 3
X
4
6
m
A
r
e
a
A
E
n
t
e
r
Y
o
u
r
C
o
d
e
[
*
*
*
*
*
*
]
D
i
s
a
r
m
A
r
e
a
s
[
0
1
2
3
A
B
C
D
]
P
C
X
4
6
T
i
m
e
0
2
:
5
3
c
t
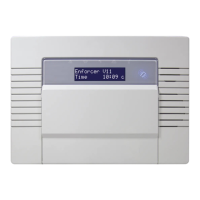
User
Code
t
Deselect the Area's
to be disarmed
E: Disarming the PCX 46
Page: 8
C H A P T E R 5 : S E T T I N G T H E A L A R M ( C O D E / T A G )
SETTING USING A WIRELESS KEY-FOB
To set via a key-fob. Press the key
The key-fob LED will start to flash
GREEN indicating that the system is
starting to set
‘Please wait arming wireless’ will be
displayed on the keypad and the
programmed area will begin to set.
To ‘quick set’, press the
key again.
Once set, the key-fob LED will
illuminate RED indicating that the
system is now set
Enter Your Code
[**** ]
Enter your code and deselect
any area’s that are not to be
disarmed
*
.
Present your tag and deselect any
area’s that are not to be disarmed
*
.
Press the disarming button
on the keyfob
**
.
*This will only be possible if “Arm Area Choice” is selected as ‘Yes’ in the function “Learn User Codes/Tags/Keyfobs. If selected
as “No” then all areas allocated to the user code will disarm.
**The keyfob buttons can be programmed in the function “Learn User Codes/Tags/Keyfobs.