Technical Service Manual 23
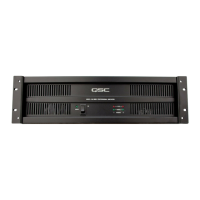
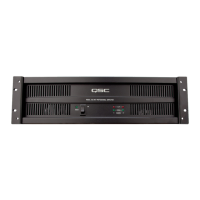
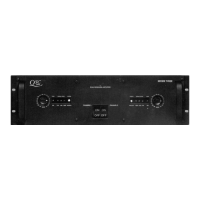
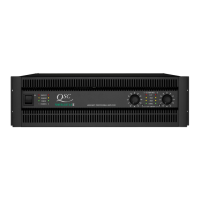
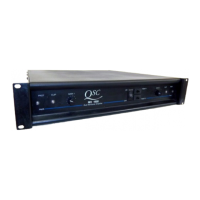
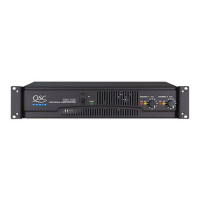
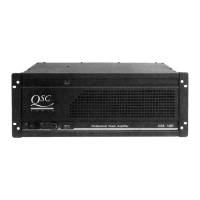
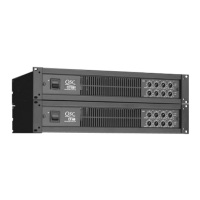
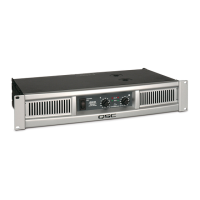
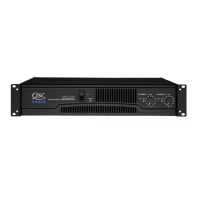
ISA Series Power Amplifiers
5. Servicing ISA amplifiers
5.1 Mechanical disassembly and re-assembly
Replacing components will usually require removing the channel modules and/or AC board from the amplifier chassis, especially on the ISA280,
ISA300T, ISA300Ti, ISA450, ISA500T, and ISA500Ti, which have single-side printed circuit boards. The ISA750, ISA800T, ISA800Ti, and
ISA1350 have double-side boards; many of the through-hole components on the upper side of the board can be unsoldered and soldered from
the top side of the board, so removing modules or boards is not always necessary.
See the fold-out assembly guides in Chapter 7 of this manual for assistance.
NOTE: The upper channel module is Channel 1 and the lower is Channel 2
except
in the ISA 750 and ISA 800T; their lower module is
Channel 1, and their upper is Channel 2.
Removing the channel modules
1. Disconnect the amplifier from AC power and allow at least 10 minutes for internal voltages to bleed down.
2. Using a Philips screwdriver, remove the screws that fasten the top cover to the chassis. Also remove the top cover’s four recessed
screws that fasten it to the heat sinks. As you remove screws, set them aside, but also make note of where each type is used so you
can properly re-assemble the amplifier.
3. Lift the top cover up at the rear and carefully pull it toward the back, removing the five hooks on the front edge from their slots in the
chassis.
4. Tip the amplifier up on its side and remove the four screws that fasten the heat sink to the chassis.
5. Set the amplifier back down and remove the three screws that mount the channel module assembly to the chassis standoffs.
6. Disconnect the wire and cable connections to the channel modules. All of the connections are either detachable headers or ¼-inch
quick-connect tabs that are disconnected by pulling them straight up. No unsoldering is necessary.
7. Lift the channel module assembly out from the chassis. If you need access to the underside of the circuit boards, unscrew the
transistors and the clamps from the heat sink, then unscrew the circuit boards from the mounting plate..
8. Before reassembling the channel module assembly, lightly apply fresh heat sink compound over the old coating on the side of the
semiconductors that mount to the heat sink. Re-assembly is the opposite of disassembly.
Removing the AC board
The AC board provides AC voltage selection, rectification of the transformer secondary current, and a regulated DC supply for the cooling
fan. It seldom needs to be replaced unless it is physically damaged itself. Most failures involving the AC board can be repaired through
replacement of individual components.
WARNING: Regulatory and safety agencies require that any operating voltage conversions from 120 volts to any other voltage
be done
only
by QSC’s factory service. Any other operating voltage conversions may be done only by a QSC-authorized service center
or international distributor.
1. Disconnect the amplifier from AC power and allow at least 10 minutes for internal voltages to bleed down.
2. Remove the four screws that fasten the fan, fan shroud, and fan guard to the chassis. Lift the fan shroud out from the chassis.
3. Disconnect the wires that connect to the channel modules. All of the large single wires attach to the channel modules with ¼-inch
quick-connect tabs that are detached by pulling them straight up. The remaining three black wires disconnect at the left channel
module with a detachable header.
If you are planning to replace the AC board with another, carefully cut each of the transformer wires connecting to the board just
above its solder tab. You must leave enough slack to allow connection to the new AC board. Remove the old heat shrink tubing from
the wires and strip the wire ends about 0.25 inch or 6.3 mm.
4. Remove the five screws that attach the AC board to the chassis standoffs. Lift the board out from the chassis.
5. Re-assembly is the opposite of disassembly. If you’re using a new AC board, slide new pieces of heat shrink tubing over the
transformer wires before you solder them to the appropriate tabs on the board; after soldering, cover the joints with the tubing and
use a heat gun or other heat source to shrink them tightly.