36
Quadra-Fire • EXCURSION-I, EXCURSION-II, EXCURSION-III Installation Manual • 2538-980 Rev. E • 5/19
9
Appliance Setup
A. Fixed Glass Assembly
WARNING! Risk of Asphyxiation! Handle xed glass
assembly with care. Inspect the gasket to ensure it is
undamaged and inspect the glass for cracks, chips or
scratches.
• DO NOT strike, slam or scratch glass.
• DO NOT operate replace with glass removed, cracked,
broken or scratched.
• Replace as a complete assembly.
Removing Fixed Glass Assembly
CAUTION! Handle xed glass assembly with care.
Glass is breakable.
• Avoid striking, scratching or slamming glass
• Avoid abrasive cleaners
• DO NOT clean glass while it is hot
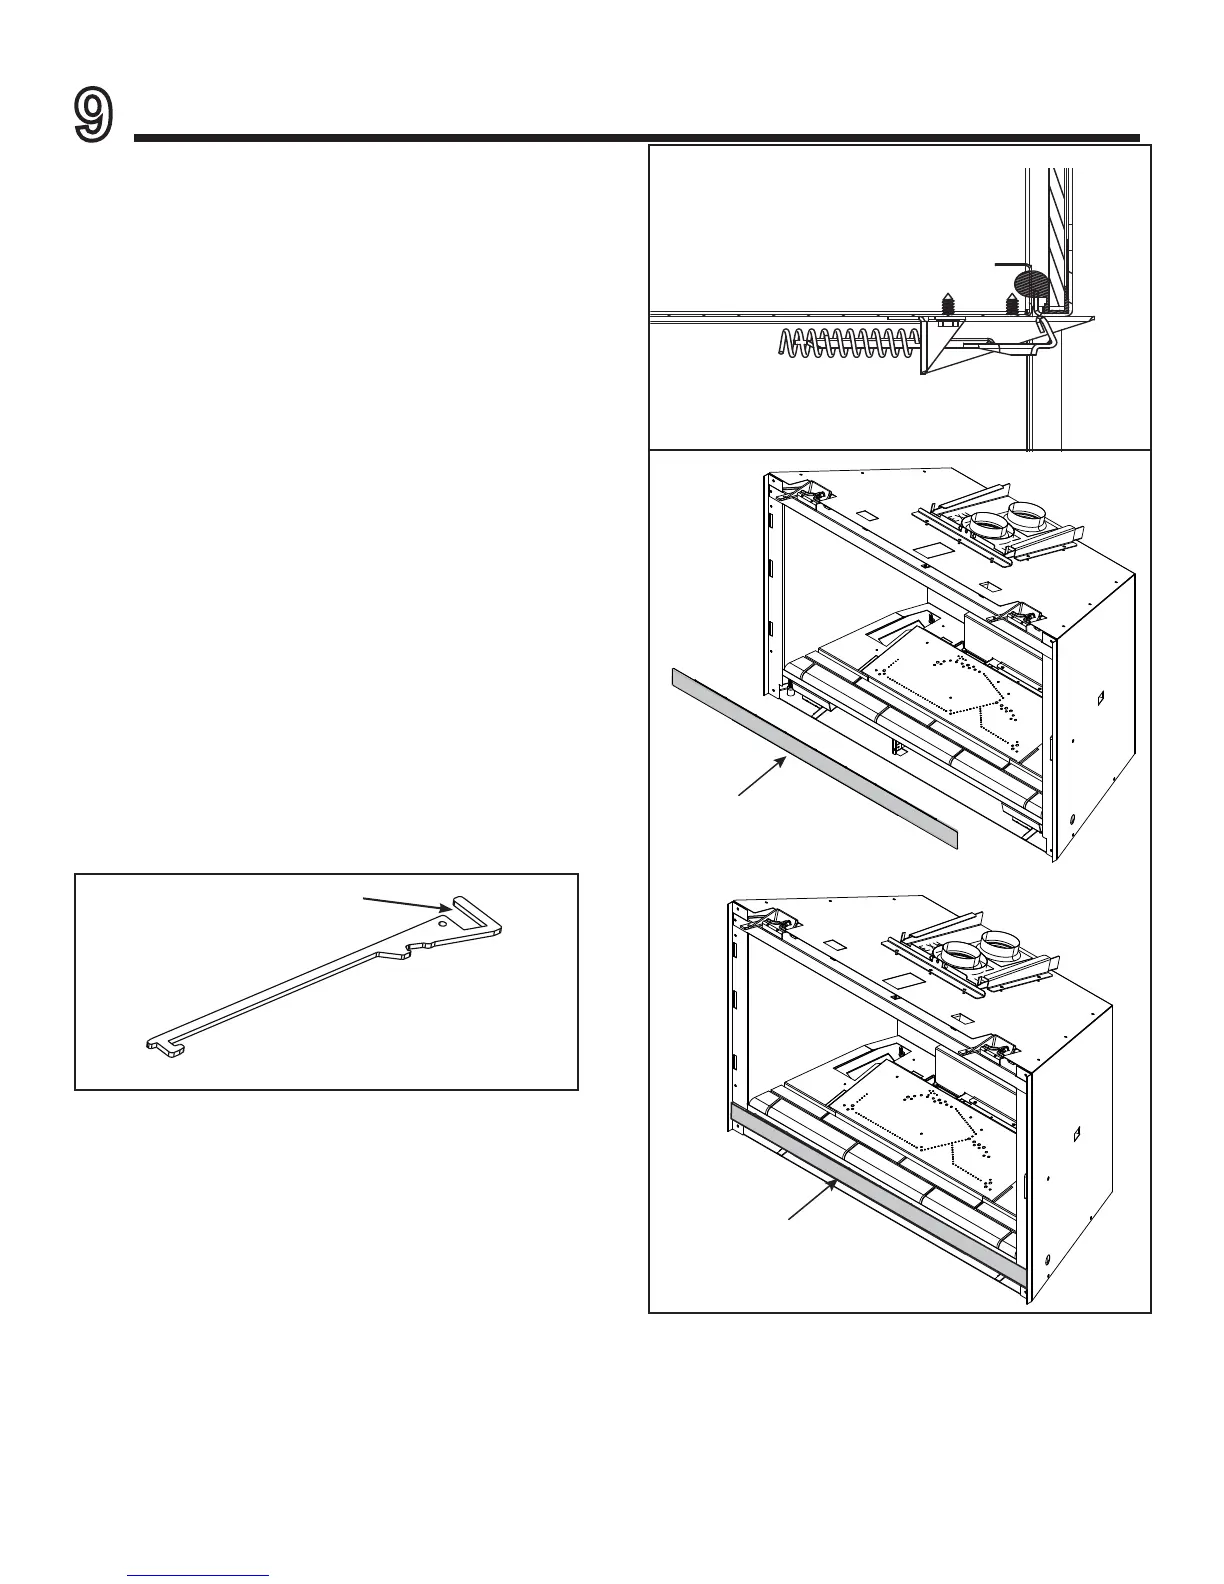
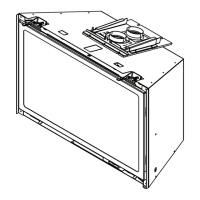
• The glass assembly fastens to the replace in four
places. Four of the fastening mechanisms are spring-
loaded glass latches. An example of the glass latch is
shown in Figure 9.2.
• To release glass assembly, use the supplied multi-
purpose tool to pull the two bottom spring-loaded
latches forward and allow them to retract away from
the glass assembly. Tilt the bottom of the glass
assembly outward until the top latches disengage.
Replacing Fixed Glass Assembly
• Tilt the top of the glass assembly toward replace and
slide glass assembly upward to engage
top latches. Verify top latches are fully engaged and
then fasten the two bottom latches using the supplied
multi-purpose tool.
• Reinstall door or decorative front.
Figure 9.2 Glass Seal Plate
GLASS SEAL PLATE





 To Next Page