3
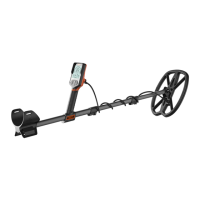
ASSEMBLING THE Q30 / Q30+
The Q30 series comes packaged with everything you need to quickly assemble it and start finding treasure.
After unpacking all of the parts included in the package, perform the following to assemble your new detector:
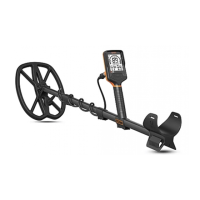
1. Install black rubber washers on lower rod and attach the search coil using the bolt and thumbnut
provided. CAUTION: Do not overtighten the bolt as it can cause the mounting points to crack.
2. Insert lower rod into center rod and use the camlock to secure the lower rod in position.
3. Insert the center rod into the upper rod and repeat the process of securing it in place using the
camlock.
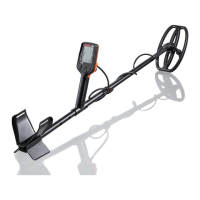
4. Slide the control pod assembly onto the upper shaft and position it roughly in the center of the shaft.
Lock it into positon with the camlock on the base.
5. Mount the arm cuff / stand in place using the small screw located on the bottom of the assembly.
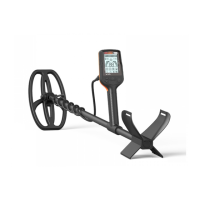
6. Extend the lower and center shaft sections to a comfortable length based on your height. Secure
them in position with the camlocks.
7. Wind the search coil cable around the rods starting by looping the cable over the top of the lower shaft
and continuing to do so until the plug reaches the control pod. Plug the cable into the connector on
the back of the display. Tighten the retainer ring securely. CAUTION: Do not wrap the cable too
tightly as it can be pulled out of the coil if the coil is bent over. This will NOT be covered under
warranty!
8. If desired, thread the Velcro arm cup through the slots on the arm cup. With your arm in position, fold
the strap over onto the Velcro so that the strap is loose enough to pull your arm in and out of the arm
cup when put it down to recover a target.
9. Grip the detector and sweep the search coil over the floor. If the fit feels uncomfortable, adjust the
position of the center rod, the lower rod or the control pod / handgrip assembly using the respective
camlocks. The ideal position allows you to stand up straight and sweep the search coil over the
ground without stooping over.
10. Connect the charger cable that comes with the detector and connect to a standard USB wall / car
charger plug. Leave the detector plugged in for approximately 3-4 hours to fully charge the battery
for the first time.
11. Connect the charging cable to the wireless headphones (Q30+ only) and allow them to fully charge
before using them for the first time. The GREEN light will go out once the battery us charged.
That’s all there is in assembling your new detector . . . .
Let’s get started learning what it offers and how to use it in the field!