1
Contents of the Box
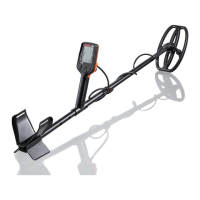
Your new Quest X5 comes complete with everything you need to get started finding treasure in the field. Unpack the box to make
sure you have all of the parts necessary to assemble your detector. The box should contain the items shown below. If any parts are
missing, please contact the dealer you purchased your detector from.
....
Three (3) shaft sections
....
Control housing pod
....
Search coil and coil cover
....
Micro USB charging cable
....
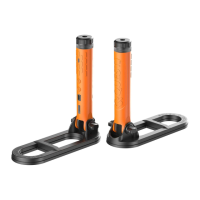
Arm rest assembly
....
Arm rest strap
....
Velcro strip to secure coil cable
....
Hardware to attach search coil to lower shaft
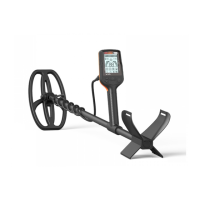
Assembling the Quest X5
The Quest X5 assembles initially in less than 10 minutes. It can be assembled in either an adult or youth configuration with the only
difference being the overall length of the detector itself.
1. Attach the armrest assembly (consists of two pieces – an upper and lower half) to the end of the upper shaft by pressing the two
pieces into place and securing them with the screw included in the package.
2. Remove the four (4) screws visible on one side of the control housing handgrip and take off the section that is now loose. Line up
the pins inside the handgrip assembly with two of the larger holes in the upper shaft piece. Replace the section removed to line
up with the screw holes / pins and reinstall the screws. NOTE: The distance between the arm rest and the hand grip can be
adjusted based on the arm length of the user.