Radiolink Electronic Ltd
www.radiolink.com
1. Power on and turn on your transmitter.
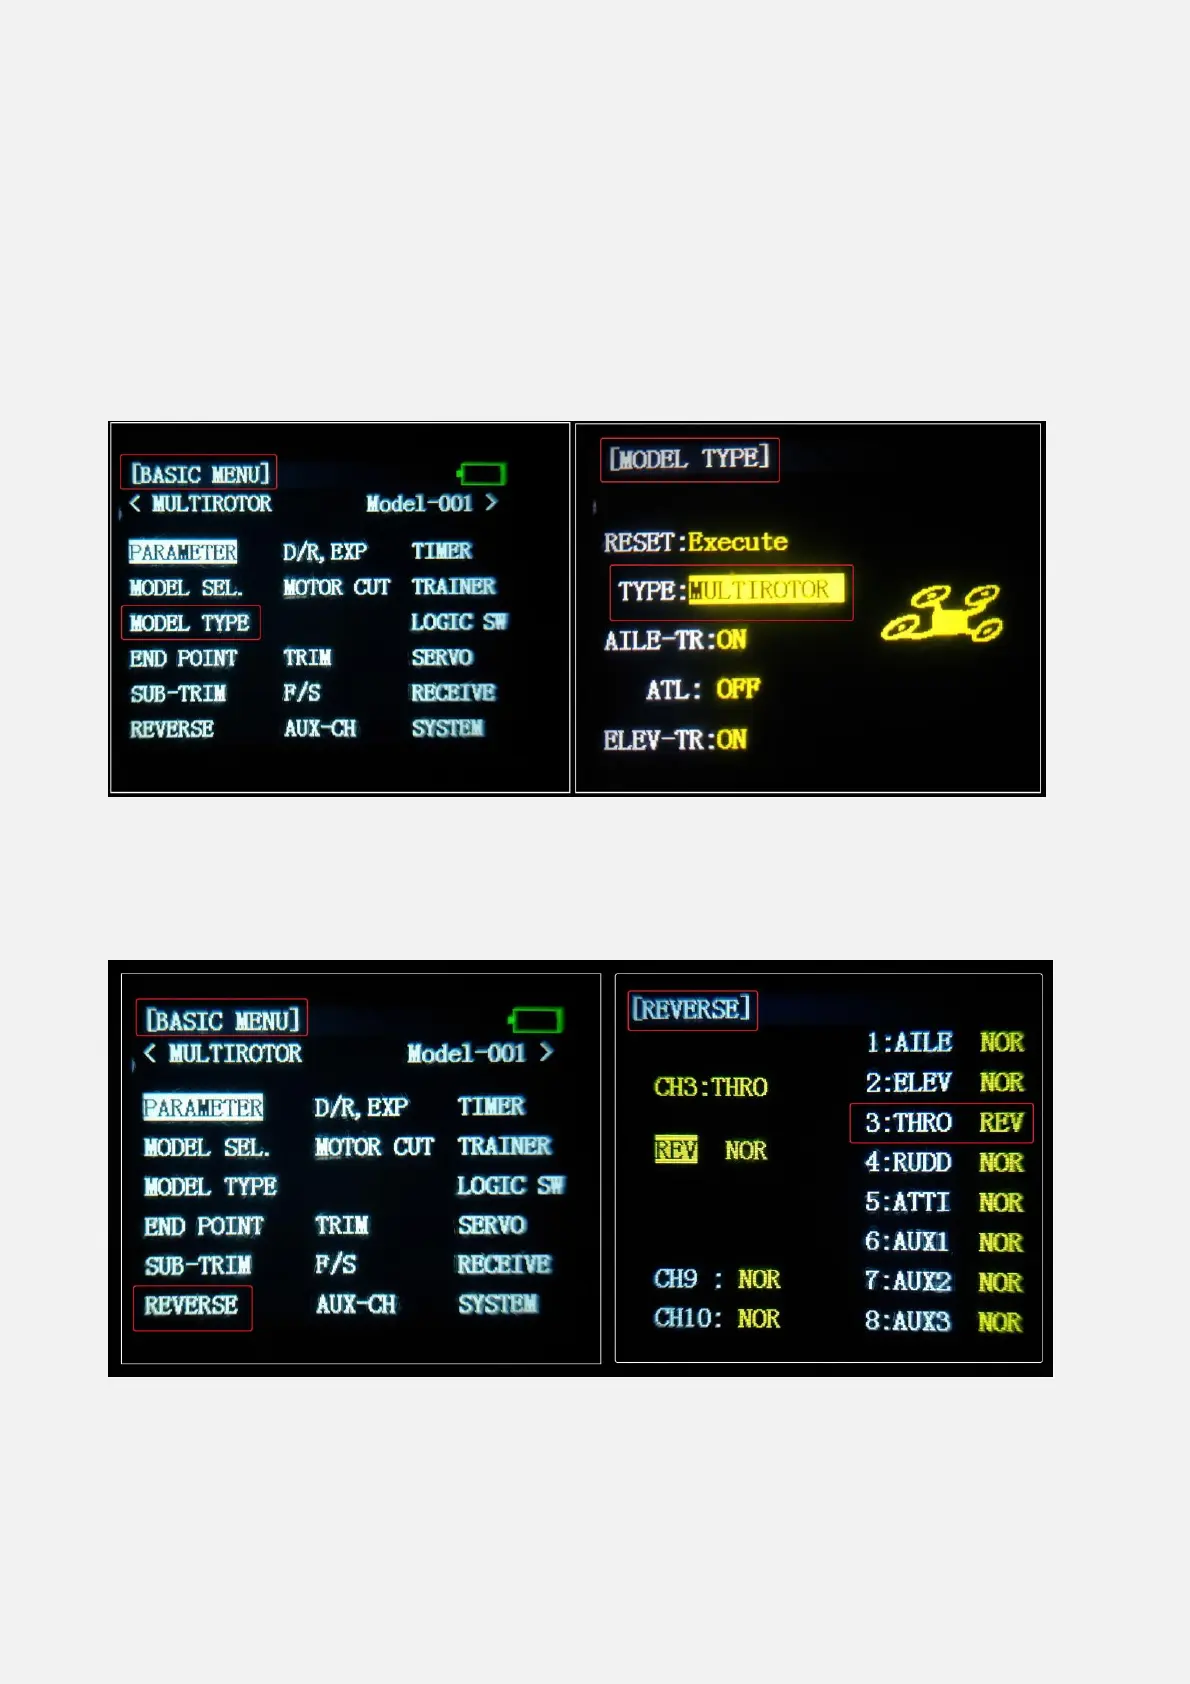
2. Press Mode button twice to into ADVANCE MENU, press Push button into ATTITUDE setting menu,
CH5 is default to the attitude control channel and please choose a 3 Posi-SW and a 2 Posi-SW to control
the attitude.
3
.
Setup Flight Mode 1 is Stabilize both in Mission Planner and transmitter.
Make sure the -swt- is ON (by press the 3 Posi-SW or 2 Posi-SW to make it ON or OFF) and then you
can setup the PWM data.
 Loading...