2) Use the Up and Down buttons to select the RAID level you wish to use. Press the “ENTER” button to
conrmyourselectionwhendone.
3) The system will show the available storage capacity corresponding to the selected RAID level. You
can change the storage capacity using the Up and Down buttons. Press the “ENTER” button to
conrmyoursettingswhendone.
4)SelecttheStripSize.Pressthe“ENTER”buttontoconrmyourselectionwhendone.
5)Conrmthesettings.Pressthe“ENTER”buttontoconrmthesettings,orthe“ESC”buttontocancel.
Once the ENTER button is pressed the system will complete the setup process.
Once setup is complete, your computer will automatically
Notes : 1. All physical drives will be included in the RAID set. The RAID capacity will be calculated using the actual
capacity of the smallest hard drive.
2. This function will create only one volume. If you need to add additional volumes, please select the
“Volume Set Functions” to make your changes.
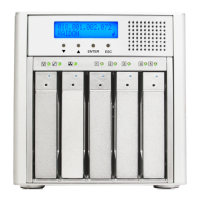
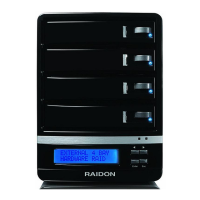
2.3 RAID Setup
The “RAID Set Functions” allow you setup your RAID. The setup functions include:
•CreateRAIDSet
•DeleteRAIDSet
•ExpandRAIDSet
•OfineRAIDSet
•ActivateRAIDSet
•CreateHotSpare
•DeleteHotSpare
•RescueRAIDSet
2.3.1 Create RAID Set
AfterselectingthisfunctionthesystemwillrstaskyoutochoosethenumberofHDDtosetup.Youcan
use the Up, Down and “ENTER” buttons to make your selection. When done, press the “ENTER” button
toconrmyourselection.Pleaserefertotheabovechartformoredetails.
Notes : This function only carries out the initial setup. You must go back to the “Volume Set Functions” to setup the
volumes before the RAID set can be used normally.
2.3.2 Delete RAID Set
This function can be used to delete previously created RAID sets so you can setup new RAID sets.