CHAPTER 4
24 Hawkeye® 2 Installation Manual for AGCO RoGator C-Series (RG900, RG1100, RG1300)
2. Remove existing Hypro 5-way, right-handed nozzle bodies from the sprayer by unscrewing the Phillips screw
located in the clamp.
3. Install the left-handed nozzle bodies, replacing all right-handed nozzle bodies.
NOTE: Boom tube support brackets my need to be adjusted to provide clearance for left-handed nozzle
bodies and NCV2s. If obstructions cannot be removed, a right-handed nozzle body may be
reinstalled in that position, however the NCV2 may interfere with rotating the 5-way turret.
4. Replace any spray tips on the newly installed nozzle bodies as needed.
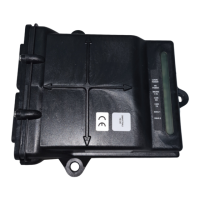
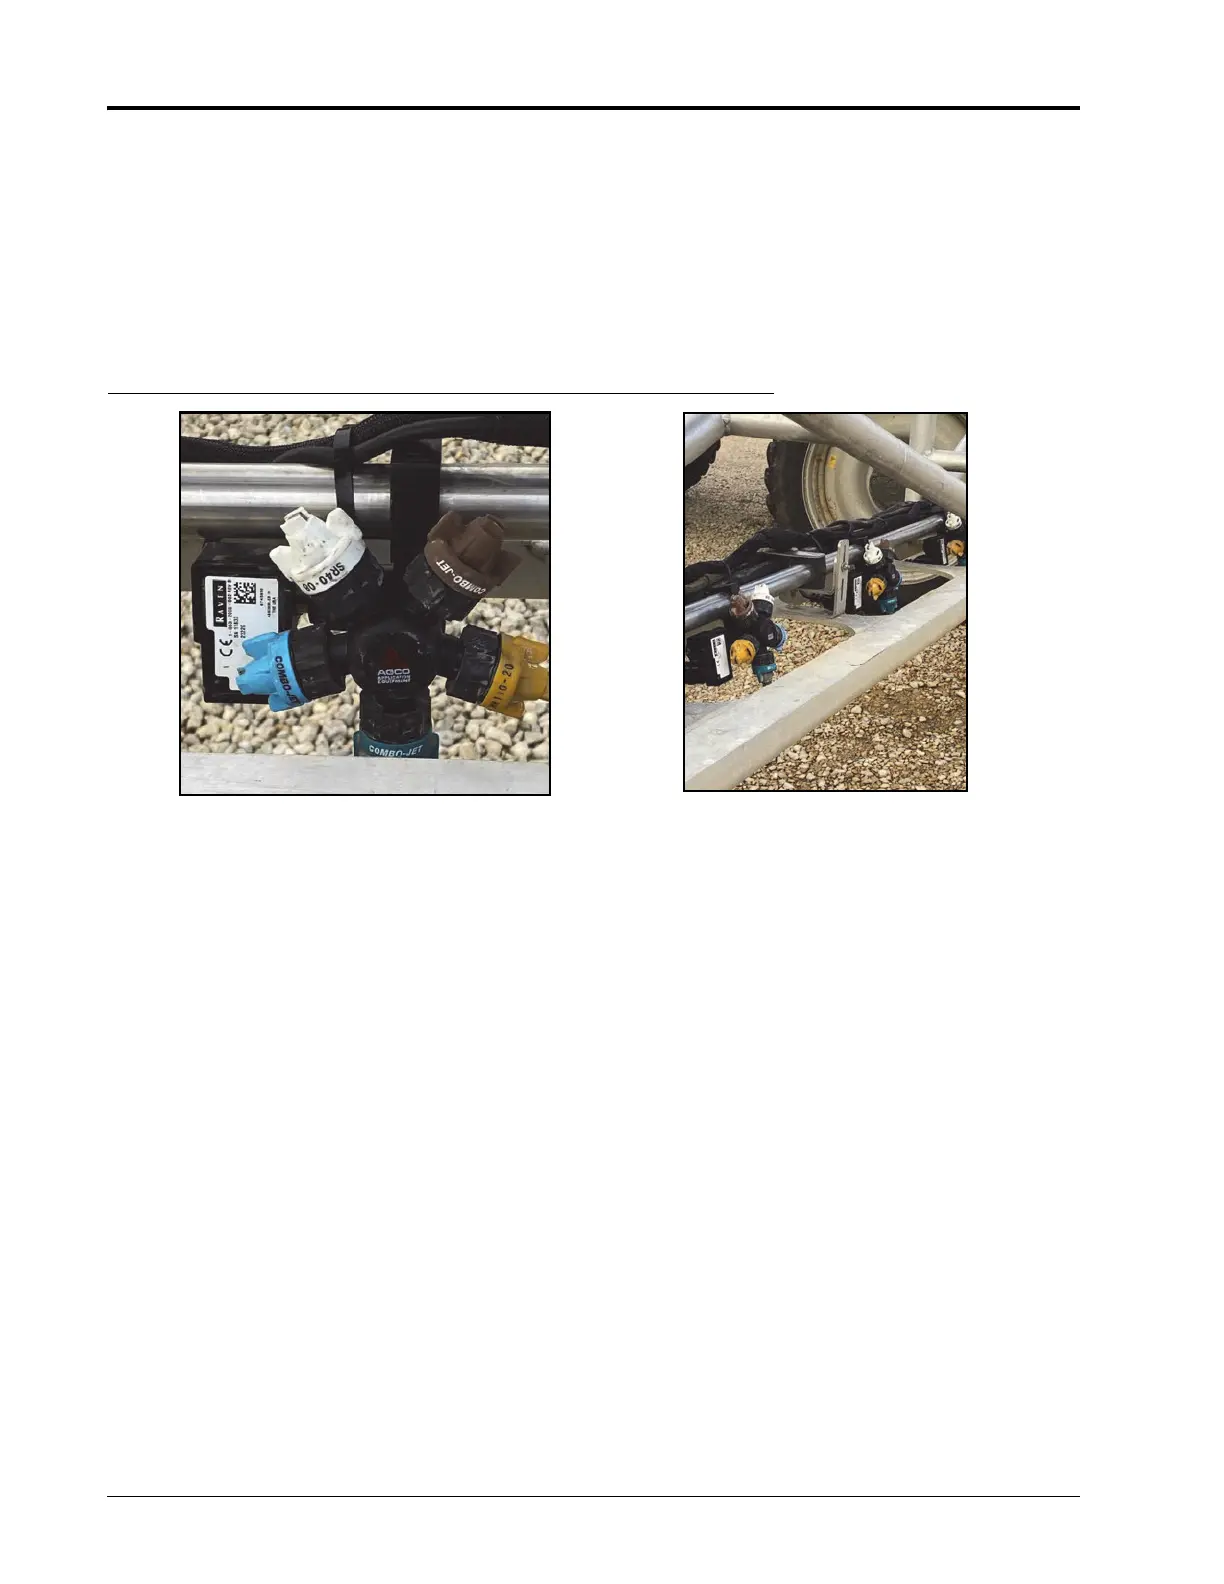
FIGURE 2. Hypro Left-Handed Nozzle Bodies Installed
WILGER NOZZLE BODY ASSEMBLY & INSTALLATION
NOTE: For Wilger versions of the Hawkeye® 2 kit, the Wilger nozzle bodies require some assembly before
installation onto the plumbing. The assemblies will vary with boom type and location on the sprayer.
There are two different types of Wilger nozzle bodies that will need to be assembled and installed.
See Figure 3 on page 25.
If ProStop-E valves are to be used on the secondary outlet of the Wilger nozzle bodies, an adapter is
included for the valve.
Wilger-to-Square lug tip adapters are also included to allow use with a wider variety of spray tips.
 Loading...