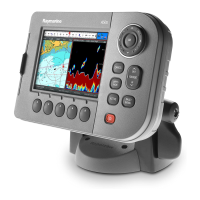
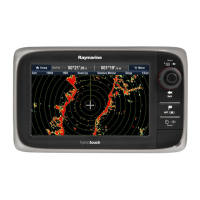
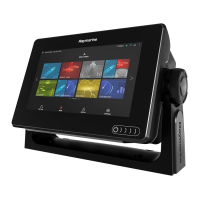
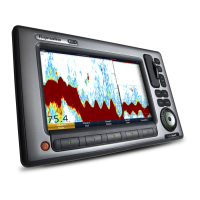
5.1Mounting
Pre-mountingcheck
Theproductisdesignedtobesurfacemounted.
Beforemountingtheunit,ensureyouhave:
•Selectedasuitablelocation.
•Identiedthecableconnectionsandroutethatthe
cableswilltake.
Mountingdiagram
Mountinginstructions
1.Checktheselectedlocationfortheunit.Aclear,
atareawithsuitableclearancebehindthepanel
isrequired.
2.Fixthesuppliedmountingtemplatetothe
selectedlocation,usingmaskingorselfadhesive
tape.
3.Ifpossibleuseanappropriatesizeholecutting
sawtocut-outthecenterholeareaasindicated
onthemountingtemplate;or
4.Usingasuitableholecuttingsaw,makepilot
holesineachcornerofthecut-outarea,and
usingajigsawcutalongtheinsideedgeofthe
cut-outline.
5.Ensurethattheunittsintotheremovedarea
andthenlearoundthecutedgeuntilsmooth.
6.Peelthebackingoffthesuppliedgasketand
placetheadhesivesideofthegasketontothe
displayunitandpressrmlyontotheange.
7.Screwthesuppliedmountingstudintotheback
oftheunit.
8.Feedcablesthroughthesuppliedclamping
bracketandconnecttotheunit.
9.Securetheinstrumentandbracketusingthe
thumbnutandstud.
5.2Bracketmounting
Tobracketmounttheunit,followtheinstructions
suppliedwiththemountingbracket(Partnumber
E25024).
30i40

 Loading...


