18
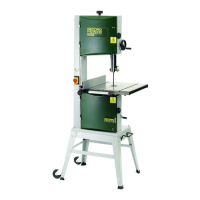
9. Bandsaw Blade Set Up - Cont.
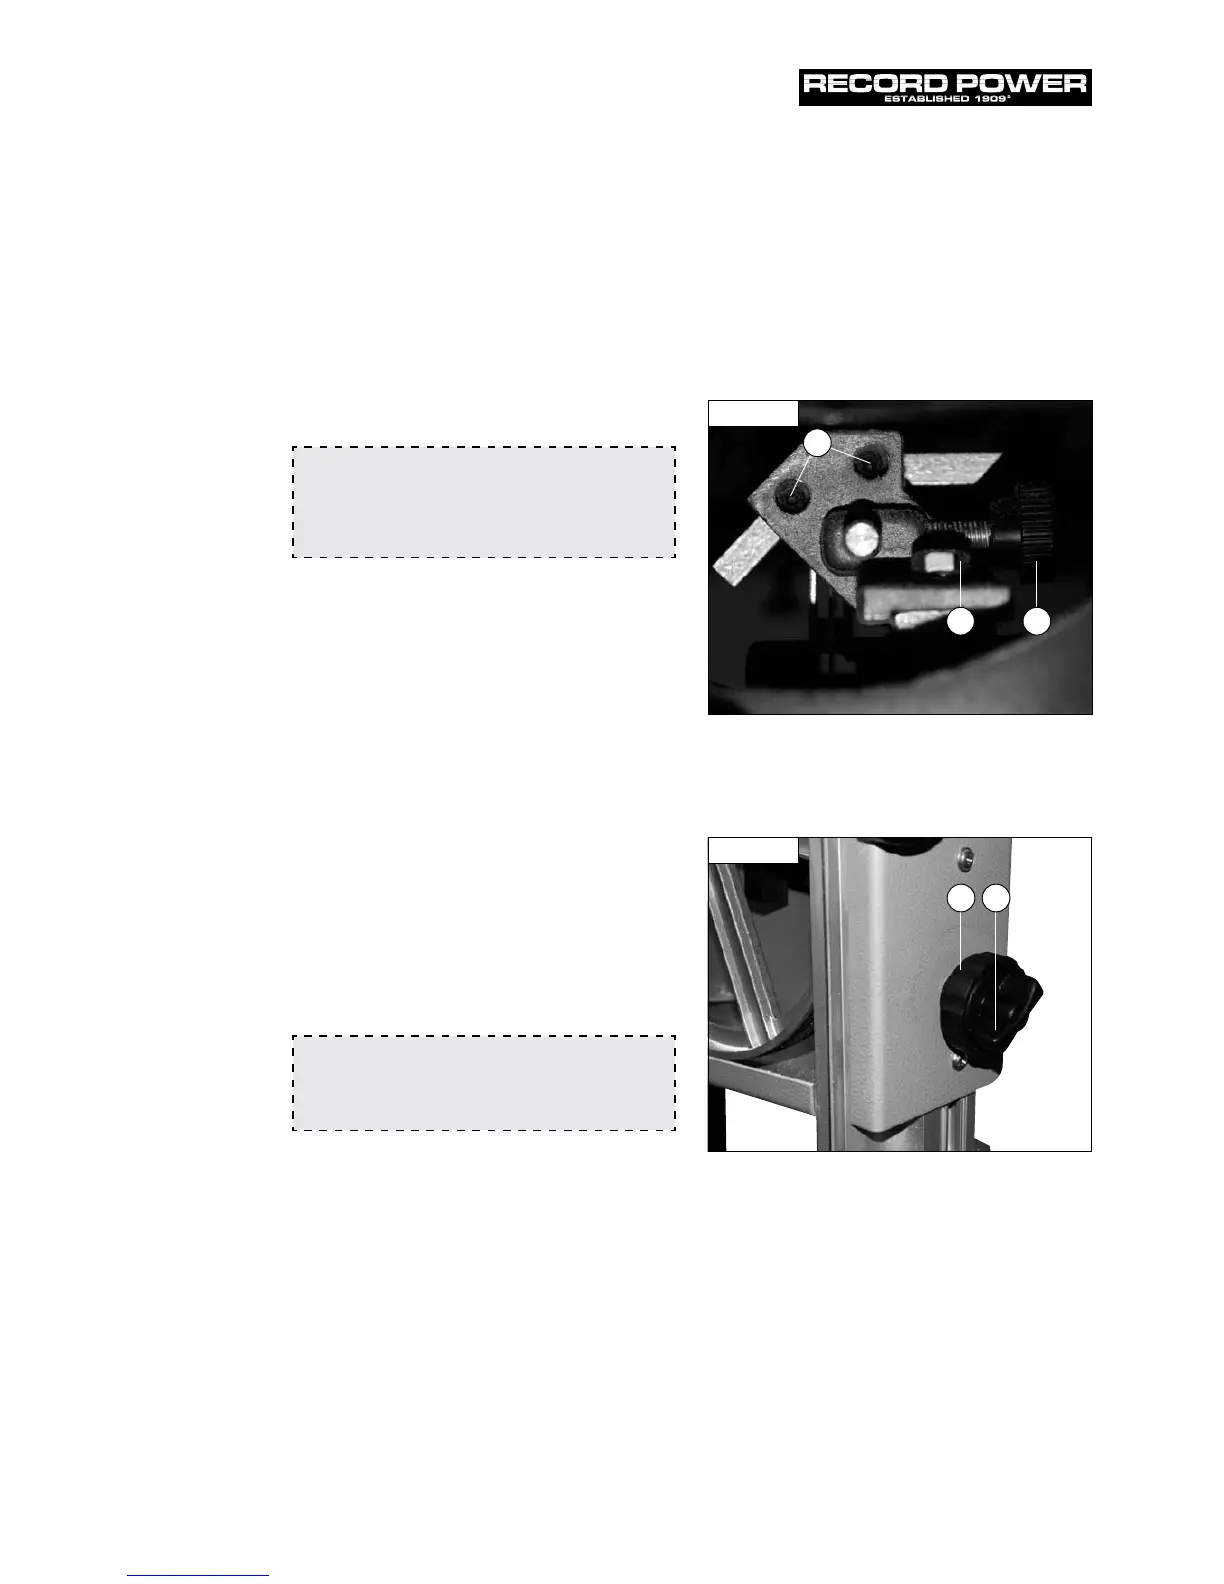
Adjusting Lower Guides
1. To adjust the lower blade guides, first slacken off the nut
(Fig. 9.8, A), move the guide carrier casting so the guides
are just behind the gullets of the blade.
2. Next set the side guides (Fig. 9.8, B) as near as possible
to the blade without actually touching. This is done by
releasing the grub screw (Fig. 9.8, D).
3. Finally adjust the thrust bearing (Fig. 9.8, E) to be just
clear of the back of the blade by slackening off the
locking knob (Fig. 9.8, F) & moving the thrust bearing.
Fig. 9.8
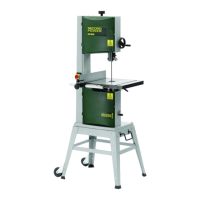
Adjusting the Cutting Height
Once the blade is set, the cutting height must be adjusted
so there is maximum guarding for the blade. Also so the
blade guides are providing optimum support to the blade.
To adjust the cutting height loosen the rise & fall lock knob
(Fig. 9.9, A) and turn the outer ring (Fig. 9.9, B) to raise or
lower the guide post/upper blade guide assembly to the
desired height.
After the desired position has been set tighten the rise &
fall lock knob.
Fig. 9.9
Note:
The upper blade guide should provide approximately
5mm clearance above the work piece.
A
B
C
B A
Note:
Adjustment of the lower guides can be made by
removing the table insert and working from above as
well as below the table