- 13 -
%RWKVXFWLRQKRVHV$$1'%DUHRSHQ
Set the duration of time, until the pinch valve in the suction hose closes and the suction power for the
other suction hose has readjusted.
Select a longer amount of time in order to prevent short interruptions (e.g. when working with a
hand piece motor) from switching the extractor on and off too frequently, therefore causing the
suction power to be continuously be readjusted.
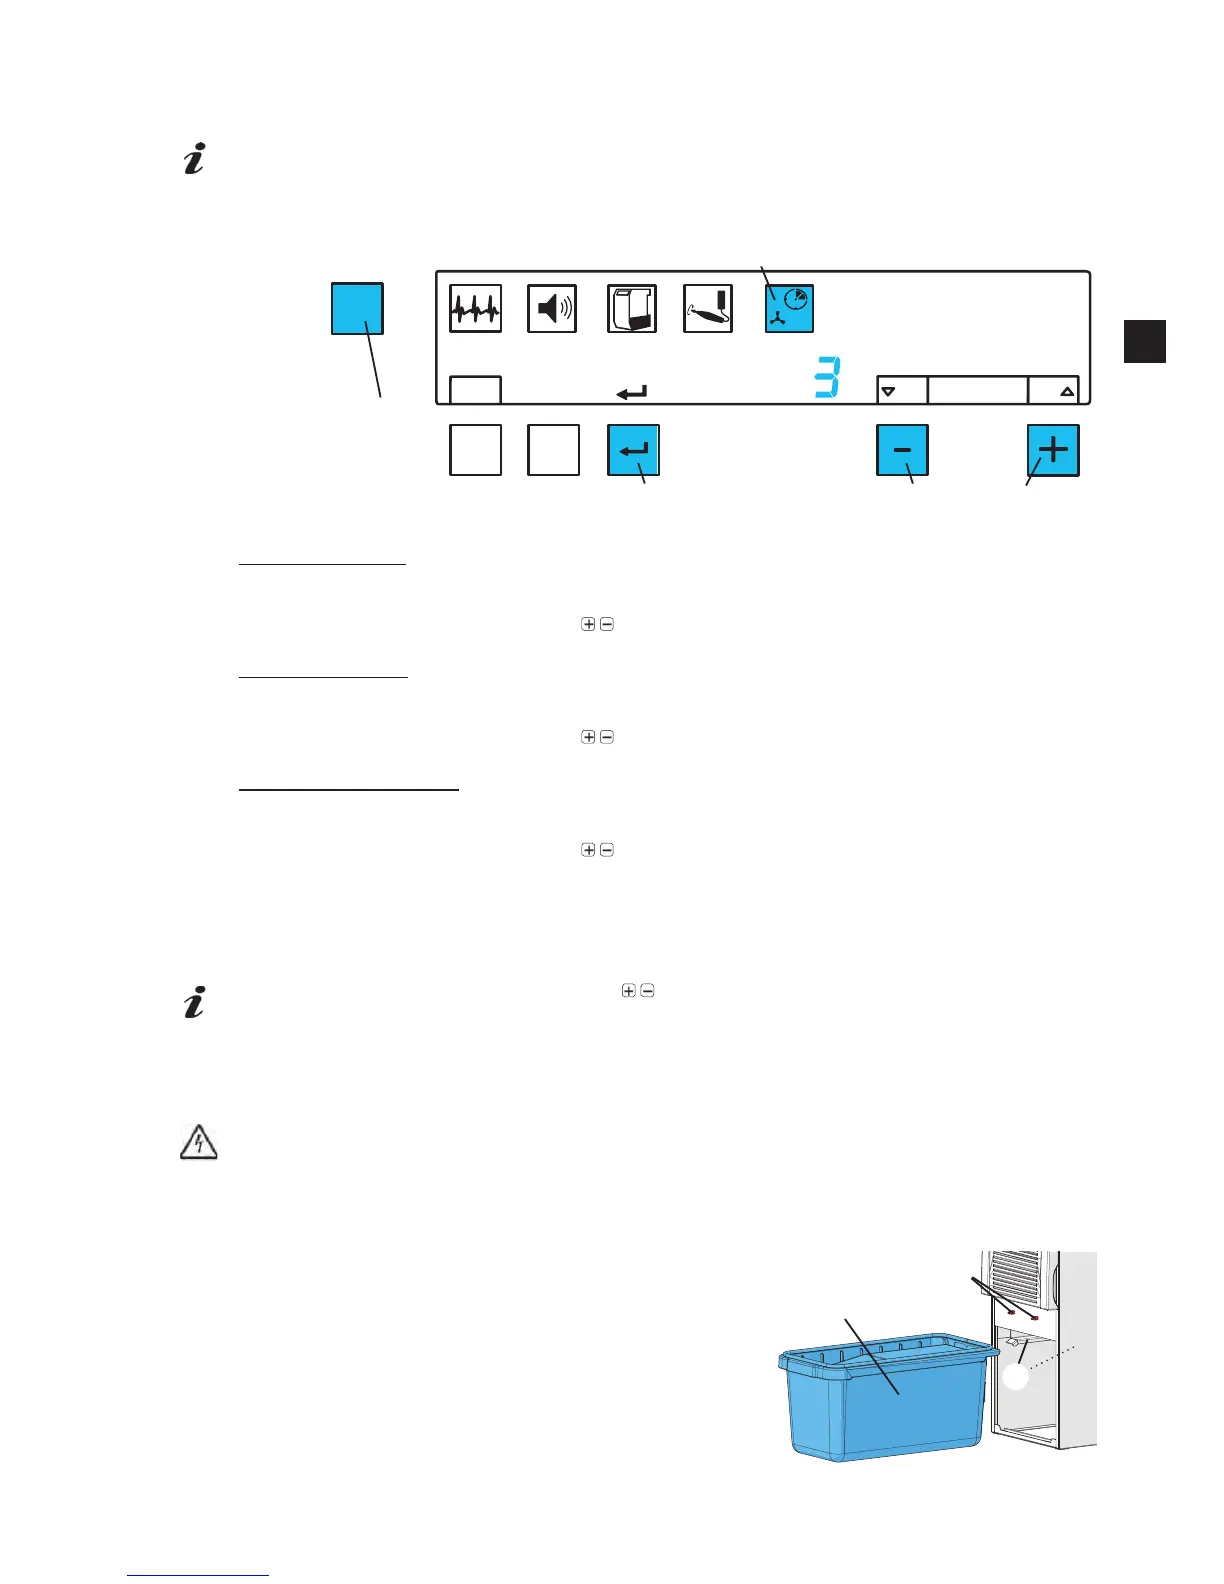
Press the menu key (30) 5x
Ƈ The shut-off delay symbol (35) blinks.
Set shut-off delay A
Ƈ The letter A is indicated
Ƈ The display shows the current shut-off delay setting for suction hose A.
Set the required shut-off delay with the
/ buttons (41, 43)
Press enter button (40)
Set shut-off delay B
Ƈ The letter B is indicated
Ƈ The display shows the current shut-off delay setting for suction hose B.
Set the required shut-off delay with the
/ buttons (41, 43)
Press enter button (40)
Set shut off delay A and B
Ƈ The letters A and B are indicated
Ƈ The display shows the current shut-off delay setting.
Set the required shut-off delay with the
/ buttons (41, 43)
Press enter button (40)
The shut-off delay adjustment can be quit at any time before or after the value is saved, by pressing
the menu key (30)
Whilst setting the shut-off delay, press the /
buttons together to return to the factory set
shut-off delay parameter.
6. Cleaning / Maintenance
Inside the extractor there are small parts which require maintenance.
Opening the device, other than for the processes described below, is not permissible!
6.1 Replacing the Dust Bag
7KHVHWGXVWEDJ¿OOOHYHOKDVEHHQUHDFKHG
Ƈ 7KHGXVWGUDZHUV\PERO¿JEOLQNV
Ƈ An audible signal will be emitted 3x
Ƈ The display blinks “Cod01”.
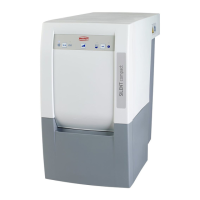
(PSW\LQJWKHGXVWGUDZHU
Switch the extractor off.
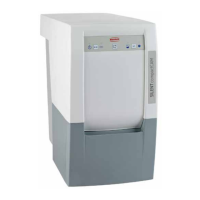
Pull the front panel forward and off (5, Fig.1).
Pull the dust drawer (7) out towards the front.
5HPRYHWKHSURWHFWLYH¿OPIURPWKHJOXHÀDSDQGXVHLWWR
cover the dust bag opening!
MENU
A
B
OFF
ON
A
resetdefault
Fig. 1