- 7 -
4. Setting Up
4.1 Unpacking
Remove the device and all the accessories from the delivery package.
Check the delivery for completeness (refer to the “Scope of Delivery” section).
4.2 Setup
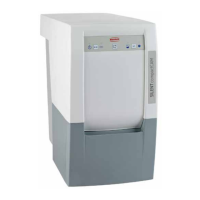
7KHH[WUDFWLRQXQLWLVDIUHHVWDQGLQJDSSOLDQFHLQWHQGHGWREHVHWXSRQWKHÀRRUHJXQGHUWKHZRUN-
bench).
It is possible to connect up to two suction points.
3RVLWLRQWKHH[WUDFWLRQGHYLFHVRWKDW
7KHH[KDXVWYHQW¿JLVQRWEORFNHG
The distance to the suction points is approximately even.
The front of the device is easily accessible for removal of dust drawer.
If the device is to be installed in a cabinet, an opening for the exhaust air with the following dimensions
PXVWEHSURYLGHGLQDGGLWLRQWRWKHRSHQLQJVIRUWKHVXFWLRQKRVHV
&LUFXODURSHQLQJ0LQPPGLDPHWHUV
5HFWDQJXODURSHQLQJ0LQ[PP
4.2.1 External Exhaust Air Route
An external exhaust air route (see accessories) allows the extracted air to leave the laboratory.
The installation details are supplied with the external exhaust air route.
4.3 Electrical Connection
%HIRUHFRQQHFWLQJWKHGHYLFHHQVXUHWKDWWKHYROWDJHLQIRUPDWLRQRQWKHLGHQWL¿FDWLRQSODWH
corresponds with your local power supply.
Arrange the conducting parts (plug sockets, plugs and couplings) and install the extension
cord so that the protection class is retained.
6ZLWFKWKHGHYLFH2))DWWKH2Q2IIVZLWFK¿J
Insert the mains cable into the plug socket.
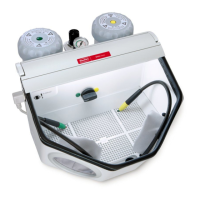
4.4 Compressed Air Connection
The suction hoses are opened and closed via the pneumatic pinch valves (15, Fig.3).
For this, compressed air is necessary. On the device, the compressed air tube is sealed.
&RQQHFWLRQWRWKHFRPSUHVVHGDLUVXSSO\
6HOHFWWKHDSSURSULDWHWXEHFRQQHFWLRQSLHFHIURPWKHFRQQHFWLRQVHW¿JDQGDWWDFKWRWKH
end of the tube.
Connect to the compressed air.
Observe the minimal / maximum connection pressure, see technical data!
Compressed air should be clean and dry (without condensed water). Wet compressed air can
damage the unit
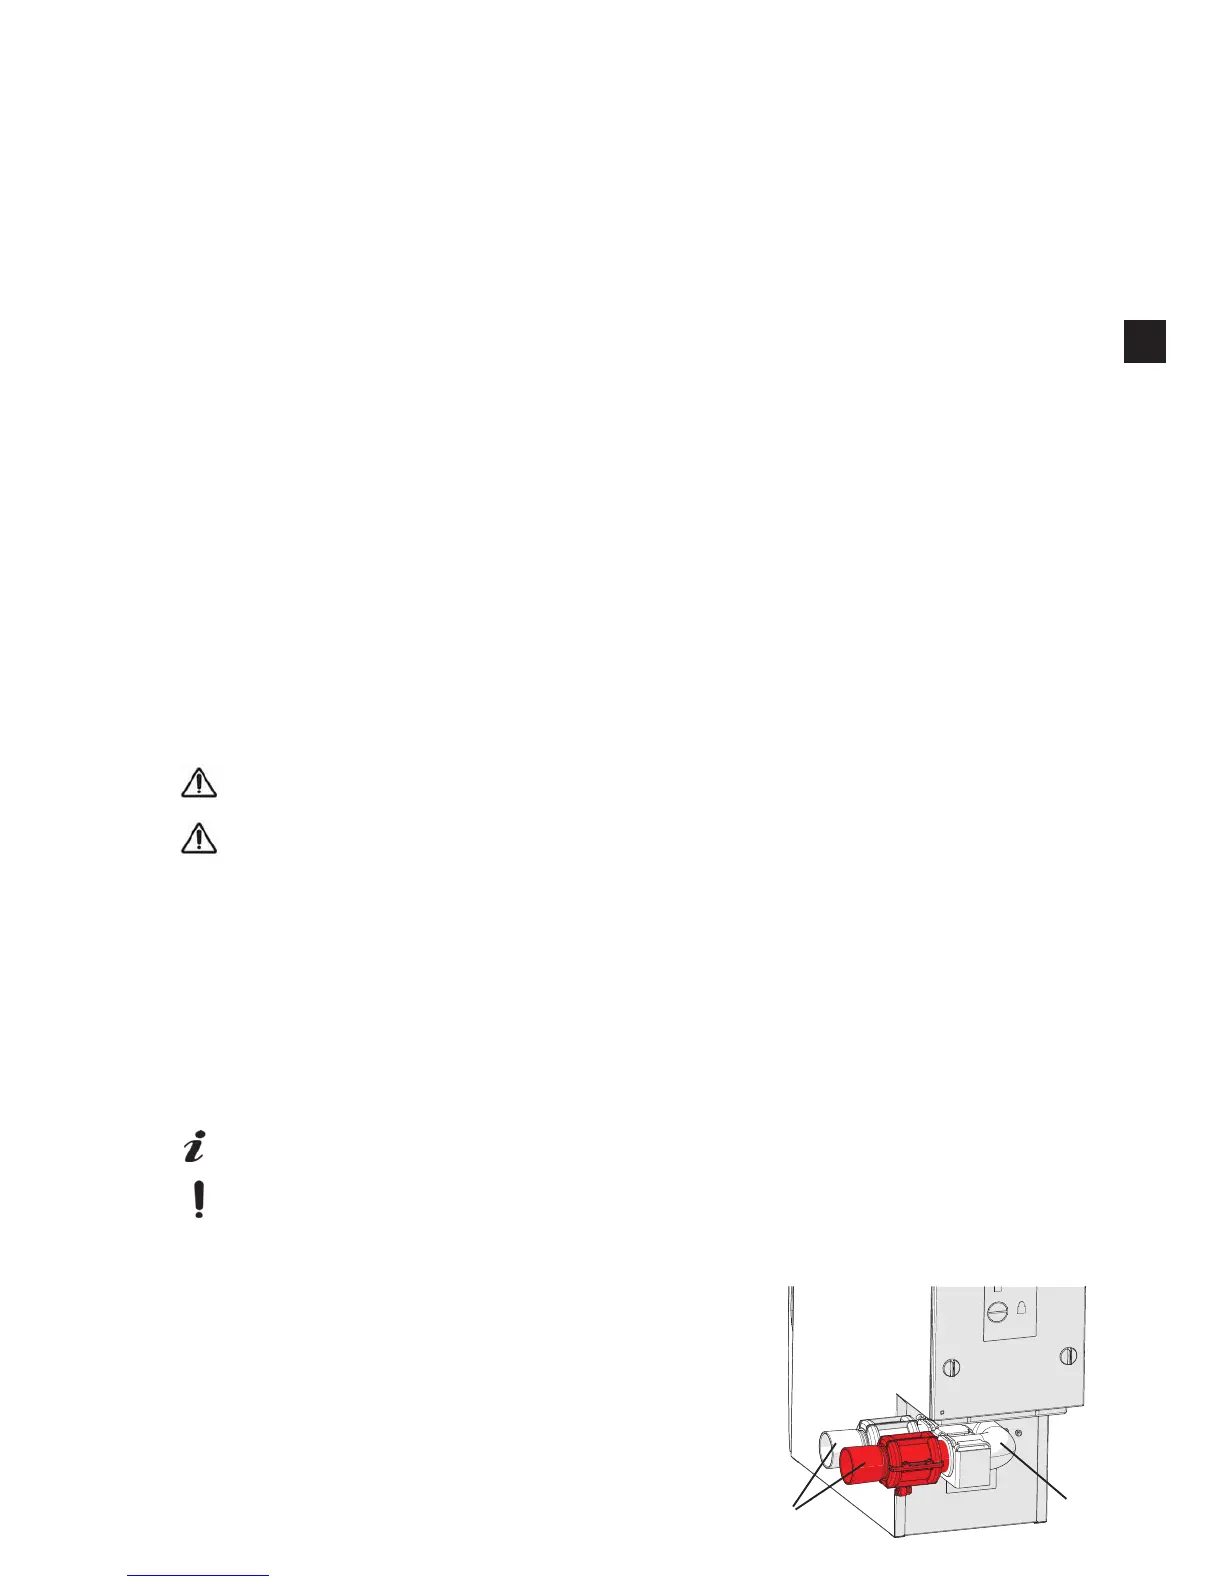
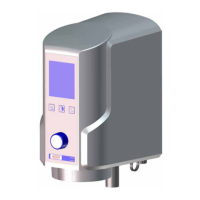
4.5 Installing the Pinch Valves
In order to prevent damage during transport, the following parts
- pinch valves (15)
- suction pipe (16)
- holder (20)
are not mounted on the device, but will be delivered in a pre-
assembled state.
7KHVHPXVWEHLQVWDOOHGRQWRWKHGHYLFHEHIRUHXVH
Unscrew the knurled head screw (19, Fig. 4a).
Push the suction pipe (16) onto the suction support on the
Fi