40 Set-up and alignment – separate system
Setting-up and aligning a
separate system
WARNING: Before setting up and
aligning the system, ensure the machine
is safe to work on.
Setting up the system
1. Either connect the digital voltmeter as
described in “Using a voltmeter” on page 37
or fit the NC4 set-up tool as described in
“Using the set-up tool” on page 38.
2. Switch on electrical power to the NCi-4
interface.
3. Ensure that air is supplied to the NC4 and is
at the correct pressure.
4. Slacken all conduit clamping screws so the
NC4 units can move freely.
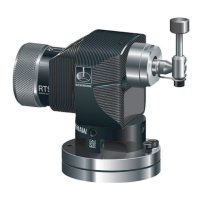
5. On the mounting plate of the transmitter
unit, use a 3 mm hexagonal key to slacken
the two translation holding screws and two
rotation holding screws to allow the plates to
be adjusted (see the figure on page 41).
6. Adjust the rotation and pitch of the
transmitter until the laser beam shines on
the centre of the receiver MicroHole.
7. Load a tool into the spindle of the machine.
A solid, flat bottomed tool is preferred.
8. Remove the target from the back of this
guide. Using either Blu-tack or adhesive
tape, attach it to the tool as shown in the
figure on page 42.
9. Starting close to the transmitter (target
position 1) (see the figure on page 42),
manually traverse the spindle / machine
table so that the laser beam is centred with
the target cross hairs.
10. Manually traverse the target / transmitter so
that the target moves away from the
transmitter and towards the receiver (target
position 2).
!
(continued on page 43)
 Loading...