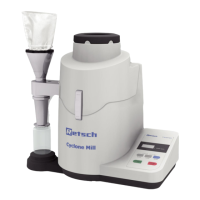
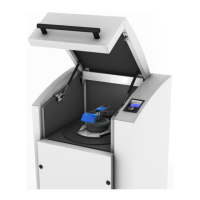
Operating the machine
27
Pos: 7.42 /00005 Ü berschriften/ 1.1 Überschrifte n/1.1 Überschrift en BDA/11 Rei beinsatz austa uschen @ 3\ mod _1284538501899 _9.doc @ 235 02 @ 2 @ 1
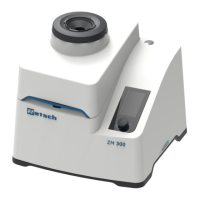
5.16 Replacing the friction insert
Pos: 7.43 /00010 Bedienungsa nleitungen Kapitels ammlungen/T wister Mill (2011) /0015 Zyklon Mill Twister Bedi enung/1510 NIR M odul R eibeinsatz austa uschen @ 3\ mod_12845360 36447_9.doc @ 23260 @ @ 1
Fig. 19: Replacing the friction insert
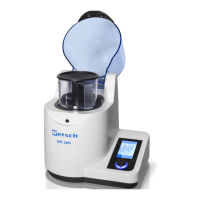
• Remove the cassette cover (D) by unscrewing the two
screws (N).
• Remove the sieve insert (O) and friction insert (P).
Fig. 20: Inserting the friction insert
• Pay attention to the position of the friction insert when inserting.
• Align the groove (NU) on the pin (SI).
 Loading...