14
Example 1: Configuring Smart Power Management
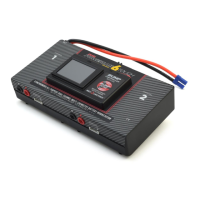
1. This example will show you how to configure a 12V DC power supply and a
12V Lead Acid battery for GT1000 for the first time. Although we use a 12V DC
power supply in this example, any input source may also be used.
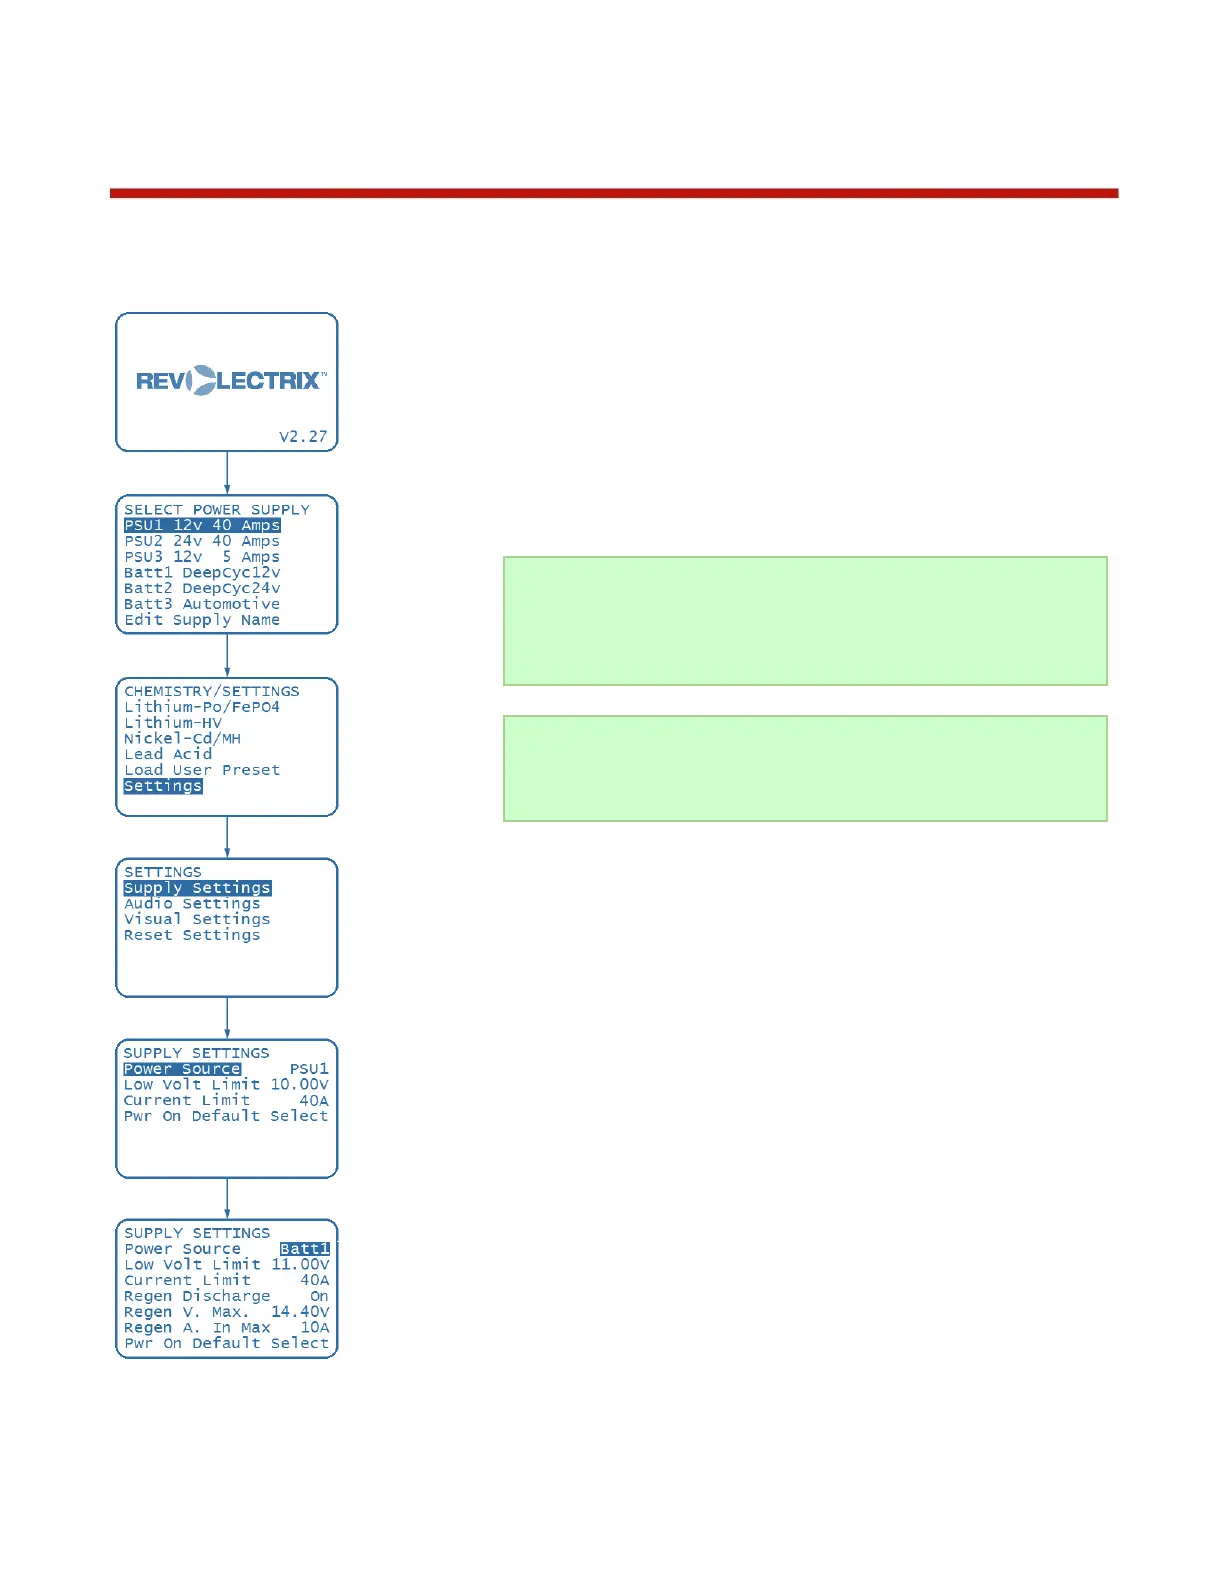
2. Connect GT1000 to a 12V DC power supply. The Revolectrix logo screen will
be displayed with the firmware version number displayed at the bottom right.
3. If the Logo Display option in CHEMISTRY/SETTINGS -> SETTINGS ->
VISUAL SETTINGS is ON (default), the Revolectrix logo will remain displayed
until you press any button or scroll the navigation wheel. Press any button to
go to the next step.
4. If the Pwr On Default option in CHEMISTRY/SETTINGS -> SETTINGS ->
SUPPLY SETTINGS is SELECT (default), the SELECT POWER SUPPLY
menu appears.
5. Since Smart Power Management is not set up yet, scroll the navigation wheel
to PSU1 12v 40 Amps and press ENTER.
6. The CHEMISTRY/SETTINGS menu should appear next. If this is not the first
time you are using the GT1000, you may not get the CHEMISTRY/SETTINGS
menu to appear. In this case, press BACK repeatedly until you reach the
CHEMISTRY/SETTINGS menu. Then scroll to Settings and press ENTER.
7. In SETTINGS menu, scroll to Supply Settings and press ENTER.
8. In the SUPPLY SETTINGS menu, under the Power Source option, you will
see the setting is at PSU1 which is the source you have selected in step 5
above. This shows that PSU1 settings are used by GT1000 for power
management.
9. The other options in this screen show the settings for PSU1. Refer to Menu
Options - Supply Settings on how to set each of the options. If you wish to
change them, scroll the navigation wheel to highlight the option you wish to
change and press ENTER. The highlight will change from the option to the
setting and you can use the navigation wheel again to scroll through the
settings available. To save the new setting, press ENTER or to discard your
changes, press BACK.
10. Once you are satisfied with PSU1 settings, scroll to the Power Source option
and press ENTER to change the power source.
11. Scroll to Batt1 and press ENTER. The screen will now update to show the
settings for Batt1.
12. Once the Batt1 settings have been set, you can redo step 10 and 11 again to
configure the other power source settings for all the input sources that you
 Loading...