7. Press the [ ] or [ ] key to display [DHCP], and then press the [OK] key.
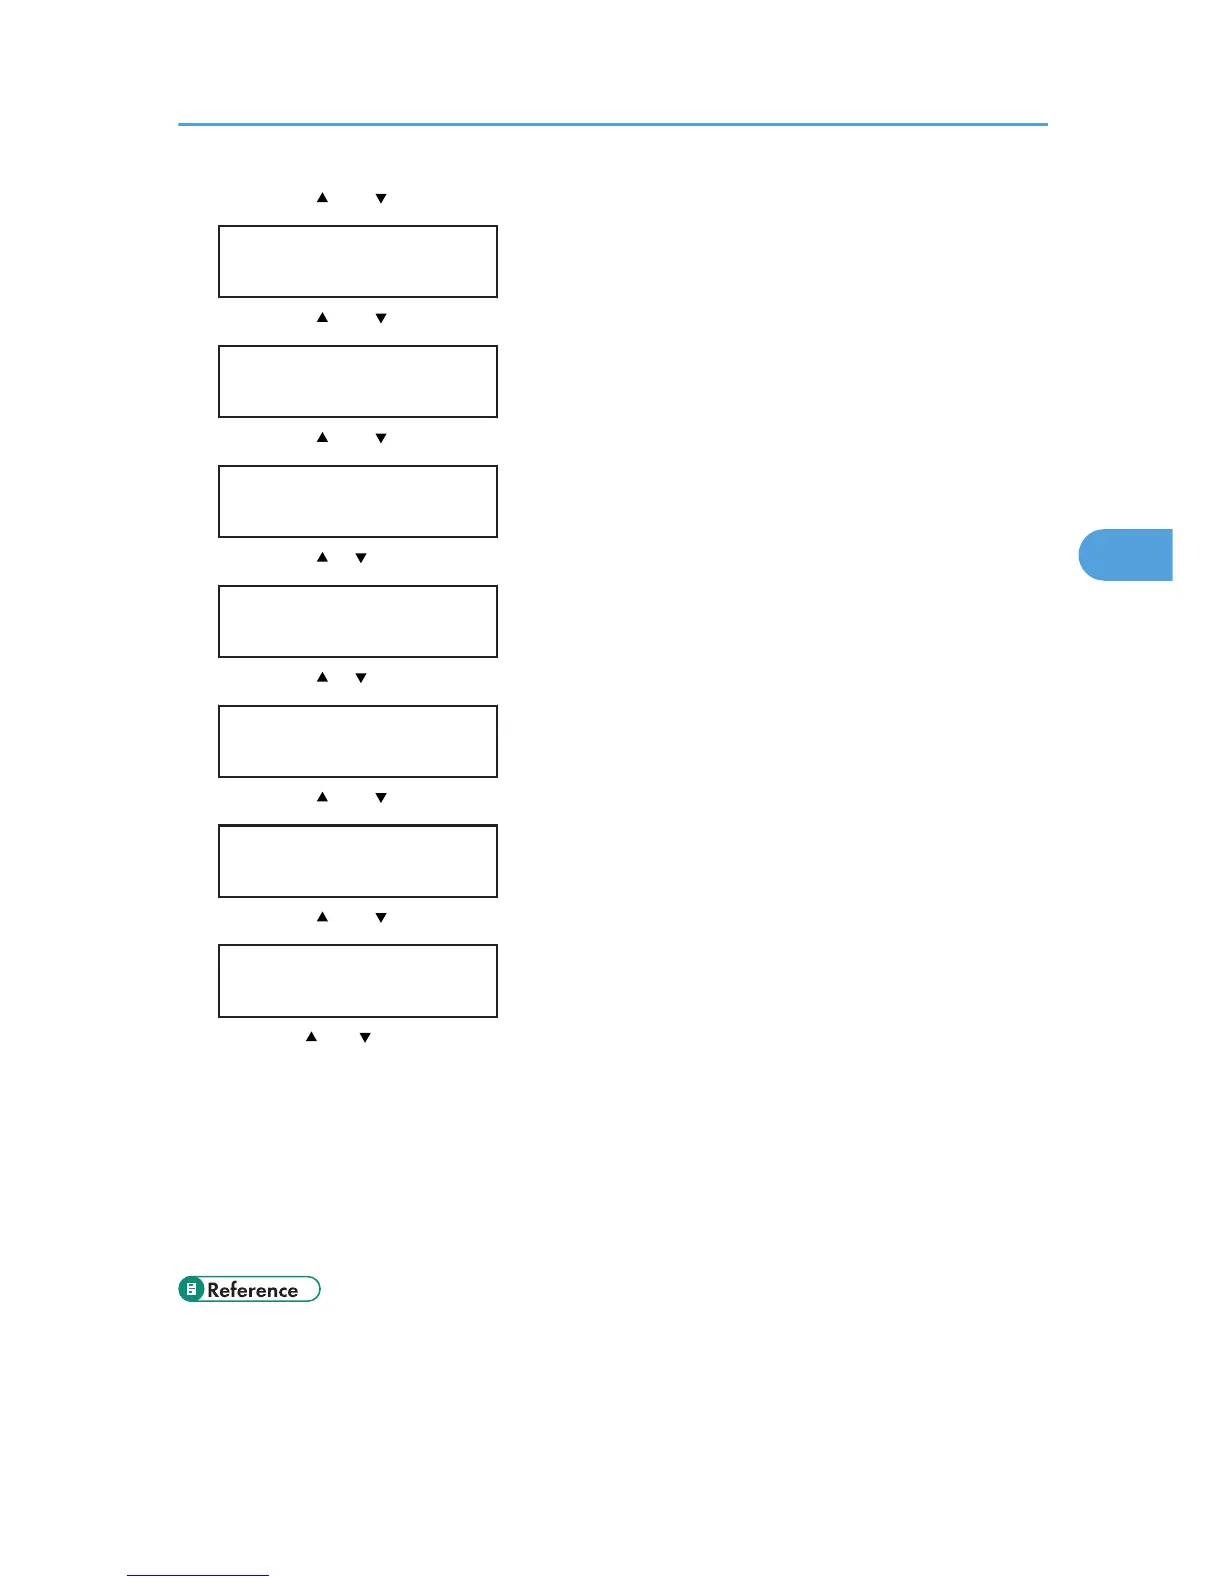
IPv6 Config.:
DHCP
8. Press the [ ] or [ ] key to display [Off], and then press the [OK] key.
DHCP
Off
9. Press the [ ] or [ ] key to display [Manual Address], and then press the [OK] key.
IPv6 Config.:
Manual Address
10. Press the [ ] [ ] keys to display [Prefix Length], and then press the [OK] key.
Manual Address:
Prefix Length
11. Press the [ ] [ ] keys to enter the value, and then press the [OK] key.
Prefix Length:
(0 - 128) 0
12. Press the [ ] or [ ] key to display [Manual Address], and then press the [OK] key.
Manual Address:
Manual Address
13. Press the [ ] or [ ] key to enter the address, and then press the [OK] key.
Manual Address:
0000:0000:0000:
Press the [ ] or [ ] key to enter the left most entry field of the address. After entering the left field,
press the [OK] key, and then you can enter the next field. After completing to enter in the all field,
press the [OK] key.
14. Use this method to assign Gateway Address.
15. Press the [Menu] key.
16. If you are requested to restart the printer, turn off the printer, and then turn it back on.
17. Print a configuration page to confirm the settings made.
• For details about printing the configuration page using control panel, see p.36 "Test Printing".
Ethernet Configuration
53

 Loading...


