159
coPying Pictures to a comPuter
Copying Pictures Using DL-10
After installing DC software, follow the steps below to
copy pictures to your computer.
1
Turn the camera body o.
2
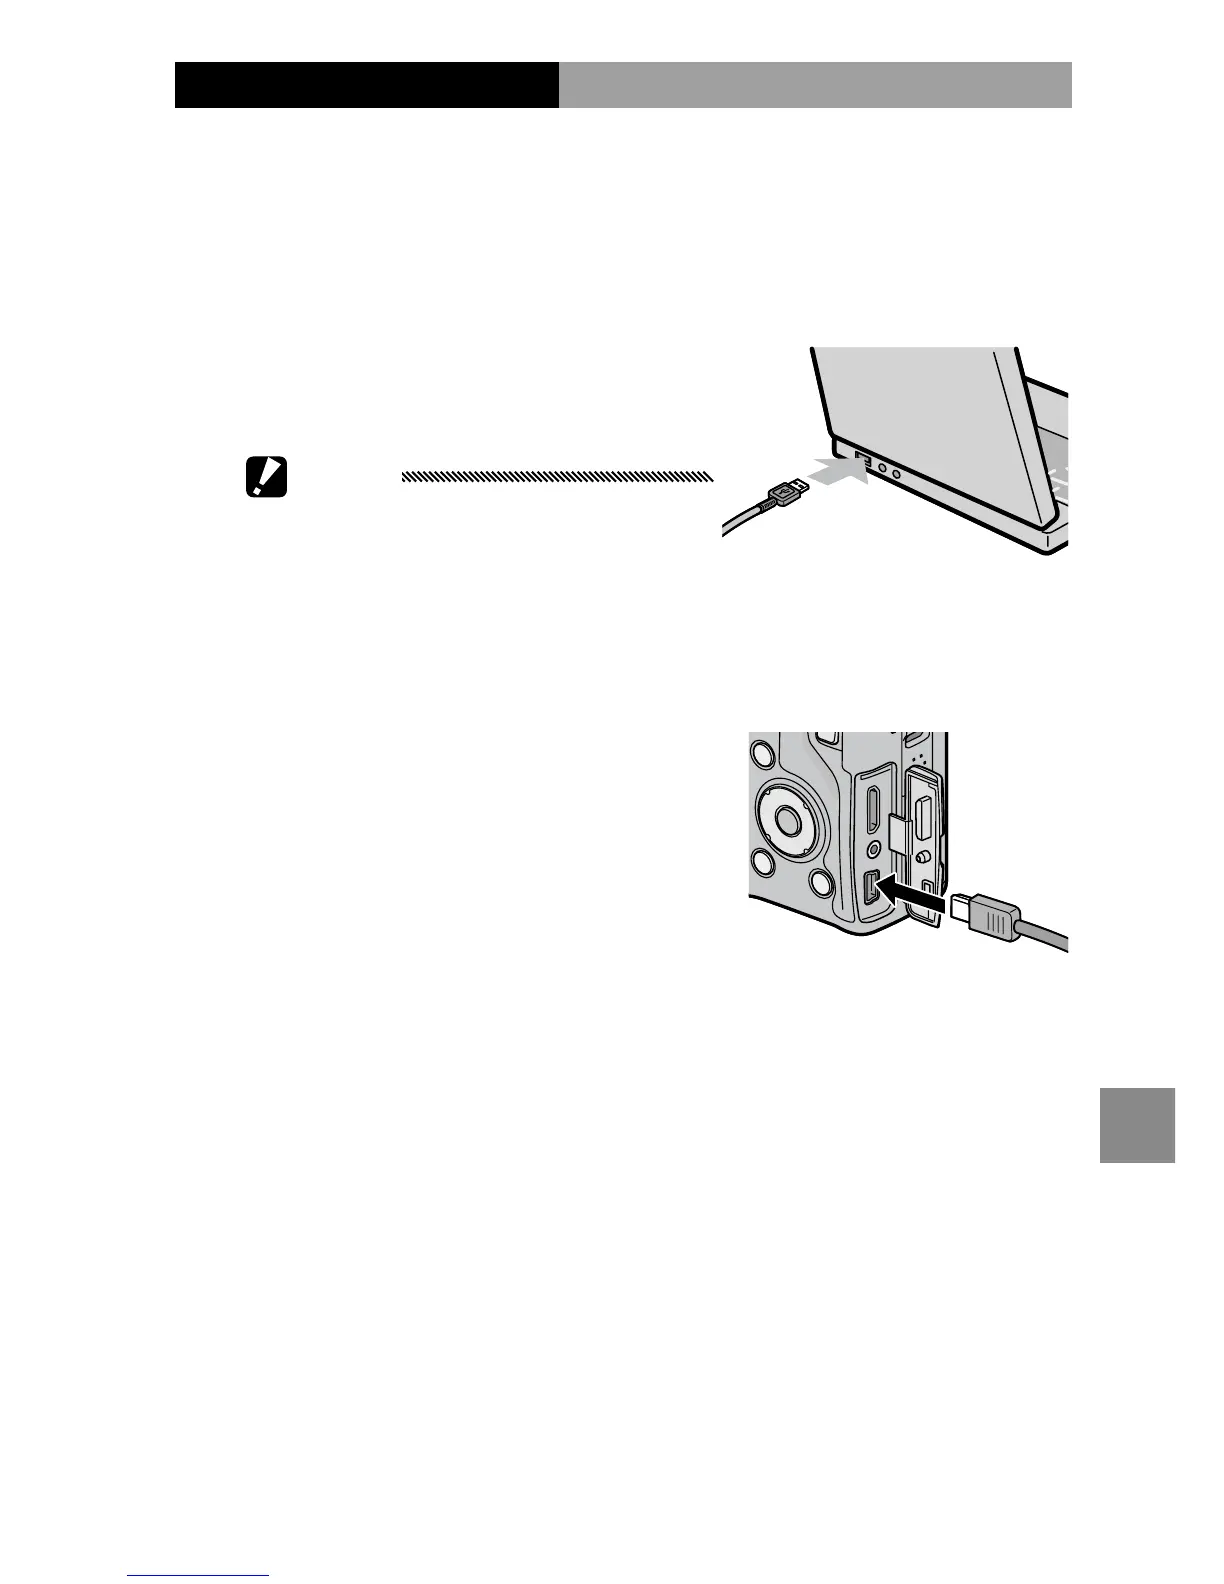
Connect the supplied USB cable.
Connect the cable to the
computer USB port.
Cautions
• Do not use force when
connecting the cable or when
handling the camera body with
the cable connected.
• Do not move the camera body with the cable connected.
Connect the cable to the
camera body as shown. The
camera body will turn on, DL-
10 will start, and transfer will
begin automatically. Pictures
are copied to folders in the
“Digital Camera” folder in “My Documents” (if you were
previously using Caplio software, pictures will instead
be copied to folders in the “Caplio” folder). Pictures are
sorted into separate folders by date of recording; make
sure the camera clock is set to the correct date and time
before shooting.
3
Disconnect the cable when transfer is complete.
See page 161 for more information.

 Loading...