Using NetWare
63
3
I
In the [NDS Context:] box, enter the
context of the print server.
You can also click [Browse...] to
browse through available NDS
trees and NDS contexts.
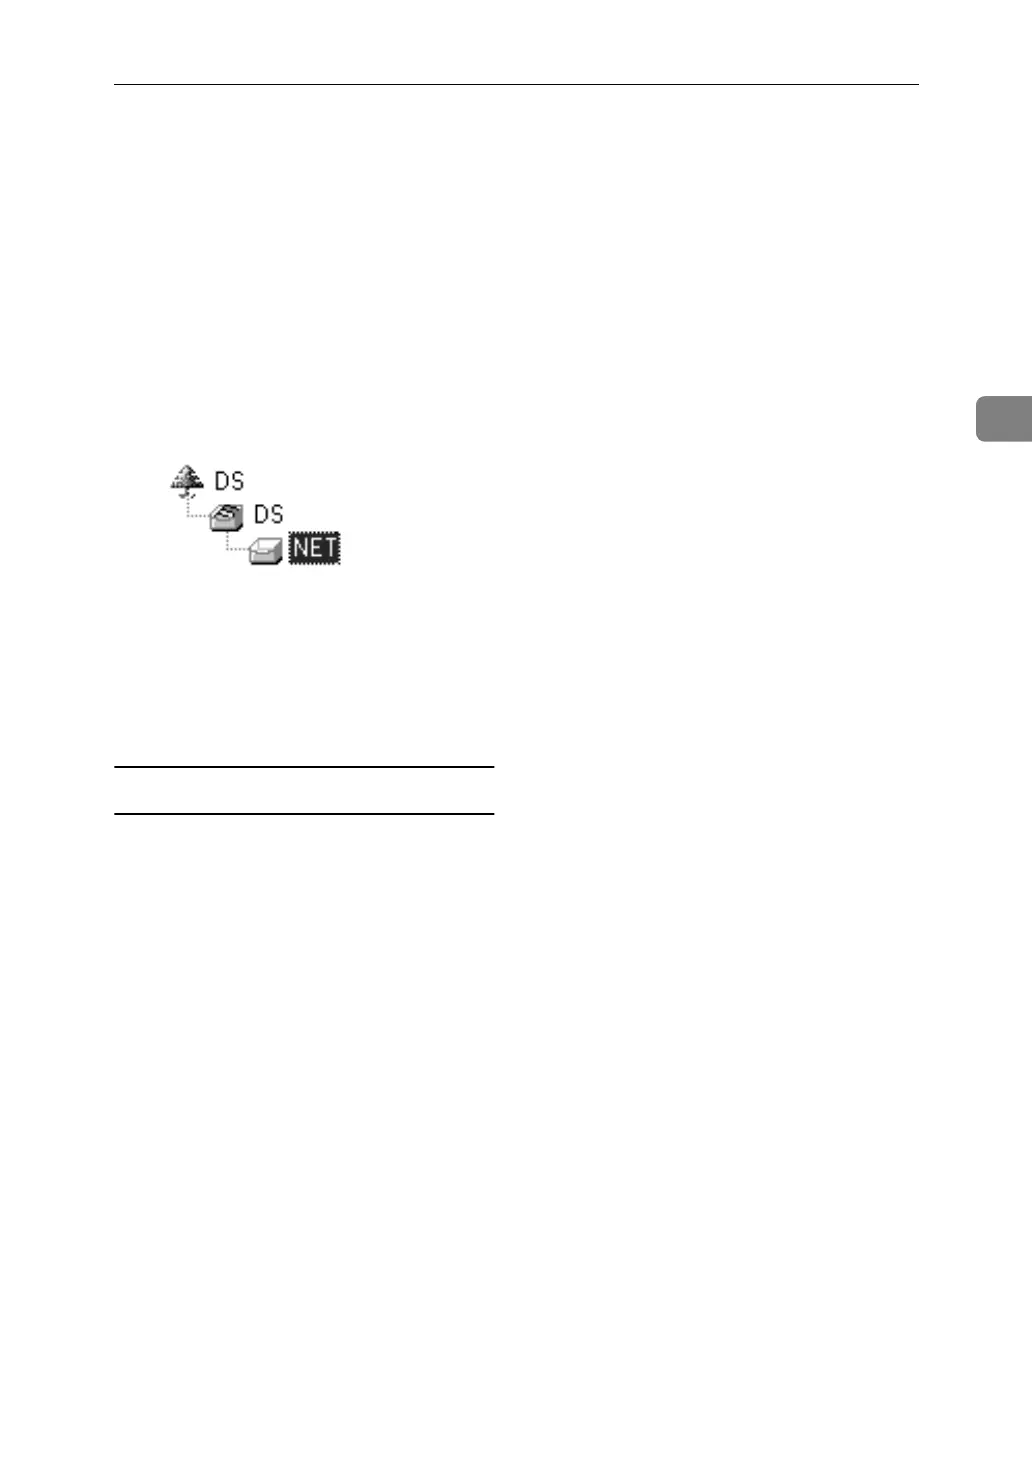
For a context, object names are en-
tered from the lowest object with
each object separated by a period.
For example, if you want to create
a print server in Net under DS, en-
ter "NET.DS".
J
In the [Print Server Operation Mode]
area, click [As Print Server].
K
Click [OK] to close the [NIB Setup
Tool] dialog box.
Setting up using NWadmin
A
From Windows, start NWadmin.
For details about NWadmin, see
the NetWare manuals.
B
Select the object in which the
print queue is located in the direc-
tory tree, and then click [Create] on
the [Object] menu.
C
In the [Class of new object] box,
click [Print Queue], and then click
[OK].
D
In the [Print Queue Name] box, enter
the name of the print queue.
E
In the [Print Queue Volume] box,
click [Browse].
F
In the [Available objects] box, click
the volume in which the print
queue is created, and then click
[OK].
G
Check the settings, and then click
[Create].
H
Select the object in which the
printer is located, and then click
[Create] on the [Object] menu.
I
In the [Class of new object] box,
click [Printer], and then click [OK].
For NetWare 5, click [Printer (Non
NDPS)].
J
In the [Printer name] box, enter the
printer name
K
Select the [Define additional proper-
ties] check box, and then click
[Create].
L
Click [Assignments], and then click
[Add] in the [Assignments] area.
M
In the [Available objects] box, click
the queue you, and then click
[OK].
N
Click [Configuration], click [Parallel]
in the [Printer type] list, and then
click [Communication].
O
Click [Manual load] in the [Commu-
nication type] area, and then click
[OK].
P
Check the settings, and then click
[OK].
Q
Select a context specified using
NIB Setup Tool, and then click
[Create] on the [Object] menu.
R
In the [Class of new object] box,
click [Print Server], and then click
[OK]. For NetWare 5, click [Print
Sever (Non NDPS)].
S
In the [Print Server Name] box, enter
the print server name.
Use the same print server name
specified using NIB Setup Tool.