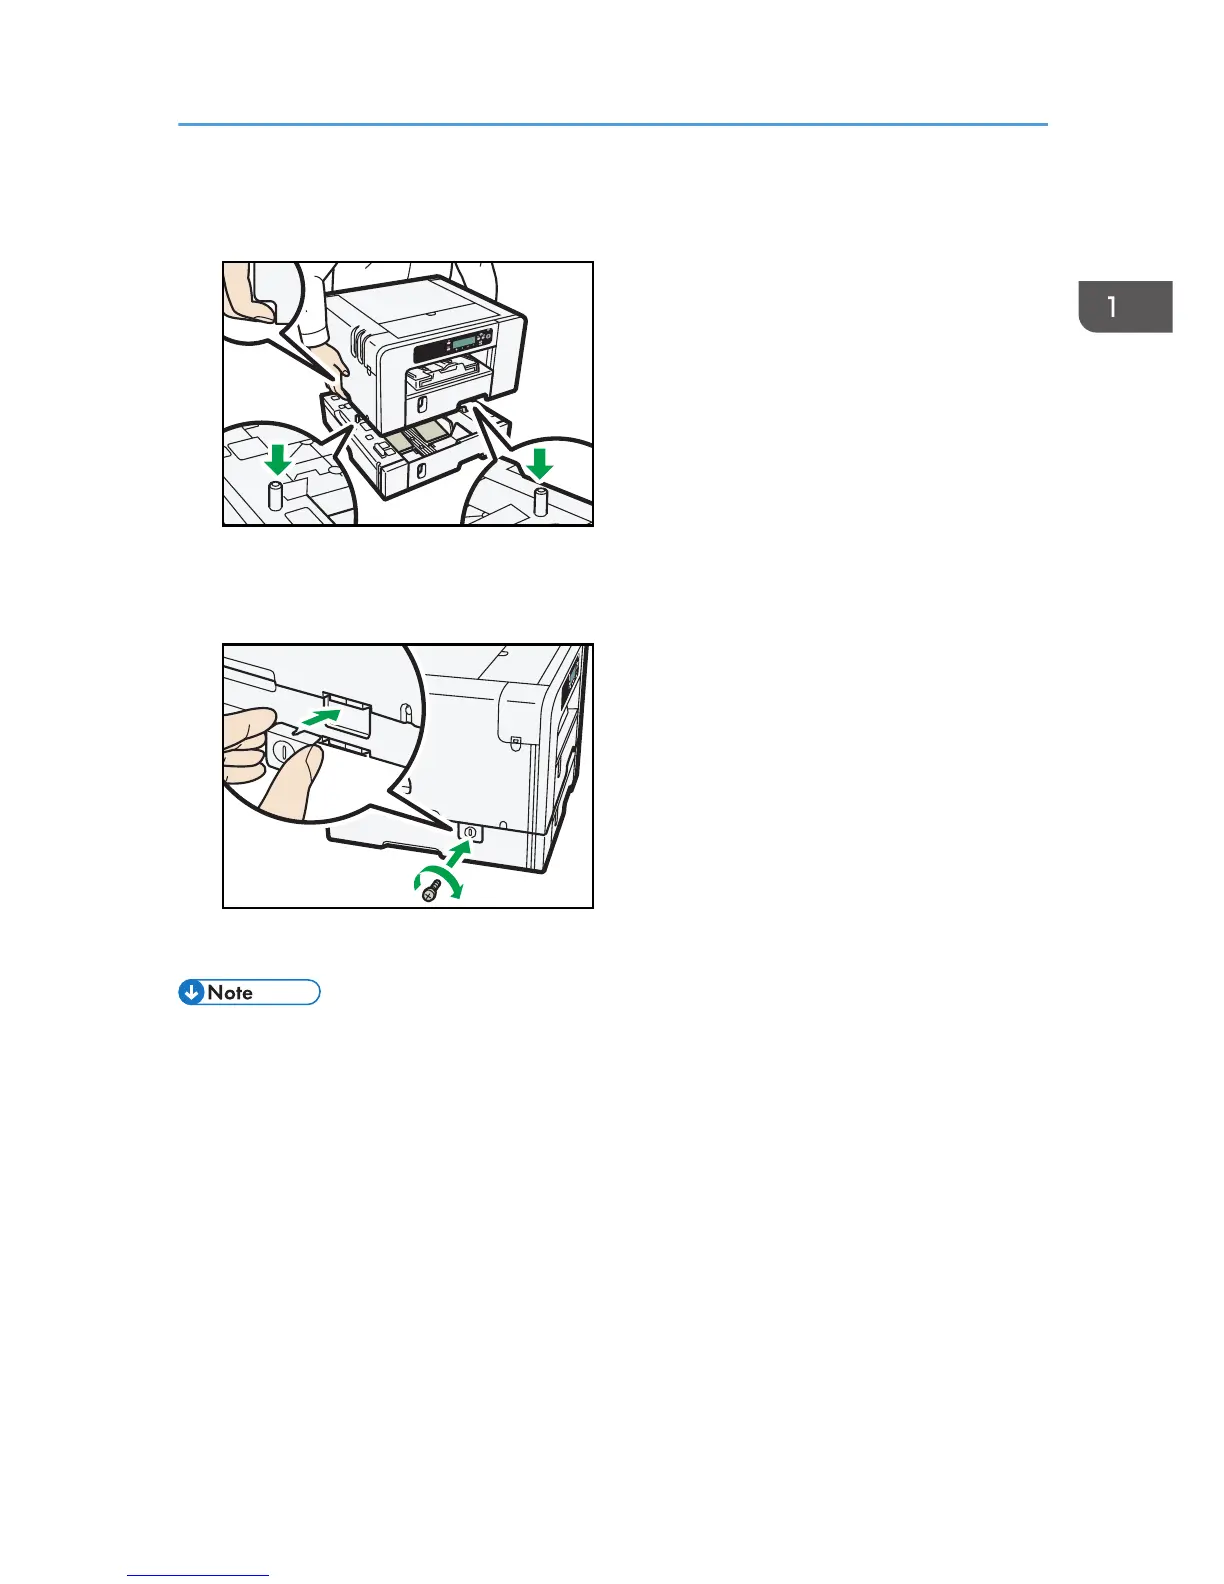
5. Align the connecting parts of the machine and paper feed unit, and then lower the
machine onto the paper feed unit.
Grip the center area at the base of the machine's sides. Lift it slowly and do not strain your body.
6. Attach the clamping plate, and then secure it with a coin screw. (SG 7100DN)
7. Connect the power cord, USB cable, or Ethernet cable.
• Align the paper feed unit and machine using their corners.
• When the machine is placed on top of the paper feed unit, installation is complete.
• Do not tilt the machine.
• Be careful not to trap your fingers.
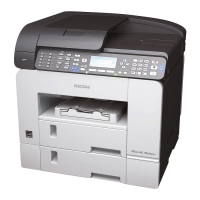
• Up to two paper feed units can be attached. (SG 3110DN/SG 3110DNw)
• To install two paper feed units, put the upper paper feed unit (Tray 2) on the lower paper feed tray
(Tray 3) first, and then lower the machine onto the upper paper feed unit (Tray 2).
• After attaching an option, check that the printer driver has recognized it. See page 109
"Specifying Settings on [Accessories] Tab", page 186 "Displaying the Machine Status on a
Macintosh".
• After attaching the paper feed unit, you must register where to start printing on paper loaded in the
paper feed unit. See page 140 "Registration".
Attaching and Detaching Units and Options
27
 Loading...