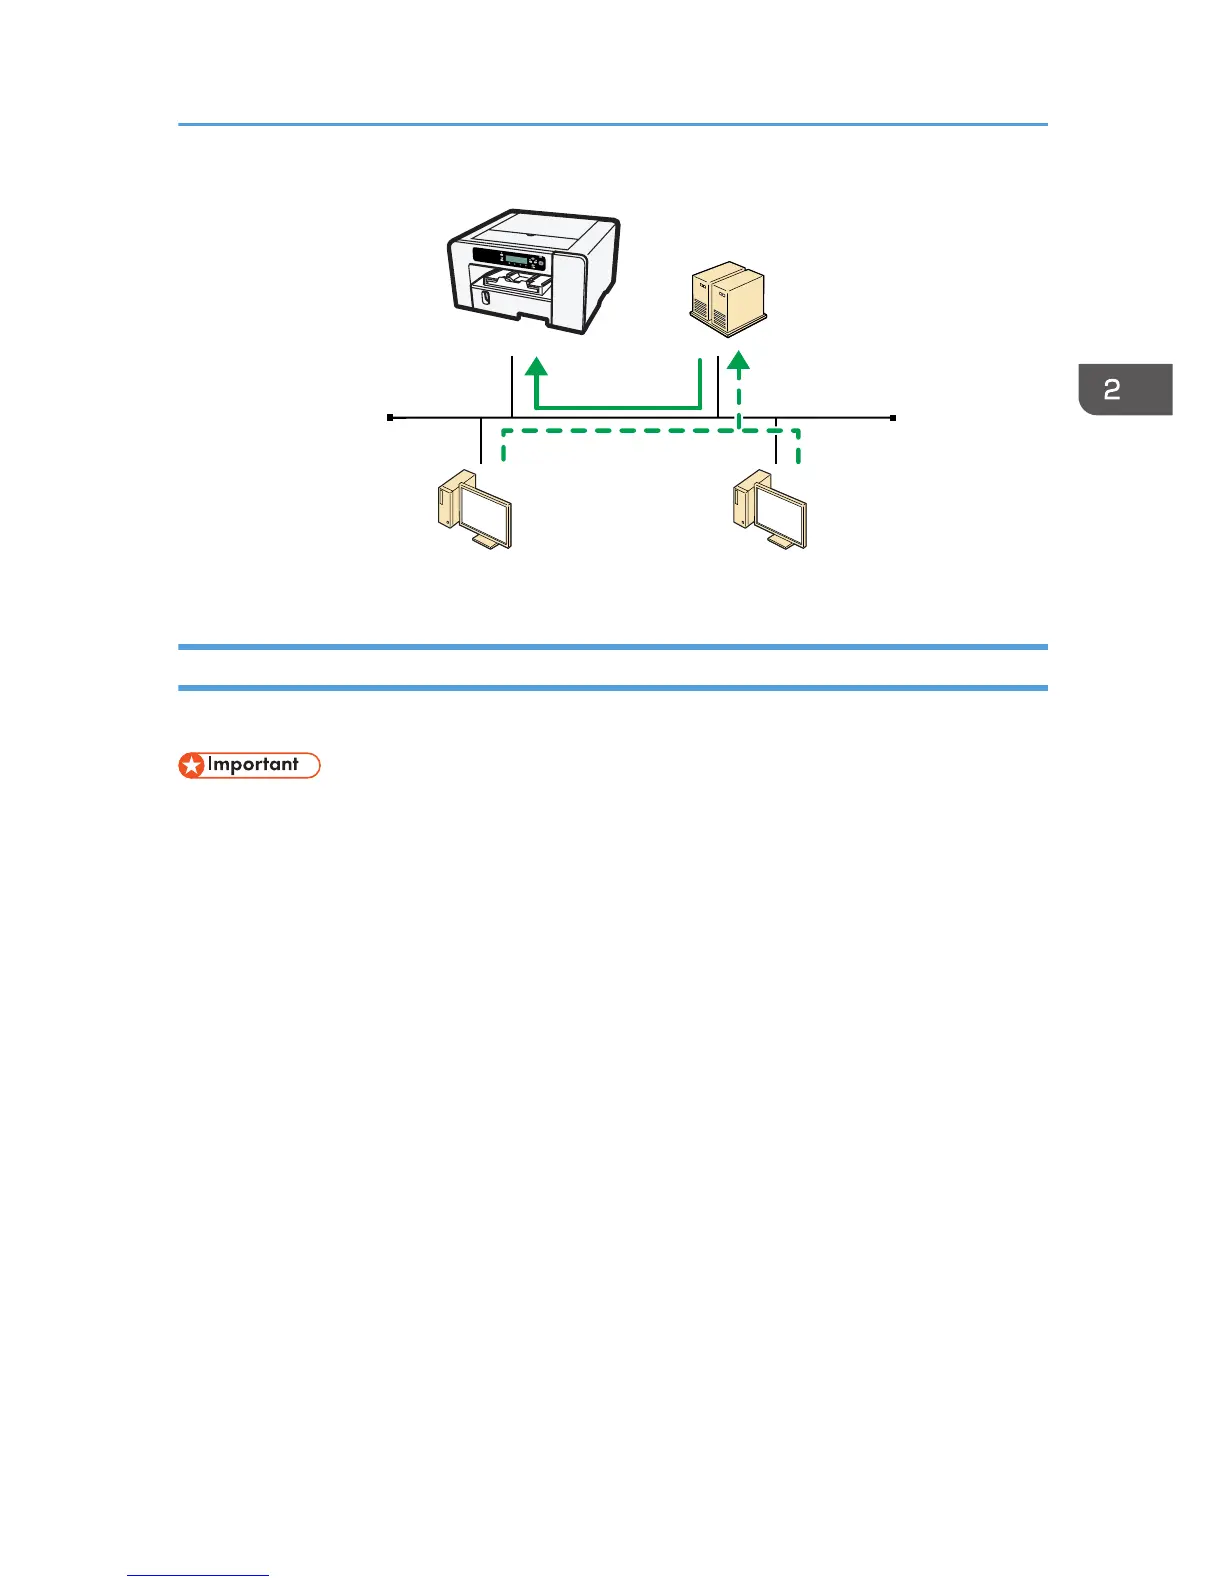
Using the Standard TCP/IP Port
This section explains how to install the printer driver (TCP/IP) and set up the Standard TCP/IP Port.
• Only administrators can perform this installation. Log on as a member of the Administrators group.
• For Windows XP and Windows Server 2003/2003 R2, the Standard TCP/IP Port is unavailable
in an IPv6 environment. In such a case, use the port with IPv4 or use the SmartDeviceMonitor for
Client port.
1. Insert the CD-ROM in the CD-ROM drive.
Quit all applications currently running.
2. Select an interface language, and then click [OK].
3. Click [PCL/RPCS Raster Printer Drivers] or [Printer Driver].
4. Read the entire license agreement carefully. If you accept its terms, click [I accept the
agreement.], and then click [Next >].
5. Select the program you want to use, and then click [Next >]. (SG 3110DN/SG
3110DNw)
6. Select the model of printer you want to use. (SG 3110DN/SG 3110DNw/SG 7100DN)
Click [Connect to a printer port or LAN], and then click [Next >]. (SG 2100N)
• To search for printers automatically, select [Search for printers automatically], and then follow
the wizard's instructions.
• To search for a printer by its IP address, select [Search for printers by specified IP Address],
and then follow the wizard's instructions.
Installing the Printer Drivers for a Network Connection
75
 Loading...