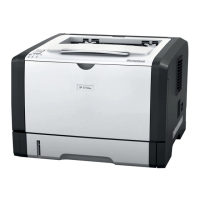
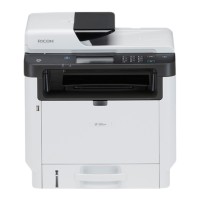
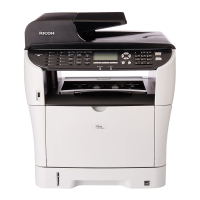
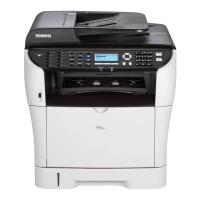
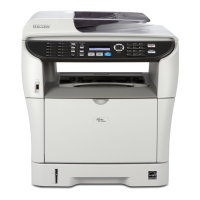
RICOH SP 311SFNw B&W Multifunction Laser Printer
Getting Started Guide
17
Setting Description
The available access point is displayed. To see additional access points, click
[Scan List].
If necessary, select [Infrastructure].
Please see note on page 14.
Select authentication method:
• Open System
• Shared Key
• WPA2-PSK
•
Select encryption method based on chosen Authentication method.
• Open System: Choose [None] or [WEP]
• Shared Key: [WEP] only
• WPA2-PSK: Choose [CCMP (AES)] or [TKIP/EAS]
•
Mixed Mode WPA/WPA2: Choose [CCMP (AES)] or [TKIP/EAS]
If [WEP] is selected for Encryption method, enter enabled fields. If [WPA2-PSK]
or [Mixed Mode WPA/WPS2] is selected for Authentication, enter enabled
Select 64 bits or 128 bits for the length of the WEP encryption key.
Select an ID number to identify each WEP key in case multiple WEP connections
are configured.
Select a format for entering the WEP key.
Enter the WEP key. The number and type of characters you can enter vary
depending on the length and format selected for the key, as follows:
• WEP key length: [64bits], Format: [Hexadecimal]
WEP key max length: 10 characters (0-9, A-F, a-f)
• WEP key length: [64bits], Format: [ASCII]
WEP key max length: 5 characters (ASCII characters)
• WEP key length: [128bits], Format: [Hexadecimal]
WEP key max length: 26 characters (0-9, A-F, a-f)
• WEP key length: [128bits], Format: [ASCII]
WEP key max length: 13 characters (ASCII characters)
6. When finished, click [OK] to save changes.
7. Close web browser.
8. Disconnect Ethernet cable.
9. Turn printer power switch Off. Wait a moment, and turn On.
10. Next, install Network Printer/Scanner Drivers. See 3.2 Network Quick Install.
Note:
• For further information on Web Image Monitor, please refer to the User Guide, p171.
 Loading...
