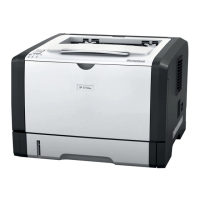
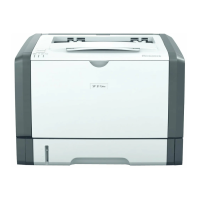
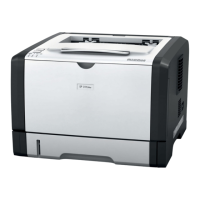
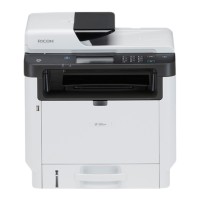
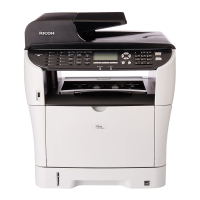
RICOH SP 311SFNw B&W Multifunction Laser Printer
Getting Started Guide
31
7. Select [Everyone].
8. For [Full Control], select [Allow] checkbox.
9. Click [OK] [OK] [Close].
4.2.2 Register Scan Destination (via Web Image Monitor)
Next, you need to register the network share folder (created in previous section) as a Scan Destination
in the printer’s Address Book, using Web Image Monitor
. Scan Destinations cannot be registered using
the printer’s control panel.
Important:
• Access to Web Image Monitor is possible when the printer is network-connected (wired or wireless),
not via USB-only connection.
To register a scan destination, proceed as follows:
1. Open web browser.
2. In address bar, enter printer’s IP Address
, e.g., http://123.45.6.7.
Note:
• If Web Image Monitor Home page does not display, restart the printer and try again.
3. Click [Scan Destination].
 Loading...
