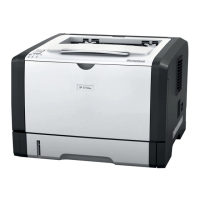
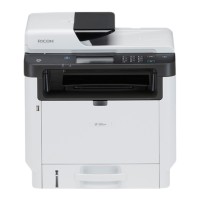
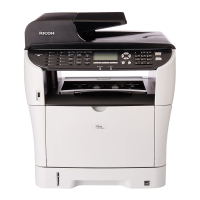
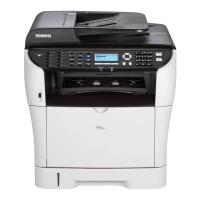
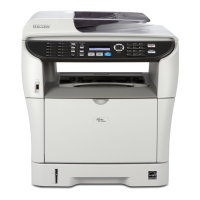
RICOH SP 311SFNw B&W Multifunction Laser Printer
Getting Started Guide
32
4. Click [Destination Type] drop-down [], and select [Folder].
5. Program/change Folder Destination Settings, as outlined below.
Folder Destination
Setting
Select when setting the destination as a Quick Dial entry.
Name of the destination. The name you specify here will be display
on the printer screen when you select a scan destination via the
Path to the directory where scanned files will be stored. Consists of
the IP address/name
3
of the destination computer, and name of the
shared folder
2
.
Note:
• To determine your computer’s IP address or name, click [Start]. In
[Search Programs and Files] field, type cmd, and press [Enter].
Next, type ipconfig, and press [Enter]. Example: C:\Users\abc-
corp\ipconfig.The IPv4 address is at the top of the screen. Enter
this address is the Service Name field.
• In the [Share_Folder] field, enter the name of the folder you
created in Step 4.2.1.
 Loading...
