Wait a few seconds after SWIN closing. Check that the display switches on
and that the UPS is set to "STAND-BY" mode.
Follow the instructions below if a message indicating an erred phase cycle direction appears on the display:
check if the error code corresponds to the input or the bypass (only for separate bypass models)
open all switches and input and output
wait for the display to switch off
open the external UPS battery line switches/fuses
open all protections upstream to the UPS
remove the terminal cover protective panel
correct the position of cables relative to the signalled terminal board so that they follow phase cycle direction
re-close the terminal cover protective panel
repeat the preliminary operations contained on the previous page
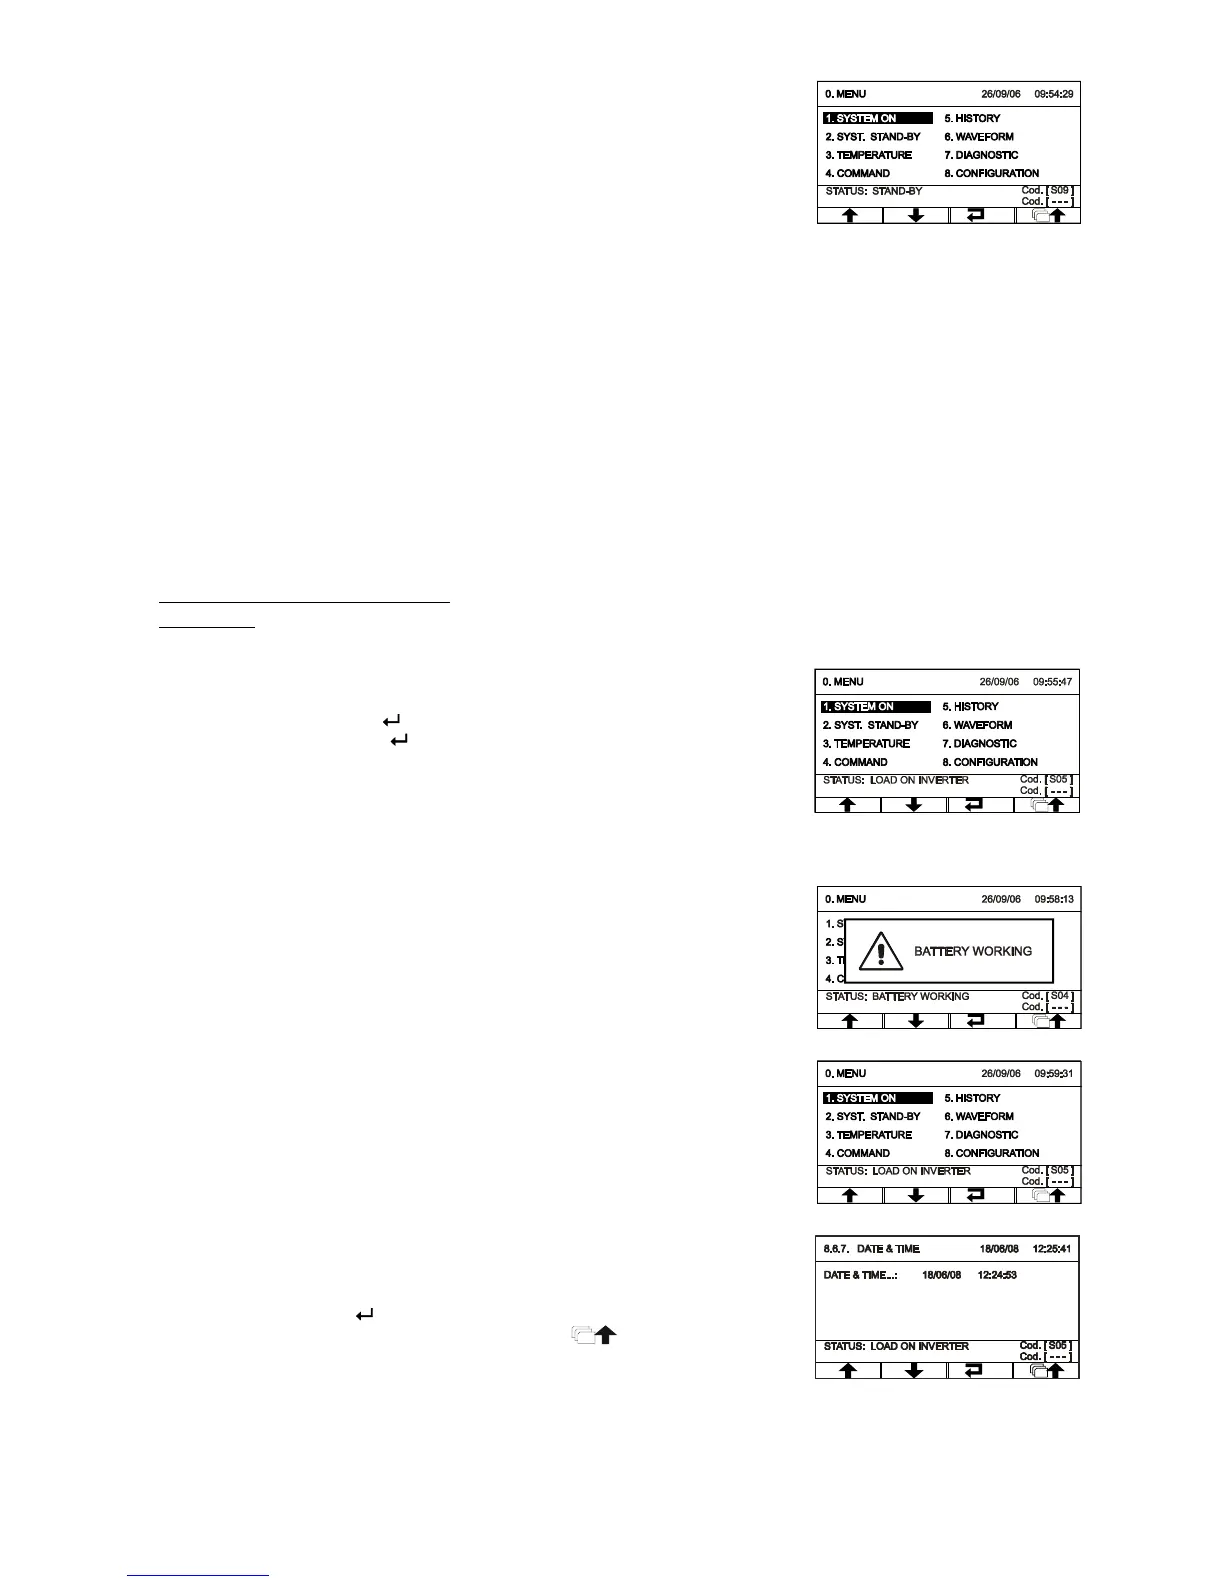
Refer to “Graphic display” and “Display menu” paragraphs for control panel management
Setting the nominal battery capacity
ATTENTION: you must configure the UPS to set the correct values of total nominal capacity of the battery. This operation
must be performed by means of the configuration software reserved for Service personnel only.
From the main menu, press to enter into the start menu. When asked to
confirm, select “YES”, press to confirm and wait a few seconds. Verify
that the UPS is set to status with the inverter-powered load.
Closing the output switch SWOUT
Open the input switch (SWIN) and wait a few seconds. Verify that the UPS
is set to battery operation and that the load is still being properly powered.
You should hear a beep every 7 sec.
Close the input switch (SWIN) and wait a few seconds. Verify that the UPS
is no longer in battery operation and that the load is being properly powered
from the inverter.
To set the Date and Hour, access menu 8.6.7 (see "Display menu") from
the main menu. Use the arrow keys (↑↓) to set the desired value and, finally,
press the confirm key ( ) to move to the next field. To save the new
settings, return to the previous menu by pressing the key.