System Configuration
Assigning an IP address to the RISO printer
9
Using RISO-ADMIN from the “Run the RISO-ADMIN from CD” menu
You can assign an IP address to RISO printers on the network with easy steps using the “Run the RISO-ADMIN from
CD” menu.
Important!:
• Before this operation, make sure that RISO printers are properly connected to the network with the power on. See
“Connecting to a network” on page )p.5 for detailed descriptions about network connection. Always consult your
network administrator when you assign an IP address to RISO printers on the network.
Note:
• You can automatically assign a temporary IP address to RISO printers on the network using a DHCP server if no
IP address is given to them yet. In this case, you can make the temporarily assigned IP address constant by chang-
ing the configuration of the DHCP server.
1
Insert the RISO Network Card soft-
ware CD-ROM into the CD-ROM
drive of your computer.
2
Double-click on the [SETUP.EXE]
icon in the RISO Network Card CD-
ROM.
The software language selection window then
appears on the screen.
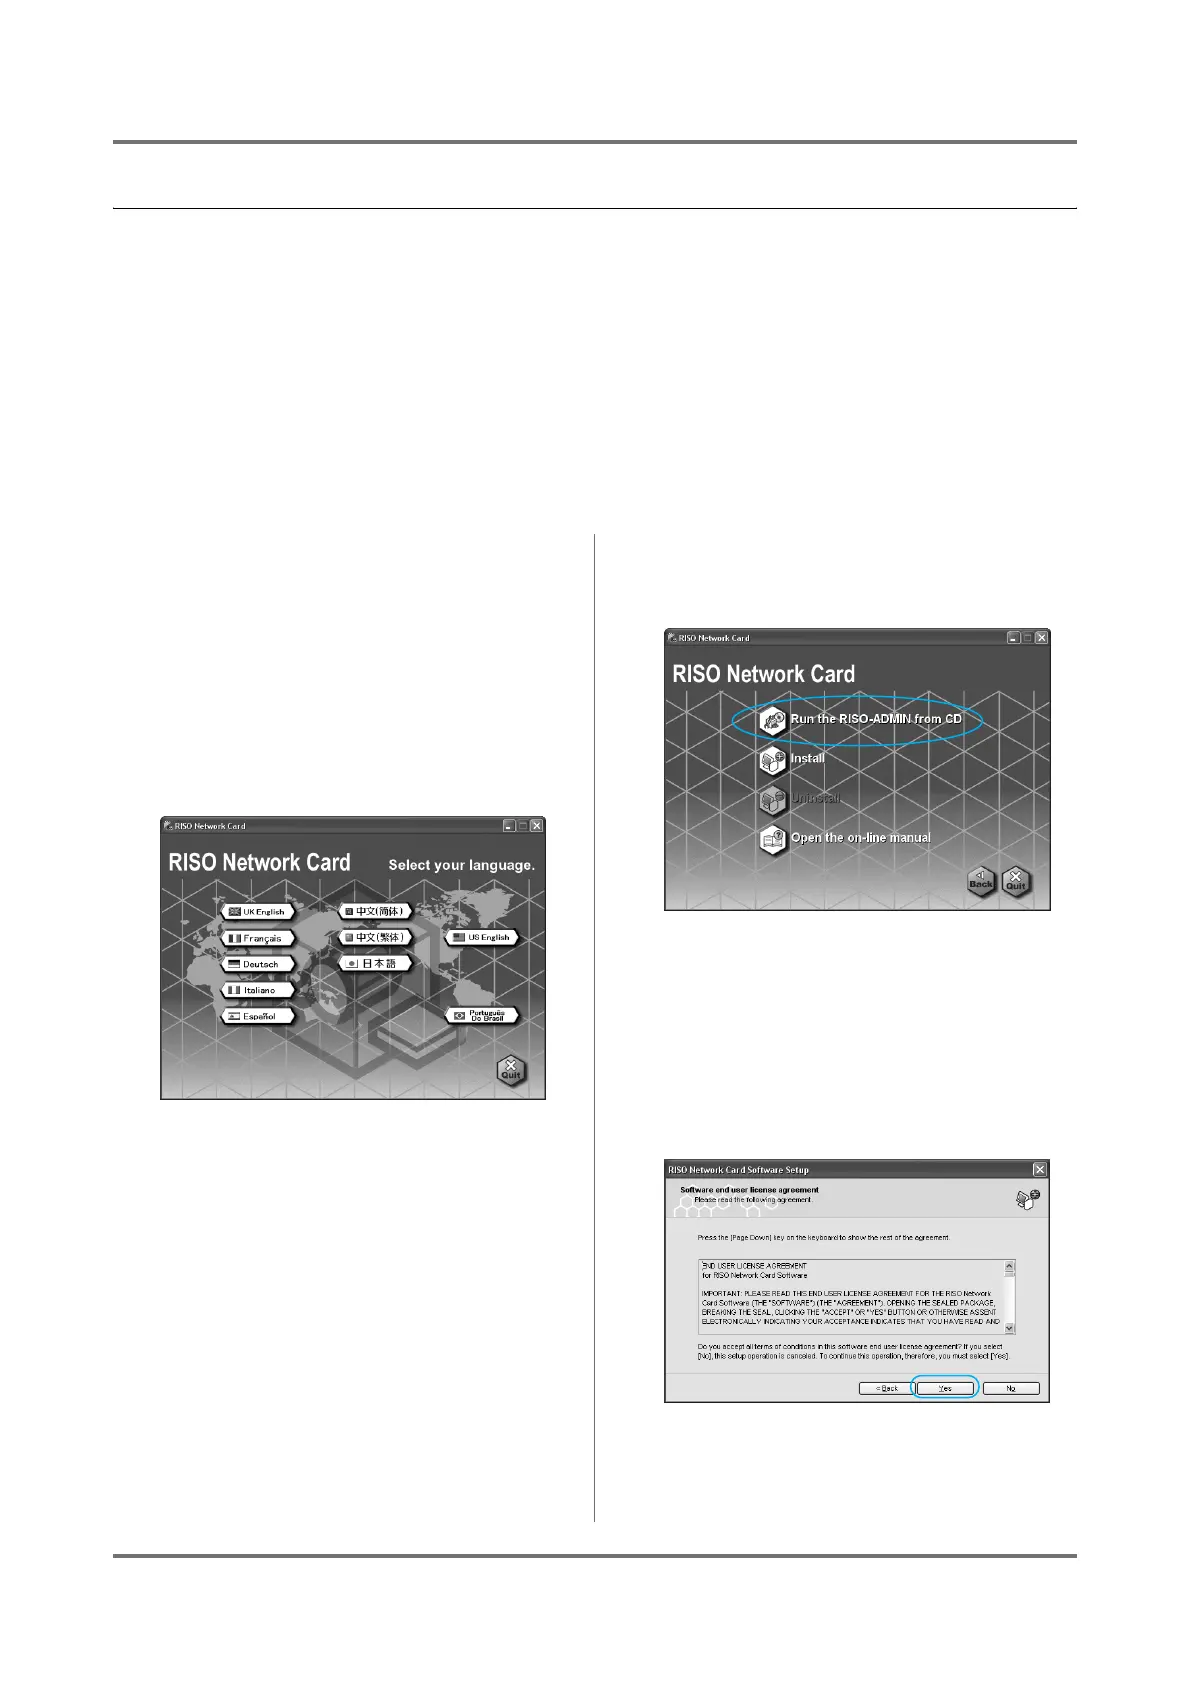
3
Click on the button representing a
desired language.
The entry menu window of the selected language
appears.
4
Click on the [Run the RISO-ADMIN
from CD] icon.
The [Software end user license agreement]
window then appears on the screen.
5
Read the Software end user license
agreement shown on the screen.
Click on the [Yes] button if you accept this agree-
ment.
Note:
• If you click on the [No] button here, this setup
procedure will be canceled.