Utility Software Guides
RISO-ADMIN features
13
RISO-ADMIN features
How to use RISO-ADMIN
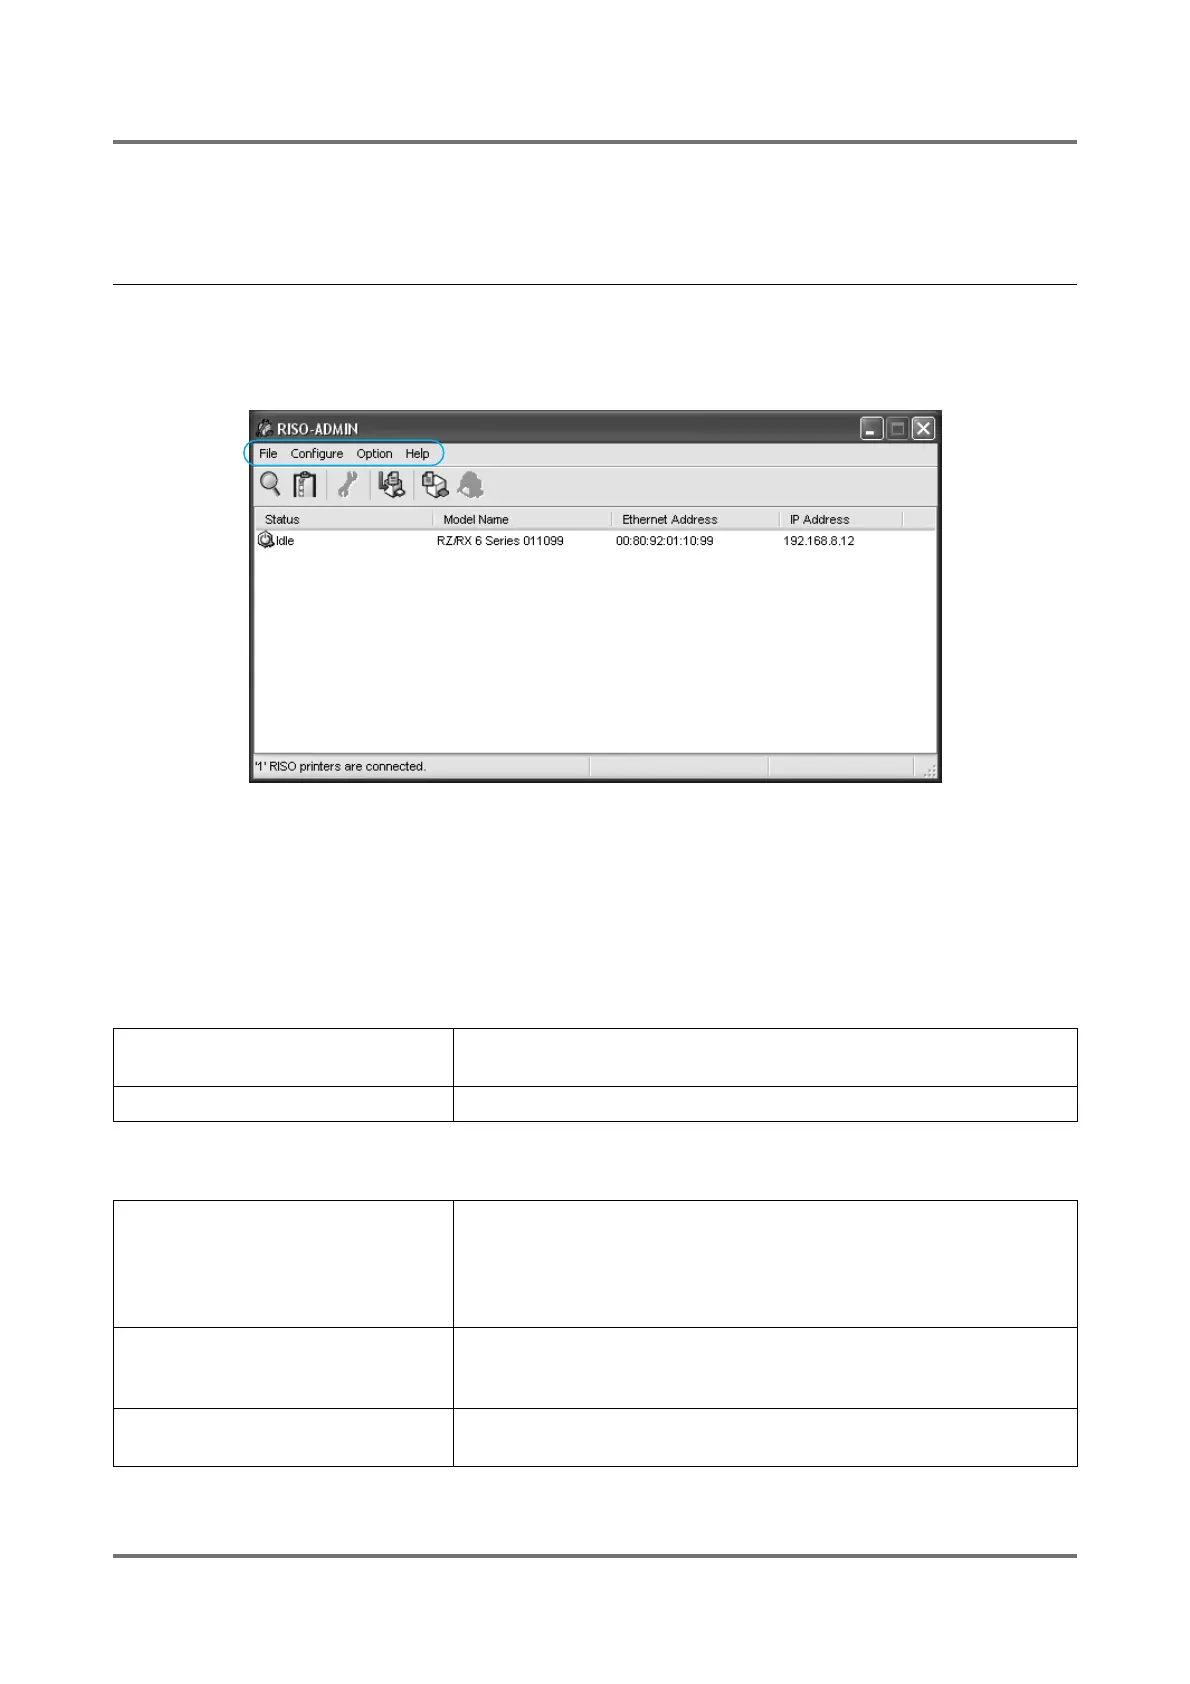
You can specify the network configuration of RISO printers with easy steps using various features which are available
in the RISO-ADMIN main window. The RISO printers whose network configuration can be specified are displayed in
the RISO-ADMIN main window.
Note:
• You can change the RISO printer names that appear in the [Model Name] column in the RISO-ADMIN main win-
dow by changing them in the [General] tab of the [Network Parameters] dialog box.
The following menus and features are available in the RISO-ADMIN main window.
[File] Menu
[Configure] Menu
[Search RISO Printer]: Searches for the RISO printers available on the network and refreshes the
information displayed in the RISO-ADMIN main window accordingly.
[Quit]: Finishes RISO-ADMIN.
[Network Parameters]: Opens the [Network Parameters] dialog box, in which you can specify
various network configurations for RISO printers. For detailed
descriptions about the respective tabs or windows of this dialog box, see
"[General] tab", "[TCP/IP] tab" and "[SNMP] tab" on pages )p.16 to
)p.18.
[Properties]: Opens the [Properties] dialog box, in which you can specify the operation
environment of RISO-ADMIN. See "[Properties] dialog box" on page
)p.19 to )p.20 for detailed descriptions about this dialog box.
[Restart]: Restarts the network interface card to apply the specified network
configuration to the corresponding RISO printer.