USER'S MANUAL
13 of 28
6.4 Setting up the machine
6.4.1 Coffee grinding and dosing
It is important to have a coffee grinder next to the machine with
which to grind the coffee for daily use.
Coffee grinding and dosing must be carried out in accordance
with the grinder manufacturer's instructions; the following
points must also be taken into account:
• In order to obtain a good espresso, it is recommended not
to store large stocks of coffee beans. However, respect the
expiry date indicated by the manufacturer;
• never grind large volumes of coffee, it is advisable to pre-
pare the quantity in the dosing unit and use it within the
day if possible;
• do not buy already ground coffee as it perishes quickly. If
necessary, buy it in small vacuum packs.
6.5 Coffee dispensing
When dispensing coffee, do not remove the l-
ter holder from the dispensing unit.
Before dispensing, the lter holder must be lled as described
in the following section.
If desired, a short rinse of the unit can be car-
ried out by pressing the
button.
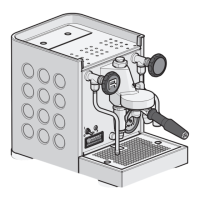
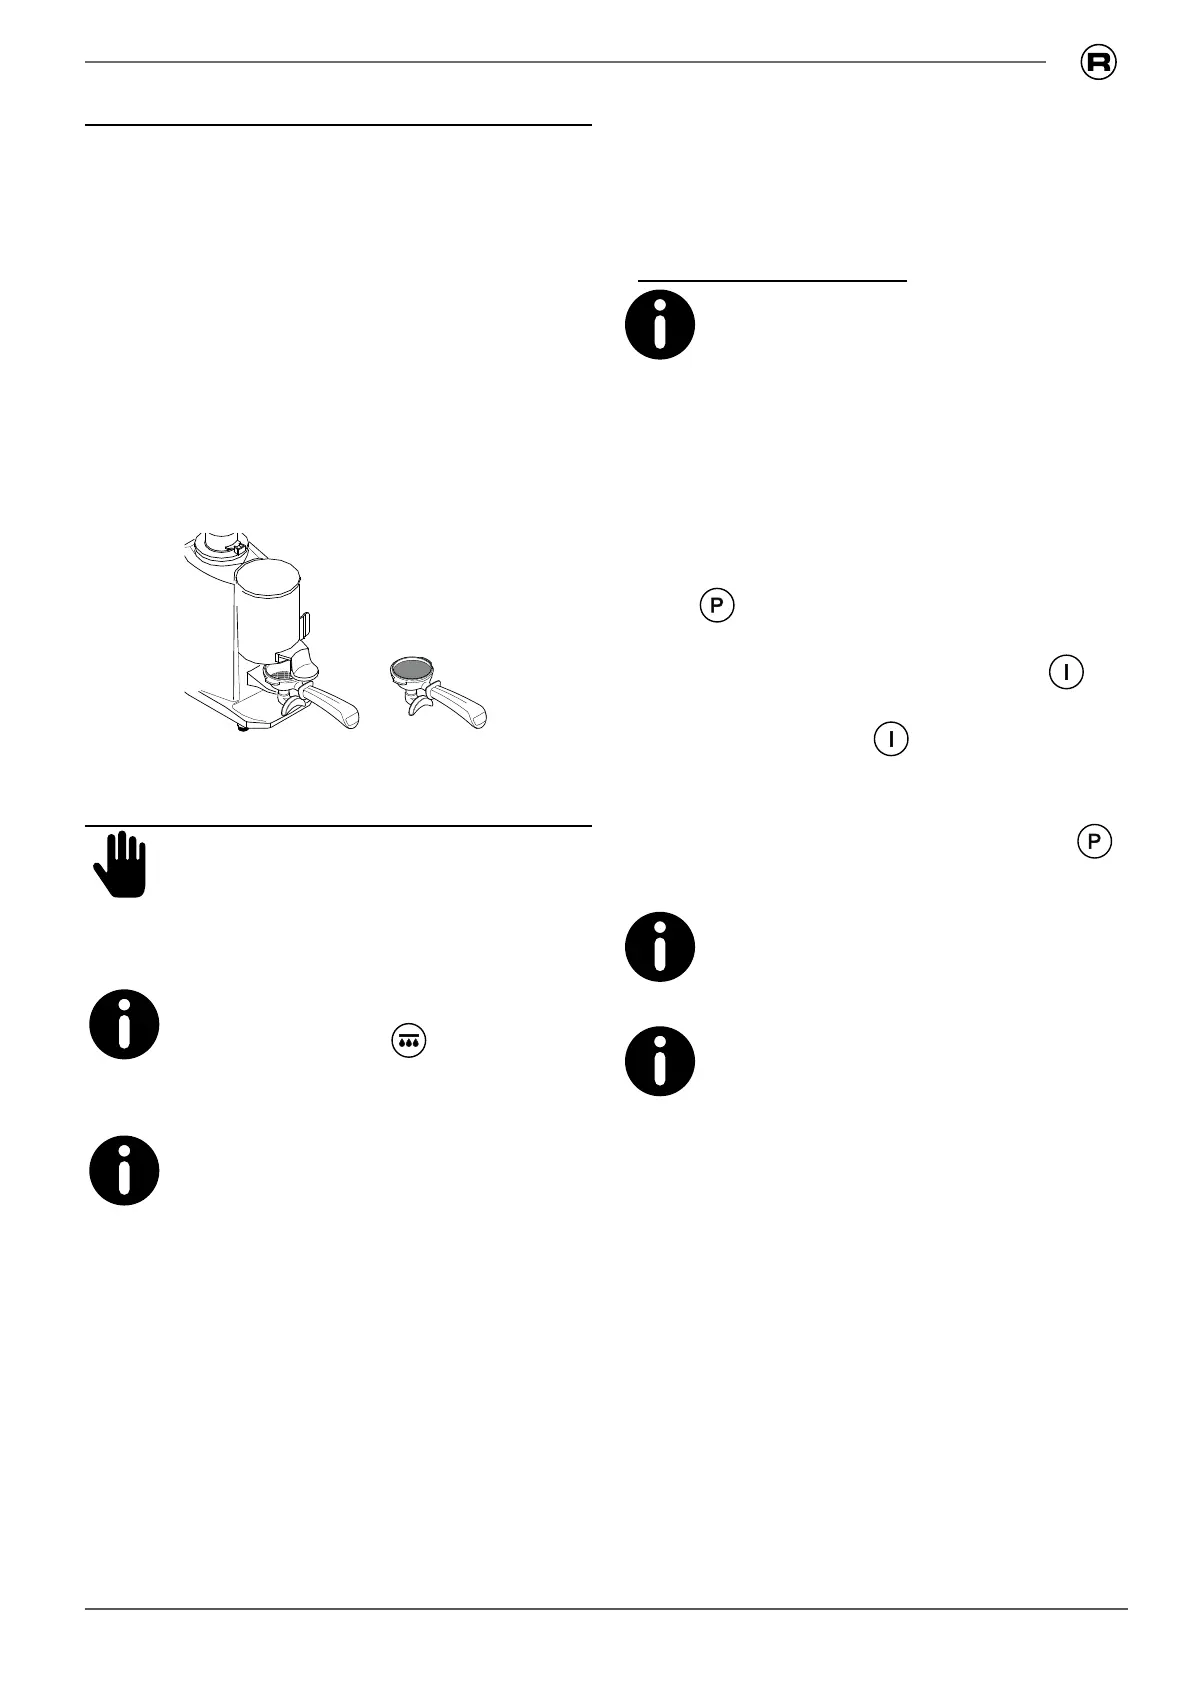
6.5.1 Preparing the lter holder
Before lling the lter holder, make sure that it
is empty and that the lter is clean of any pre-
vious coffee residues.
• Fill the lter with a dose of ground coffee (approx. 6-7 g);
follow the instructions of the grinder manufacturer;
• compress the coffee with the coffee press;
• clean the edge of the lter from ground coffee before at-
taching the lter holder to the dispensing unit;
• Attach the lter holder to the unit without closing it too
tightly, to prevent rapid wear of the seal.
6.5.2 Dispensing
• Place a cup under the dispensing spout of the unit;
• press the desired dispensing button and wait for the cof-
fee to be dispensed (the LED on the button lights up).
COFFEE PROGRAMMING
Each dose must be programmed with new
ground coffee and not with previously used cof-
fee grounds.
The machine is already programmed by the factory. If you
wish to change the coffee doses, proceed as follows:
• Always program the main group button panel rst (group
on the left when looking at the machine from the front).
In this way, all button panels are automatically pro-
grammed. If necessary, program the others later;
• place a cup under the dispensing spout of the unit;
• press
for at least 5 seconds until all LEDs on the but-
ton panel light up;
• press the dose button you wish to program, e.g.
(dur-
ing programming the button ashes);
• To conrm the dose, press
again;
• if desired, repeat the operation for the other dose keys;
• the machine automatically exits programming after a few
seconds, wait until the LED on the button goes out
.
Now all groups are programmed like the rst
one. If you want different programming for the
other groups, proceed with the programming
for each individual group as just explained.
If dose programming does not take place, this
means that it is disabled, contact the techni-
cian.