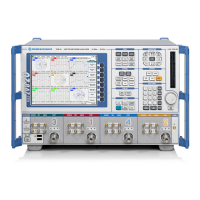
R&S ZVB Instrument Construction and Function Description
1145.1078.82 3.23 E-4
Carefully insert the new front module controller on the motherboard and screw into place with 10
s
ems screws (590).
Caution: With type FMR6 1091.2520.00, there is a danger of shorting between board components,
tracks and screws (590). Use suitable insulation.
R
econnect the cables to the front module controller, ensuring correct polarity.
Battery
+
LAN 1 LAN 2
Contact side of switching foil (keyboard) up
Connector for rotary pulse generator
Controller module
CPU
Connector for display and
converter adapter board
Front Module Controller Typ FMR6
Controller module
Fig. 3-3 Location of the edge connectors on the front module controller
Re-insert the front unit into the instrument and secure to the front frame with 4 countersunk screws.
(610).
Fit the following countersunk screws (176) (4), (177) (6), (178) (8).
Caution
Avoid trapping cables and ensure cabling is tidy.
Replace the front cover (300 to 330) and screw in the countersunk screw (390).
Reconnect the 3.5mm connection cables (only with option R&S ZVBx-B16)
Secure the 2 front handles (410) with the 4 screws.
 Loading...