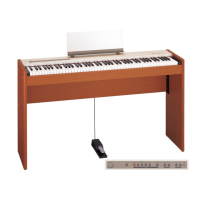
Before You Play
5
Deutsch Français Italiano Español Português NederlandsEnglish
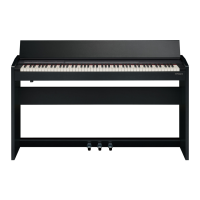
Attaching the Music Rest
Here’s how to attach the included music rest.
1. Loosen the music rest attachment screws located on the
back of the piano (two locations).
2. Place the music rest between the screws and the chassis.
3. While using one hand to support the music rest, tighten
the screws (two locations) to fasten the music rest rmly
in place.
* When attaching the music rest, you must use your hand to
support it rmly so that it does not fall. Be careful not to pinch
your hand.
* Don’t apply excessive force to the installed music rest.
* When attaching the music rest, you must use the music rest
attachment screws that were attached to the piano.
To remove the music rest, support it with one hand while you
loosen the screws. Remove the music rest, and then securely
retighten the screws.
Turning the Power On/O
Once everything is properly connected (p. 4), be sure to follow the
procedure below to turn on their power. If you turn on equipment
in the wrong order, you risk causing malfunction or equipment
failure.
Turning the Power On
1. Turn the [VOLUME] knob all the way toward the left to
minimize the volume.
2. Press the [ ] (POWER) button to turn the power on.
* This unit is equipped with a protection circuit. A brief interval (a
few seconds) after turning the unit on is required before it will
operate normally.
3. Use the [VOLUME] knob to adjust the volume.
* Before turning the unit on/o, always be sure to turn the volume
down. Even with the volume turned down, you might hear some
sound when switching the unit on/o. However, this is normal
and does not indicate a malfunction.
Turning the Power O
1. Turn the [VOLUME] knob all the way toward the left to
minimize the volume.
2. Hold down the [ ] (POWER) button for one second or
longer; the power will be turned o.
Making the Power Automatically
Turn O After a Time (Auto O)
The power to this unit will be turned o automatically after
a predetermined amount of time has passed since it was last
used for playing music, or its buttons or controls were operated
(Auto O function).
If you do not want the power to be turned o automatically,
change the Auto O setting to “OFF.”
(Default: 30 min.)
* To restore power, turn the power on again.
Hold down
240 min.
OFF
10 min.
30 min.
1 2
3
* This setting is remembered even after the power is turned o.
Listening to the Demo Songs
While holding either
1
2
There are three demo songs.
Press the [SONG] button to stop.
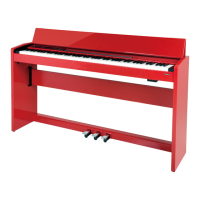
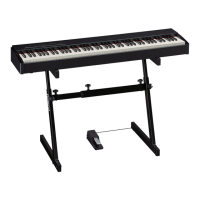
Precautions regarding placement of this unit on a stand
Be sure to follow the instructions in the Owner’s Manual
carefully when placing this unit on a stand (p. 4).
If it is not set up properly, you risk creating an unstable
situation which could lead to the unit falling or the stand
toppling, and may result in injury.
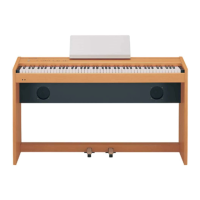
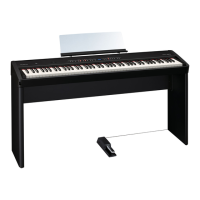
Place the instrument 30 cm away from the wall
The speakers of the F-20 are mounted on
its rear panel. For this reason, you might
have trouble hearing the sound from the
speakers if the rear panel is placed directly
against a wall.
Don’t let the instrument fall over!
To prevent the F-20 from falling over,
don’t apply excessive force to it, and
never sit or stand on it.
30 cm
(12 inch)
* All rights reserved.
Unauthorized use
of this material for
purposes other
than private, per-
sonal enjoyment
is a violation of
applicable laws.
 Loading...