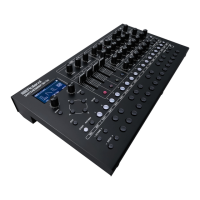
CHANGING THE PATCH
1. Press the PATCH button to make it light.
2. Use the VALUE knob to select the part whose patch you want to change.
3. Press one of the [A] – [C], double click [A] (bank [D]) or USER buttons to select a bank.
4. Use the [0] - [9] buttons to enter a number (1 - 128) - The display shows the patch number.
• You can also press MANUAL and select the sound of manual mode.
• Pressing the INS button inserts a blank part at the currently selected part. A part cannot be inserted if
parts already being used.
• Pressing the DEL button deletes the currently selected part; subsequent parts are adjusted forward.
5. As necessary, press the PTN button to return to step 3, and repeat steps 3 -11.
6. To save the settings that you’ve edited, execute the Song Write operation.
CLEARING A SONG
1. Press the [EDIT] button and [PTN] button to make them light.
2. Press the [9] button. The display indicates “Clear Song - Push VALUE.”
3. Press the [VALUE] knob. A confirmation message appears in the display.If you decide to cancel,
press the [EXIT] button.
4. To clear the pattern, press the [VALUE] knob.
When clearing is completed, the currently selected song contains no data. This function came in V1.10+.
Page 25 of 35 Manual V1.03 for firmware V1.11
 Loading...