26
V-SYNTH
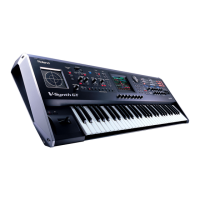
16: PC-CARD Test
fig.13-20_70
Check card slot operation.
• Insert a PC card into the PC card slot.
* Use a PC card (formatted by the V-Synth).
• Press [ ]. Write/Read tests will be performed. If they were
successful, the display will indicate “OK.”
• If the test results were “OK,” you will automatically proceed to the next
test item.
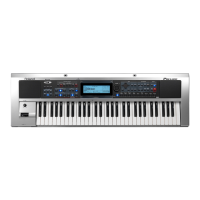
17: D-Beam Adjust
Adjust the D Beam.
* This adjustment sets the response range of the D Beam in a range of 40 cm to 10
cm from the chassis, allowing the D Beam to be controlled optimally.
fig.13-21_70
• First, position your hand 10 cm above the D Beam and press [ ]. A
distance of 10 cm is approximately the width of four white keys.
• Next, position your hand 40 cm above the D Beam and press [ ]. A
distance of 40 cm is approximately the width of seventeen white keys.
• If these two settings are not performed correctly, the NG screen will
appear. Press [ ] to return to the setting screen, and perform the
settings again.
• When the adjustment is completed, you will automatically proceed to
the next test item.
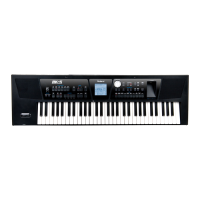
18: D-Beam Check
Check the results of the adjustment that was performed in item 17.
fig.13-22_70
• Position your hand above the D Beam, and raise or lower it in a range of
10 cm to 40 cm.
• “OK” results will be displayed if a maximum value reaches 127 (10 cm
above the D Beam) and the minimum value reaches 0 (40 cm above the D
Beam), and a confirmation tone will be output.
• If “OK” is displayed for both points, you will automatically proceed to
the next test item.
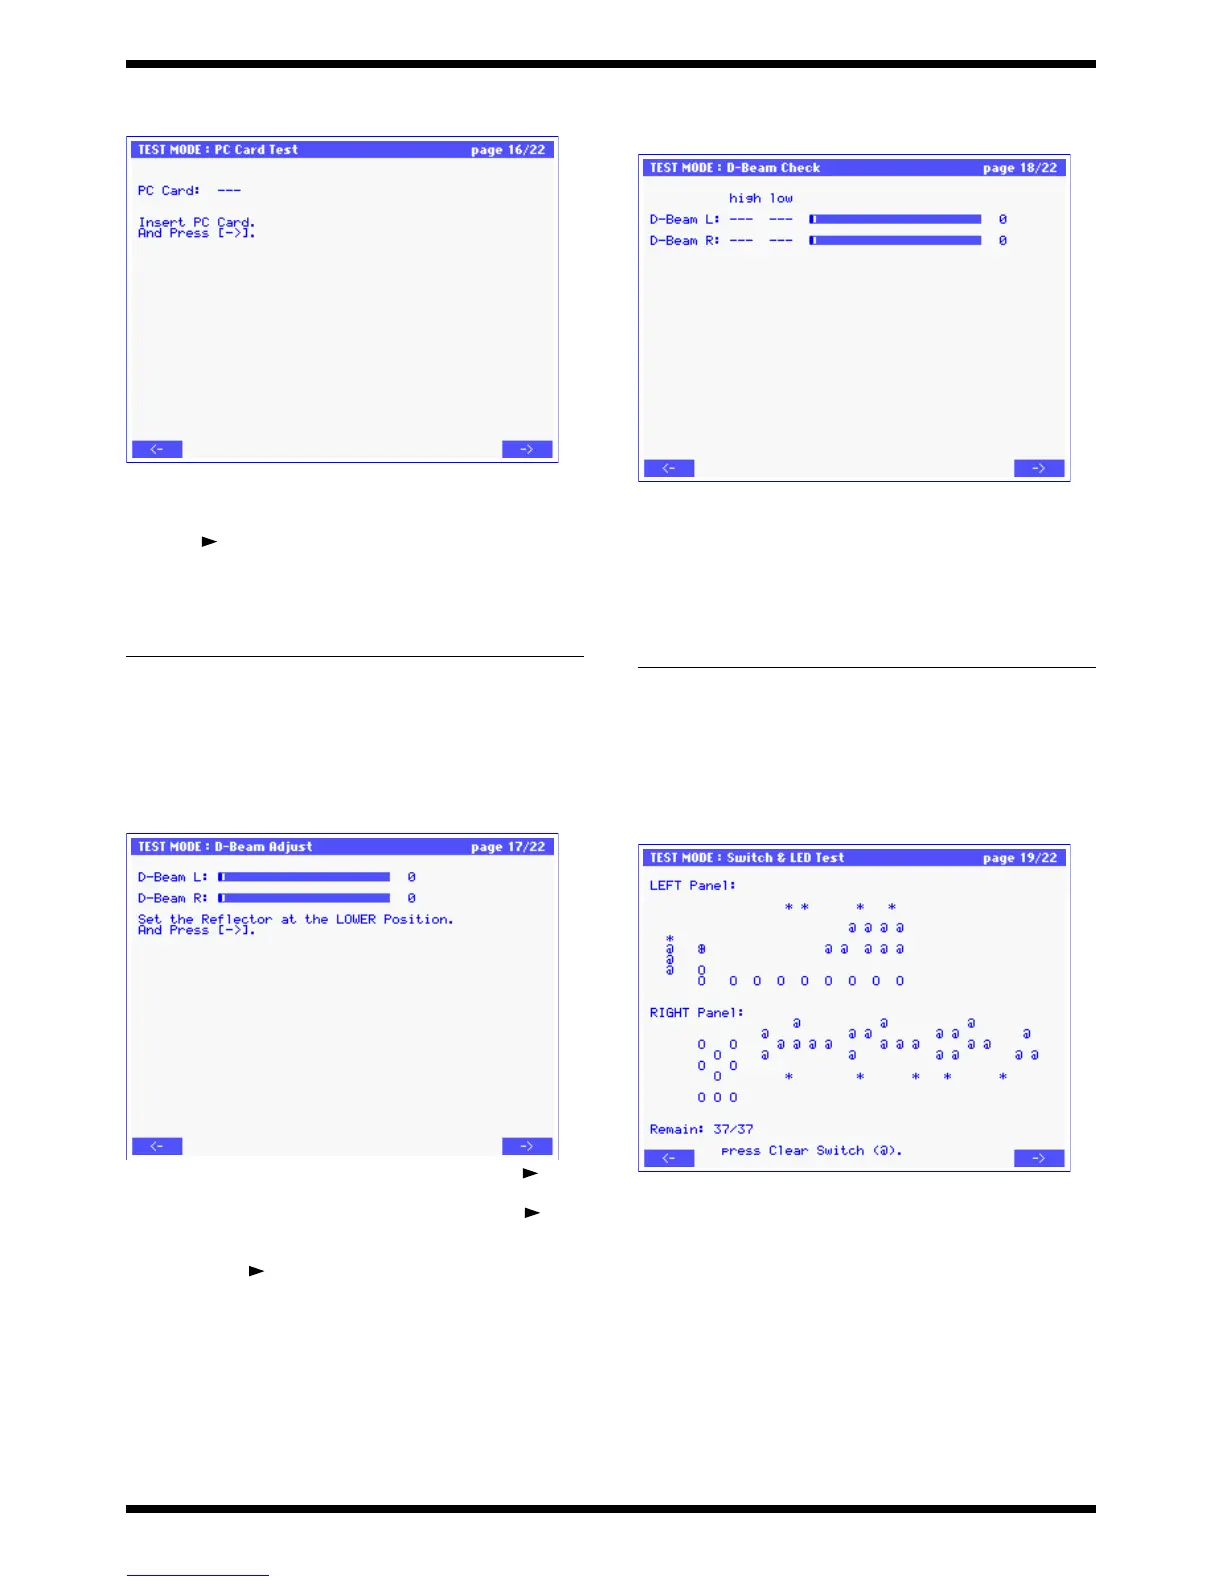
19: Switch & LED TEST
fig.13-23_70
Check the switches and LEDs.
Check the milky-white switches and LEDs.
• (left side of panel)[(D BEAM) TIME TRIP] [(D BEAM) TIME] [(D BEAM)
PITCH] [(D BEAM) ASSIGNABLE] [V-LINK] [TIME TRIP]
[ASSIGNABLE] [HOLD] [(ARPEGGIO) ON/OFF] [(ARPEGGIO)
HOLD] [TRANSPOSE] [-OCT] [+OCT]
• (right side of panel)[(STRUCTURE) 1] [OSC1] [OSC2] [MOD] [COSM1]
[COSM2] [TVA], [(STRUCTURE) 2] [OSC1] [OSC2] [COSM1] [MOD]
[COSM2] [TVA], [(STRUCTURE) 3] [OSC1] [OSC2] [COSM1] [COSM2]
[MOD] [TVA], [M-FX] [CHORUS] [REVERB]
• The LED will blink for approximately one second and then go dark.
• The switches will be shown in the screen as [@]. When a switch is
pressed, the [@] will change to [.].
* V-LINK=the [@] and [*] over lap.
Problem
Items to check
“OK” is not displayed MAIN BOARD IC523, 519, 526, 525,
522, 520, 527, CN506
Problem
Items to check
No response at all SUB BOARD CN7
PANEL-L BOARD
CN1,D1,LED27,LED28
Responds, but no “OK” result PANEL-L BOARD
IC1,IC2,IC3,IC4,IC5, peripheral
R,C,D

 Loading...