27
Mar.2003
• The lower left of the screen indicates the number of switches yet to be
checked.
• When the switches have been pressed correctly, you will automatically
proceed to the next test item.
Check the Blue LEDs.
• The four Blue LEDs will blink. Each time you press [ ], each LED will
blink for approximately one second and then go dark.
• After the LED go dark, the [*] will change to [.].
• The lower left of the screen indicates the number of LEDs yet to be
checked.
• When all four LEDs are dark, you will automatically proceed to the next
test item.
Check the red LEDs.
• The two red LEDs will blink. Each time you press [ ], each LED will
blink for approximately one second and then go dark.
• After the LED go dark, the [*] will change to [.].
• The lower left of the screen indicates the number of LEDs yet to be
checked.
• When both LEDs are dark, you will automatically proceed to the next
test item.
Check the orange LEDs.
• The five orange LEDs will blink. Each time you press [ ], each LED
will blink for approximately one second and then go dark.
• After the LED go dark, the [*] will change to [.].
• The lower left of the screen indicates the number of LEDs yet to be
checked.
• When all five LEDs are dark, you will automatically proceed to the next
test item.
Check the large black switches and LEDs.
• (left side of the panel PATCH PALETTE)[1] [2] [3] [4] [5] [6] [7] [8]
• The switches will be shown in the screen as [O]. When a switch is
pressed, the [O] will change to [.].
• The lower left of the screen indicates the number of switches yet to be
checked.
• When the switches have been pressed correctly, you will automatically
proceed to the next test item.
Check the small black switches.
(left side of the panel) [PATCH ASSIGN] [BANK]
(right side of the panel) [DEC/-] [ ] [INC/+] [ ][ ][ ] [MODE]
[SHIFT] [EXIT]
• The sys will be shown in the screen as [O]. When a switch is pressed, the
[O] will change to [.].
• The lower left of the screen indicates the number of switches yet to be
checked.
• When the switches have been pressed correctly, you will automatically
proceed to the next test item.
* As you press the switches consecutively, an upward scale will be sounded.
* Pressing multiple switches simultaneously produces an invalid result.
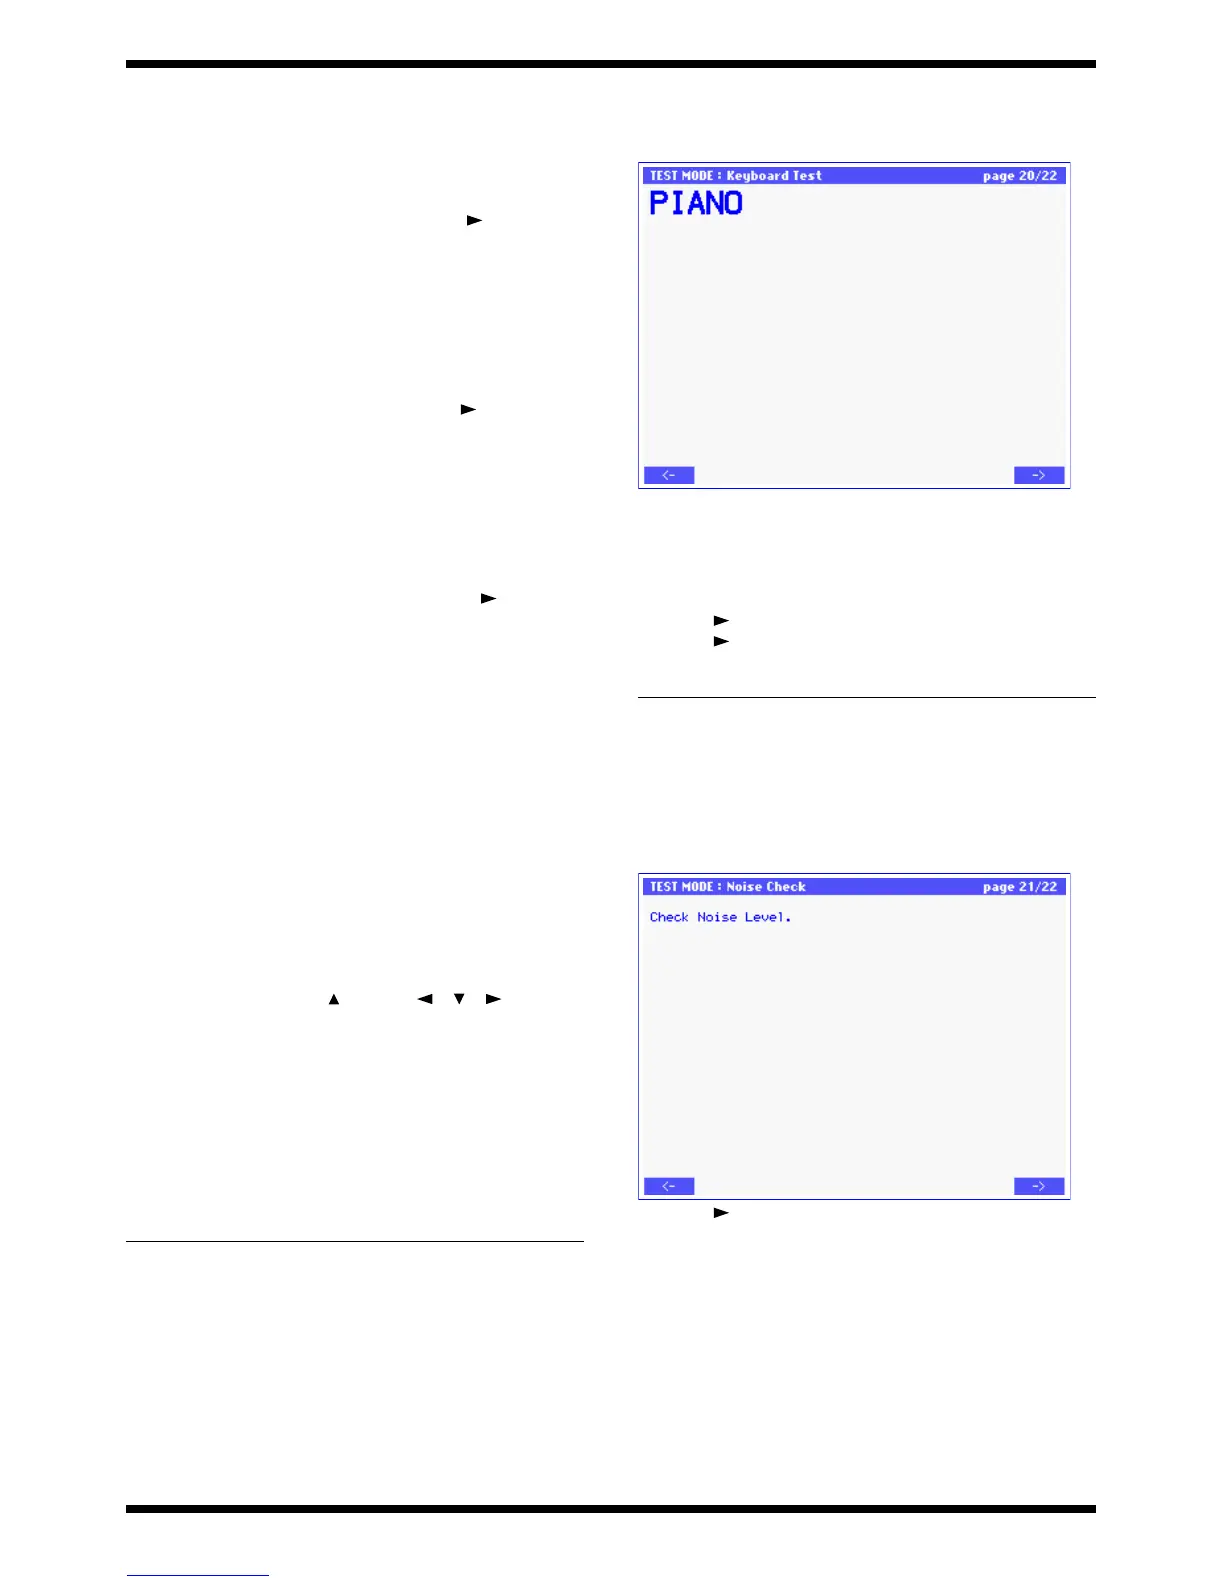
20: Keyboard Test (sounding check /
velocity check)
fig.13-24_70
• Performing a sounding check and velocity check. Play the keyboard to
check the keys.
• The LCD screen will indicate the note number and velocity value of the
key you press.
• Verify that the volume changes according to the force with which you
play the key.
• Press [ ] to switch from a decay-type sound to a sustain-type sound.
• Press [ ] to proceed to the next test item.
21: Noise Check
Use a noise meter to measure the residual noise.
• Set the input filter of noise meter to JIS-A.
• Verify that the noise is less than -89 dBm.
fig.13-25_70
• Press [ ] to proceed to the next test item.
Problem Items to check
LED does not light or go dark SUB BOARD CN11~14, Q6~19,
Q26, Q27
PANEL L BOARD LED, SW, Diode,
CN
PANEL R BOARD LED, SW, Diode,
CN
Problem
Items to check
Does not sound correctly Keyboard, keyboard connector
SUB BOARD CN3, CN4

 Loading...