Quick Start Guide
5
August 2012
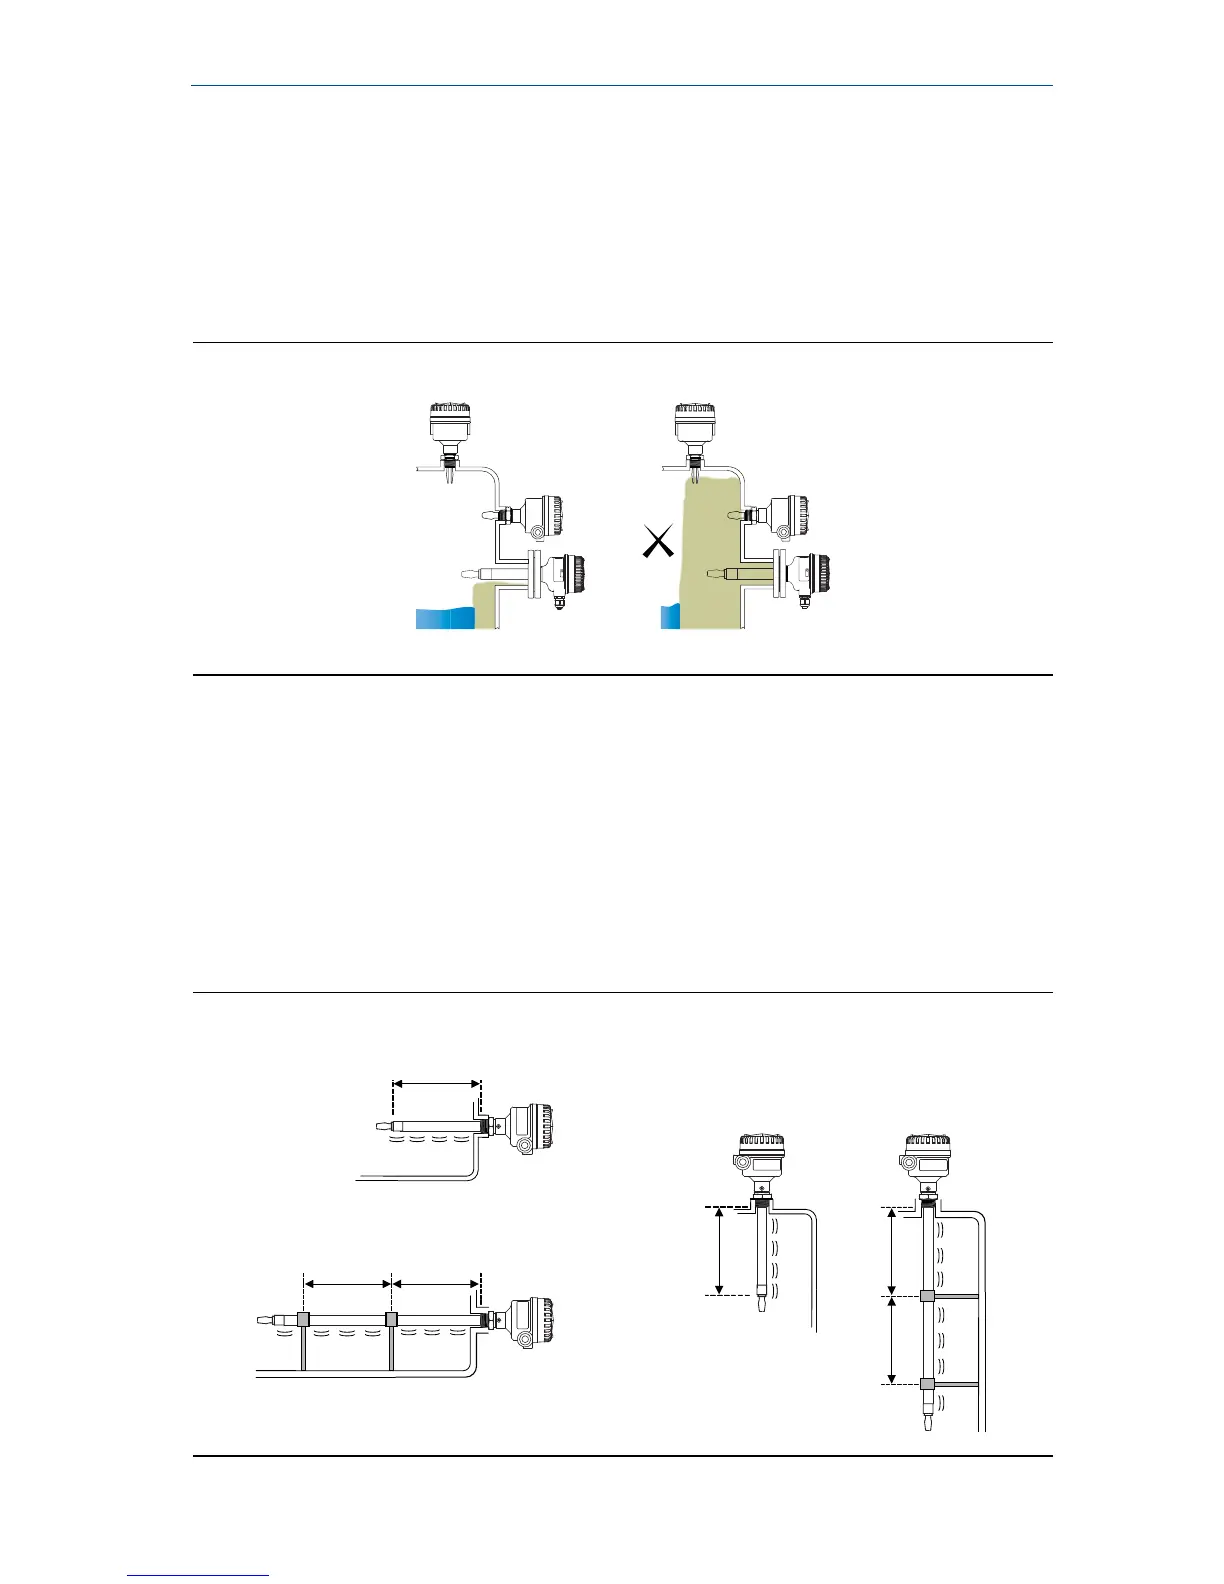
Installation recommendations
Avoid installing near liquid entering the tank at the fill point
Avoid heavy splashing on the forks.
Increasing the time delay reduces accidental switching
Avoid installing near heat sources
Ensure the fork does not come into contact with the tank/pipe wall, or fittings
Allow a sufficient distance between product build-up on the tank wall and fork
Figure 4. Avoid product build-up around the forks
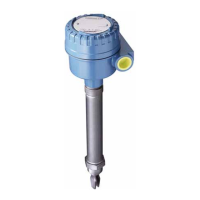
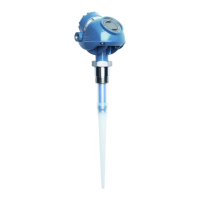
Step 1: Physical installation
1. Install the 2120 according to standard installation practices, making sure to
correctly align the fork using the alignment notch or groove (Figure 6).
2. Use supports for extended fork lengths greater than 3.2 ft. (1 m) (Figure 5).
For the GL approval requirements, see reference manual 00809-0100-4030.
3. Close the housing cover and tighten to safety specification. Always ensure a proper
seal so that metal touches metal or plastic touches plastic, but do not over tighten.
4. Insulate the 2120 with Rockwool. See Figure 7 for clearances.
Figure 5. Supports needed for an extended fork (standard)
OK