3 x Installation
15
FA ROTEX Solaris - 08/2007
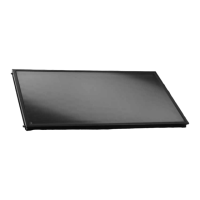
13. Fit the return flow pipe and install it separately after parting the Twin heat insulation.
14. Insert the pre-bent return flow pipe into the push-in fitting of the pump coupling.
Preparing and installing the control unit
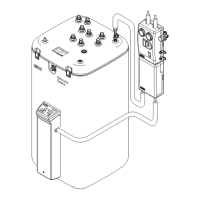
1. Plug the edge connectors of the supplied control cables to the circuit board at the rear of the control unit. The connectors
are coded to prevent errors. A connecting diagram is provided in the control unit cover.
2. To ensure reliable tension relief, all cables should run through the labyrinth.
3. Attach the supplied 2-pole edge connector to the sensor cable (preinstalled with the feed pipe) and plug it into the
control unit.
Fig. 3-18 Step 13 Fig. 3-19 Step 14
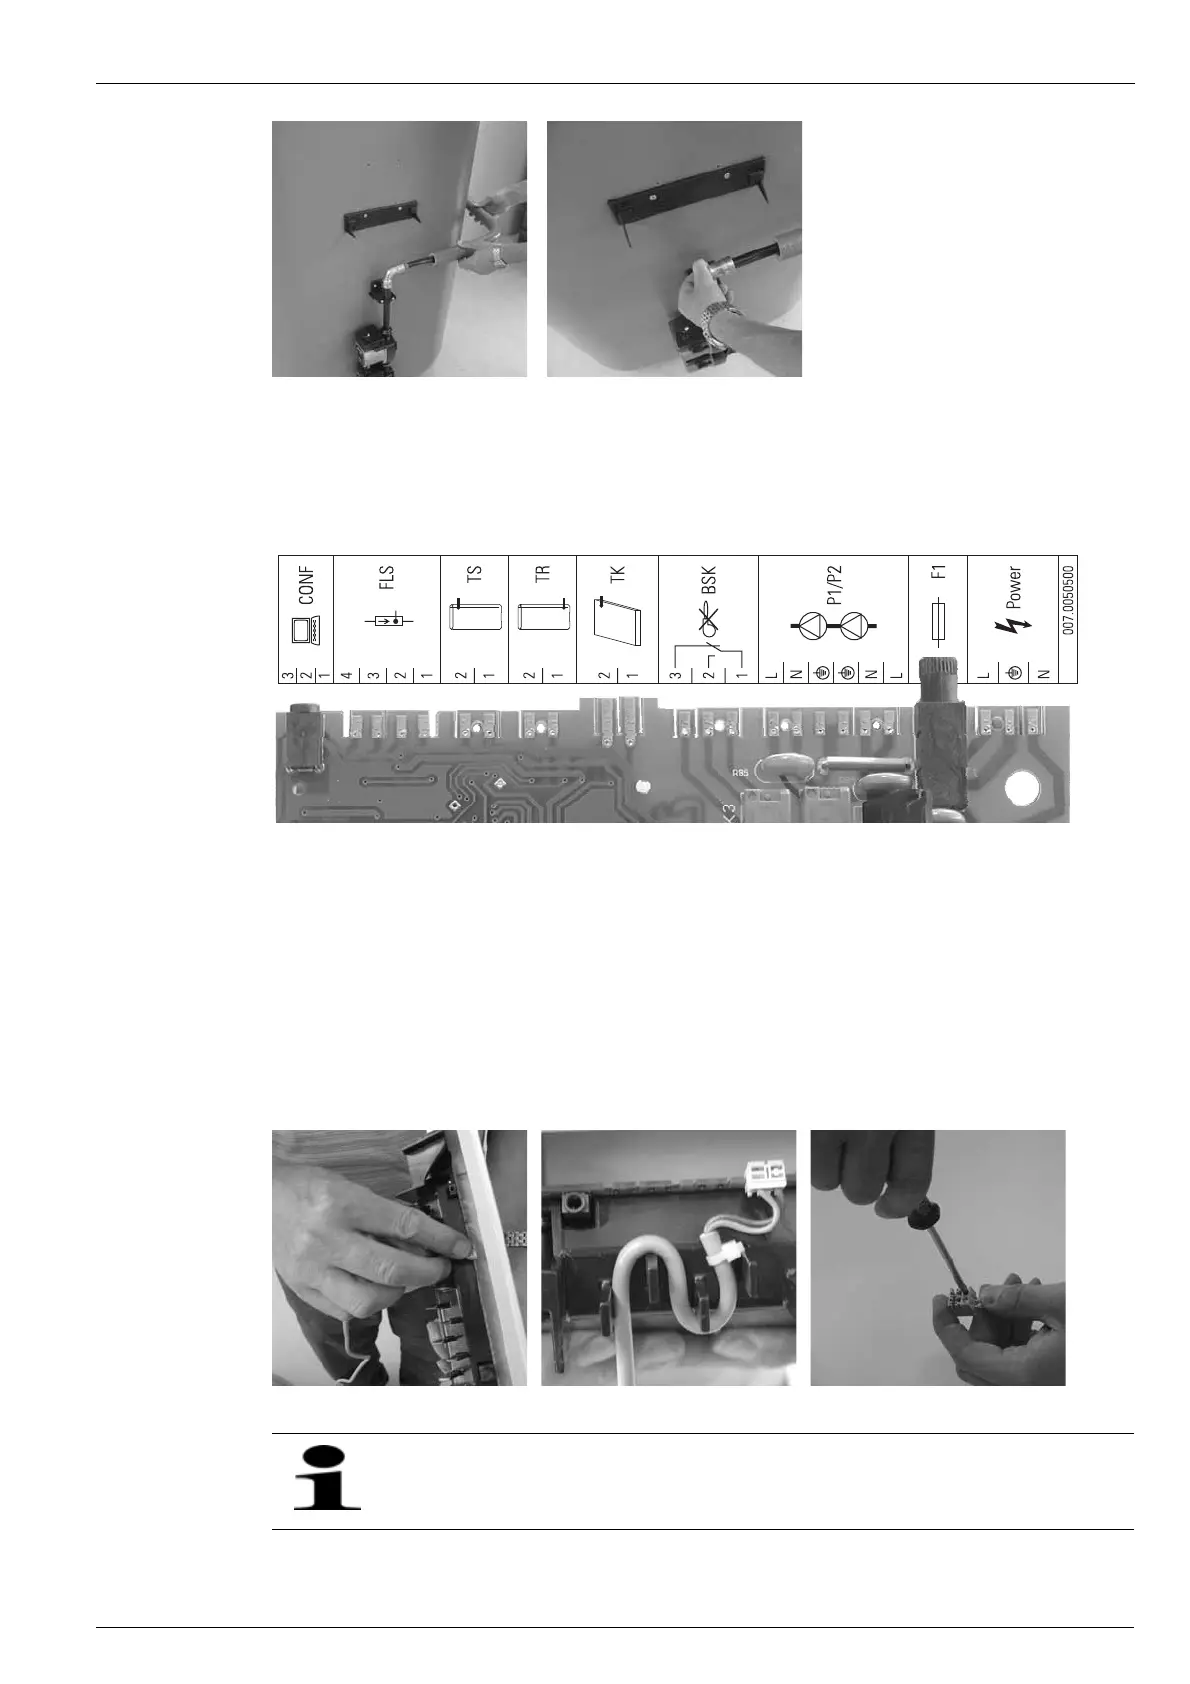
Fig. 3-20 Terminal assignment
CONF Programming connector for control unit
update
FLS Flow sensor
TS Storage tank temperature sensor
TR Return flow temperature sensor
TK Solar panel temperature sensor
BSK Burner inhibit contact
P1/P2 Operation and booster pump
F1 Fuse
Power Mains supply
Fig. 3-21 Step 1 Fig. 3-22 Step 2 Fig. 3-23 Step 3
The automatic speed regulation of the control and pump unit can only work if a FlowSensor is included in the
system. If not, the circulation pump will run continuously at 100%.