9) INSTALLING INK ROLL
___________________________________________________________
HOW TO CHANGE THE INK ROLL
This register comes equipped with the ink roll installed at the factory. The ink roll releases special ink to the
print head, which produces the print on the paper. After a period of time, depending upon the amount of use,
the ink in the roll will be used up. When printout becomes faint, the ink roll needs to be replaced.
CAUTION:
The ink roll is NOT designed to be re-inked. Under no circumstances should this be done or permanent
damage to your cash register print head will result. Such damage WILL NOT be covered under Royal's
warranty.
REPLACE YOUR INK ROLL FOLLOWING THE INSTRUCTIONS BELOW:
1. Open the printer compartment by lifting the black, plastic printer cover.
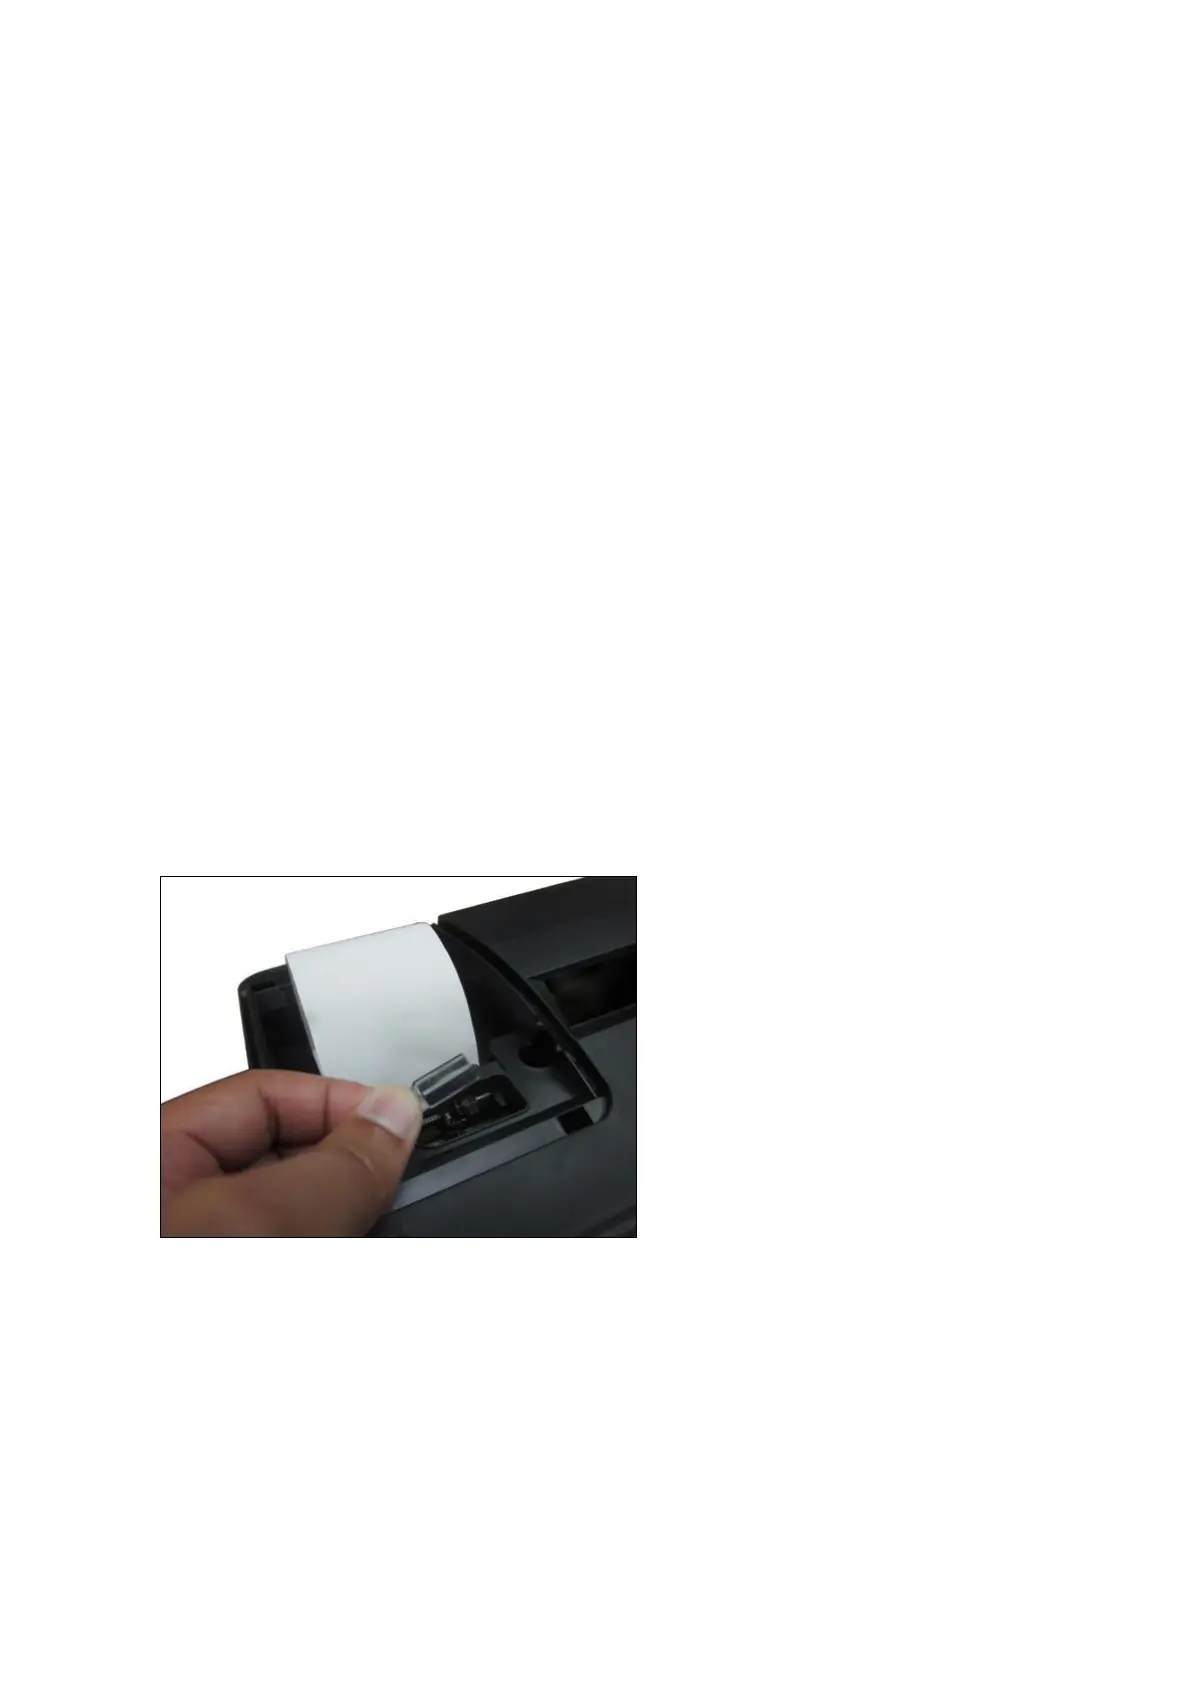
2. The ink roll is found in the front of the printer compartment, just behind the print head, and is mounted in
a plastic cartridge. To remove, grasp the small clip on the left of the ink roll (where the words “PULL UP”
may be printed on the ink roll cartridge) and pull up. The ink roll will easily pull up and away from the
print head. (Figure G)
3. To replace a new ink roll, insert the ink roll according to markings "L" (Left) and "R" (Right) by pressing
downward to lock it into position, then close the printer cover. No tools are necessary.
For the best performance, store unopened ink roll package in a cool, dry place until installed.
Fig. G
NOTE: Replace with ROYAL Ink Roll, Part #013109.
To order, call the Royal Supply Center toll free at 1-888-261-4555.


 To Next Page