14) CLERK FUNCTION (Continued)
Note:
In the event that the Clerk Security Setting is set to 1 (Default Setting), the user must assign
a 3 digit security code for the Clerk # before the starting transaction registration.
For the Clerk # that is not set to a security code, the Clerk # will not be able to be
assigned for the starting transaction registration. “Re CL” will appear at the time of the error.
(Please refer to Section 7-20 for details).
14-2) CLERK # ON THE DISPLAY
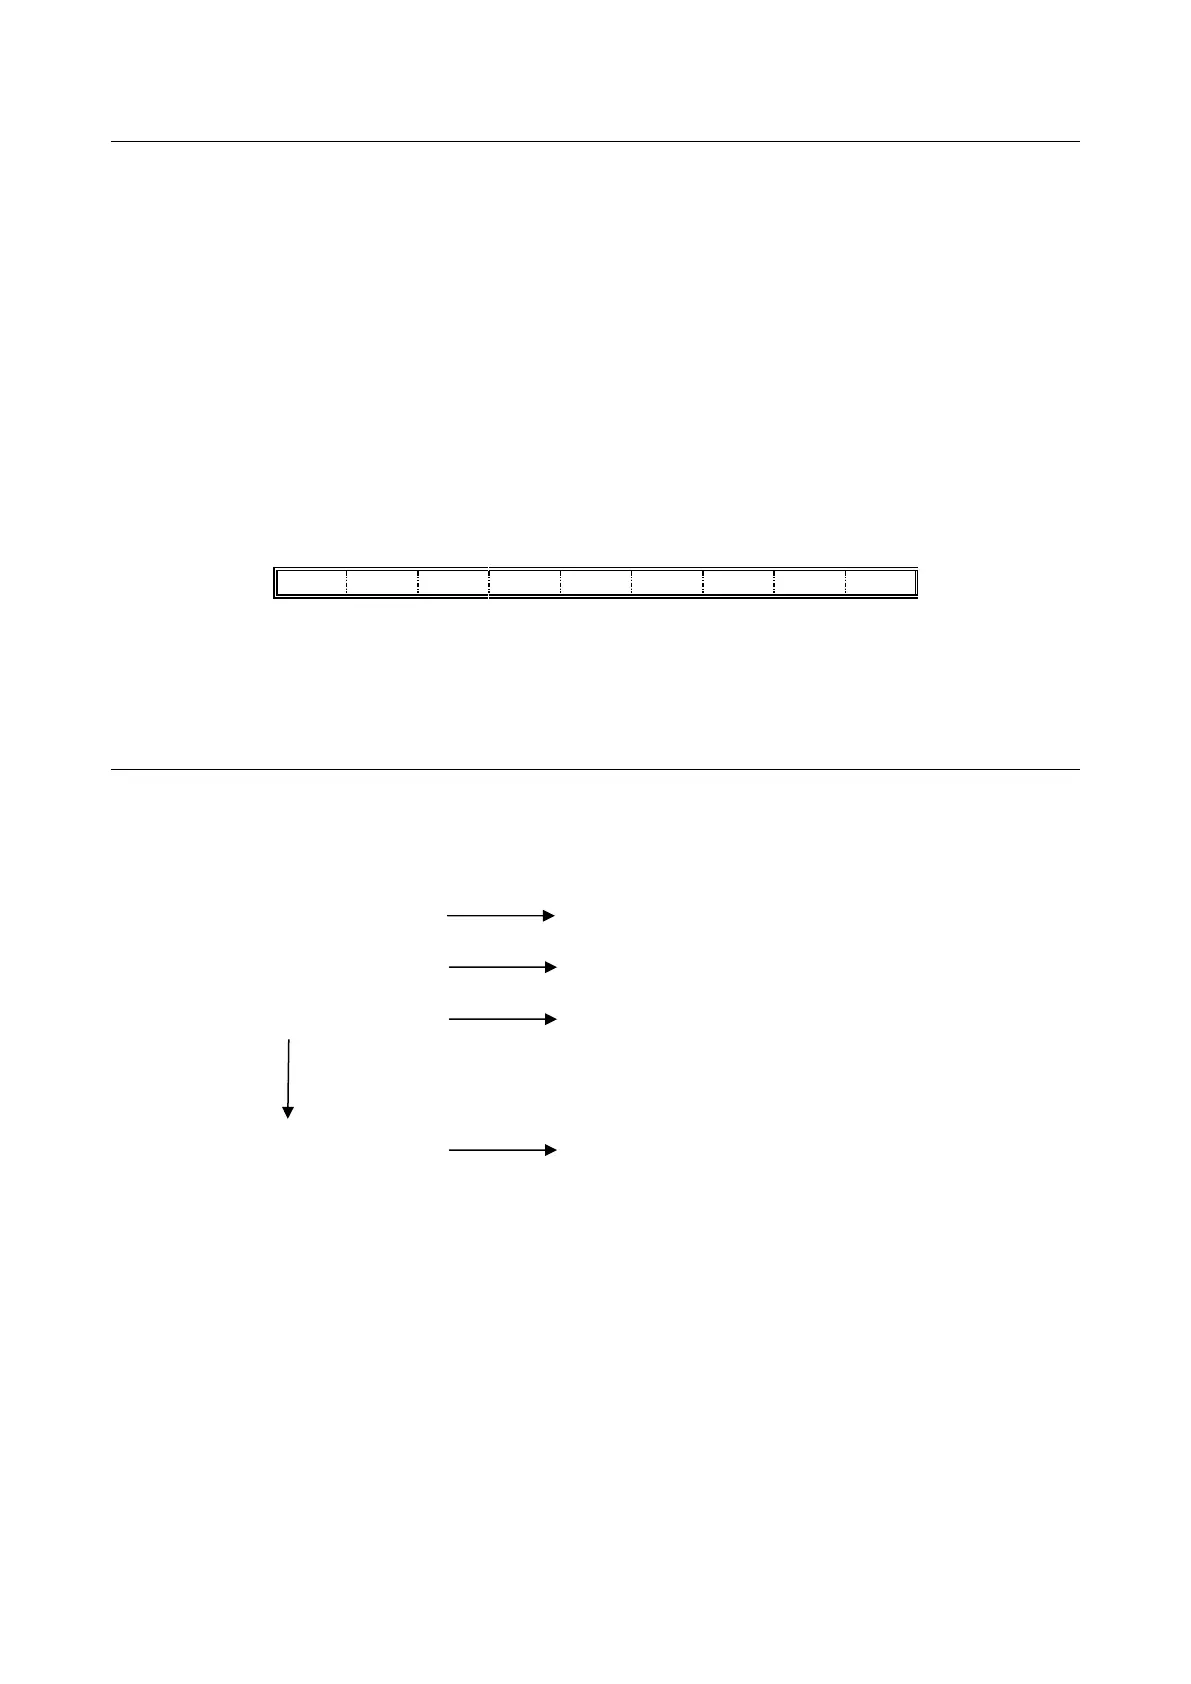
The Clerk # is displayed as the 9th digit from the right.
Example: Clerk 1
To cancel the Clerk # currently assigned, turn off the mode selector or enter a new Clerk #.
15) DEPARTMENT SHIFT FUNCTION
The function is used to select DEPT 9-16.
To shift the departments, press DEPT 1-8 while pressing the DEPT SHIFT key.
[ Dept. shift ] - [ 1/9 ] Assigns Department 9
[ Dept. shift ] - [ 2/10 ] Assigns Department 10
[ Dept. shift ] - [ 3/11 ] Assigns Department 11
[ Dept. shift ] - [ 8/16 ] Assigns Department 16
Both REG and PRG Modes can be used for this function.


 To Next Page