Publication date: Jan., 2009
Revision A1
17
To configure the switch, please follow the procedures below:
1. Find the RS-232 DB-9 cable with female DB-9 connector bundled.
Normally, it just uses pins 2, 3 and 7. See also Appendix B for more
details on Null Modem Cable Specifications.
2. Attaches the DB-9 female cable connector to the male serial RS-232
DB-9 connector on the switch.
3. Attaches the other end of the serial RS-232 DB-9 cable to PC’s serial
port, running a terminal emulator supporting VT100/ANSI terminal with
The switch’s serial port default settings. For example,
Windows98/2000/XP HyperTerminal utility.
Note: The switch’s serial port default settings are listed as follows:
Baud rate 57600
Stop bits 1
Data bits 8
Parity N
Flow control none
4. When you complete the connection, then press <Enter> key. The login
prompt will be shown on the screen. The default username and
password are shown as below:
Username = admin Password = admin
• Set IP Address, Subnet Mask and Default Gateway IP Address
Please refer to Fig. 2-7 CLI Management for details about Rubytech’s setting.
They are default setting of IP address. You can first either configure your PC IP
address or change IP address of the switch, next to change the IP address of
default gateway and subnet mask.
For example, your network address is 10.1.1.0, and subnet mask is
255.255.255.0. You can change the switch’s default IP address 192.168.1.1 to
10.1.1.1 and set the subnet mask to be 255.255.255.0. Then, choose your default
gateway, may be it is 10.1.1.254.
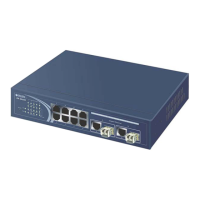
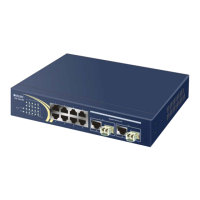
ES-2410C L2 Plus Managed Switch
Default IP Setting:
IP address = 192.168.1.1
Subnet Mask = 255.255.255.0
Default Gateway = 192.168.1.254
Terminal or Terminal
Fig. 2-7
RS-232 cable with female
DB-9 connector at both ends
RS-232
 Loading...