4
C Before you use your breadmaker
1. Remove all packing materials and any stickers.
2. Place the breadmaker on a dry, stable, level surface away from heat and areas where cooking
grease or water may splatter on to it. Do not place it near the edge of the work surface.
3. Operate the breadmaker on the BAKE program without adding any ingredients for 10-15
minutes. This will burn o any manufacturing oils (the breadmaker may smoke and/or emit
an oily odour. This is normal).
4. Wash the bread pan and paddle thoroughly.
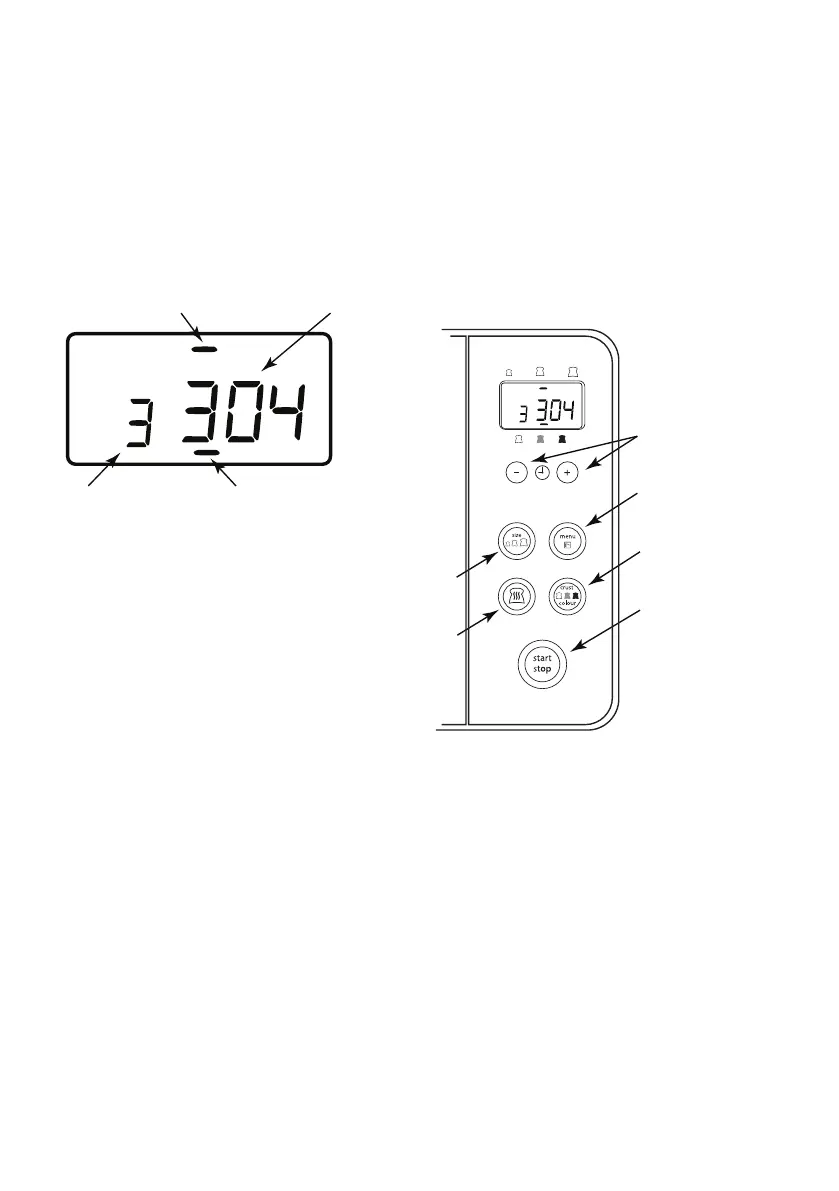
C Breadmaker controls
Buttons
When you press any Button, you should hear a beep. This lets you know you’ve pressed hard
enough to activate your selection.
Adjust Timer UP and DOWN Buttons - Use this pair of Buttons to set the TIMER. Use this pair of
Buttons to add or subtract time displayed in the Display Window. Each time you press these
buttons, the TIMER increases or decreases by 10 minutes.
Loaf Size - Select the LOAF size: 500, 750g or 1000g. The Breadmaker is preset to 1000g.
MENU Select - allows you to select from 13 dierent breadmaker programs:
1. White. The White program is used for breads that primarily use white our, although
some recipes may include small amounts of whole wheat our.
2. White Rapid. Used to decrease time to approximately 1 hour. Choose recipe, then
simply add ½ tsp. to amount of yeast listed for a 1000g. loaf. Bread may be shorter and
denser than bread made using the longer program.
3. Whole Wheat. Used for recipes with signicant amounts of whole wheat or rye our,
oats or bran. Whole wheat cycle begins with rest period during which ours or grains
MENU
TIMER
MENU
TIMER
Start/Stop
Loaf Size
Adjust
Timer
Crust
Colour
Program
Select
Program Selection Crust Colour Indicator
Bake Only
1White
2WhiteRapid
3WholeWheat
4WholeWheatRapid
5 French
6 French Rapid
7 Sweet
8 Quick Bread
9 Low Carb
10 Gluten –Free
11 Dough
12 Artisan Dough
13 Jam
14 Bake Only
 Loading...