14 | EN SMARTY v2023.2
• Remove the lm from the unit.
• Remove the bracing packaging tape that keeps the protective proles in place.
• Remove the protective proles.
• After unpacking the unit, examine it to make sure that no damage was made during transportation. Installation of damaged units is not allowed!
• Before commencing the installation of the unit, please check if all ordered equipment has been delivered. Any deviation from the ordered equip-
ment list must be reported to the product supplier.
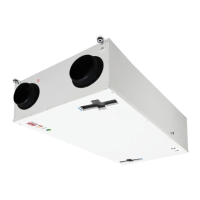
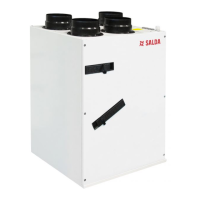
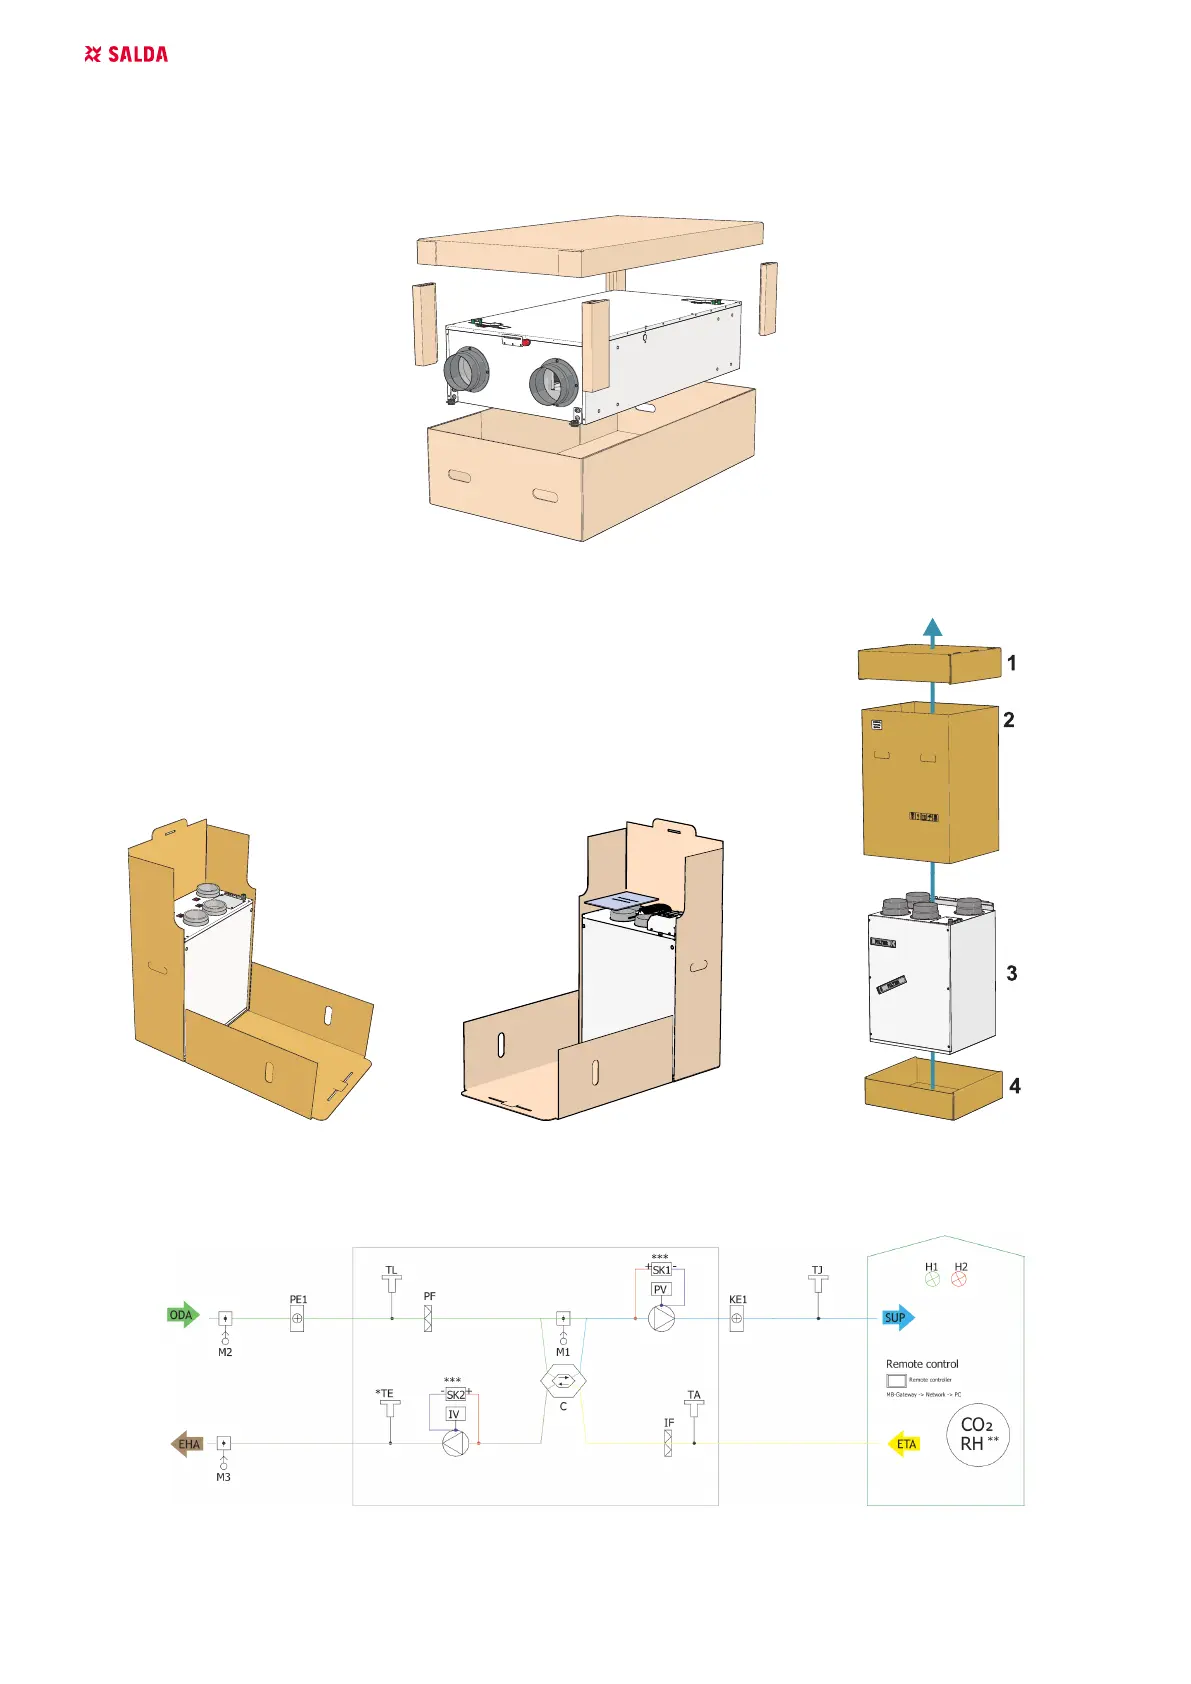
Figure 5.3.1. Smarty XP
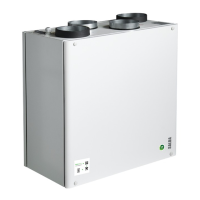
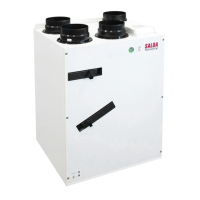
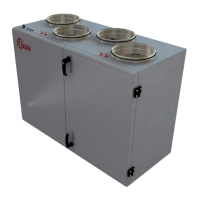
Figure 5.3.2. Smarty 2X V 1.1/1.2 Figure 5.3.3. Smarty 2X V S300
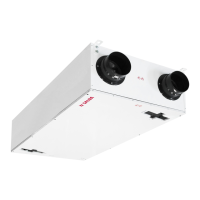
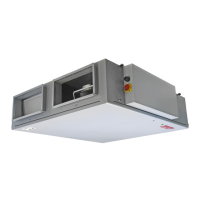
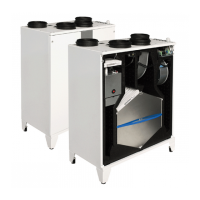
Figure 5.3.4. Smarty 3X V / 4X V
5.4. PIPING AND INSTRUMENTATION DIAGRAM
Figure 5.4.1. SMARTY XP 1.1 (*Exhaust air sensor is not included with a device and should be ordered as an accessory;
** Check the manual for details; ***Not available in Smarty 2X P V1.1 units)
 Loading...