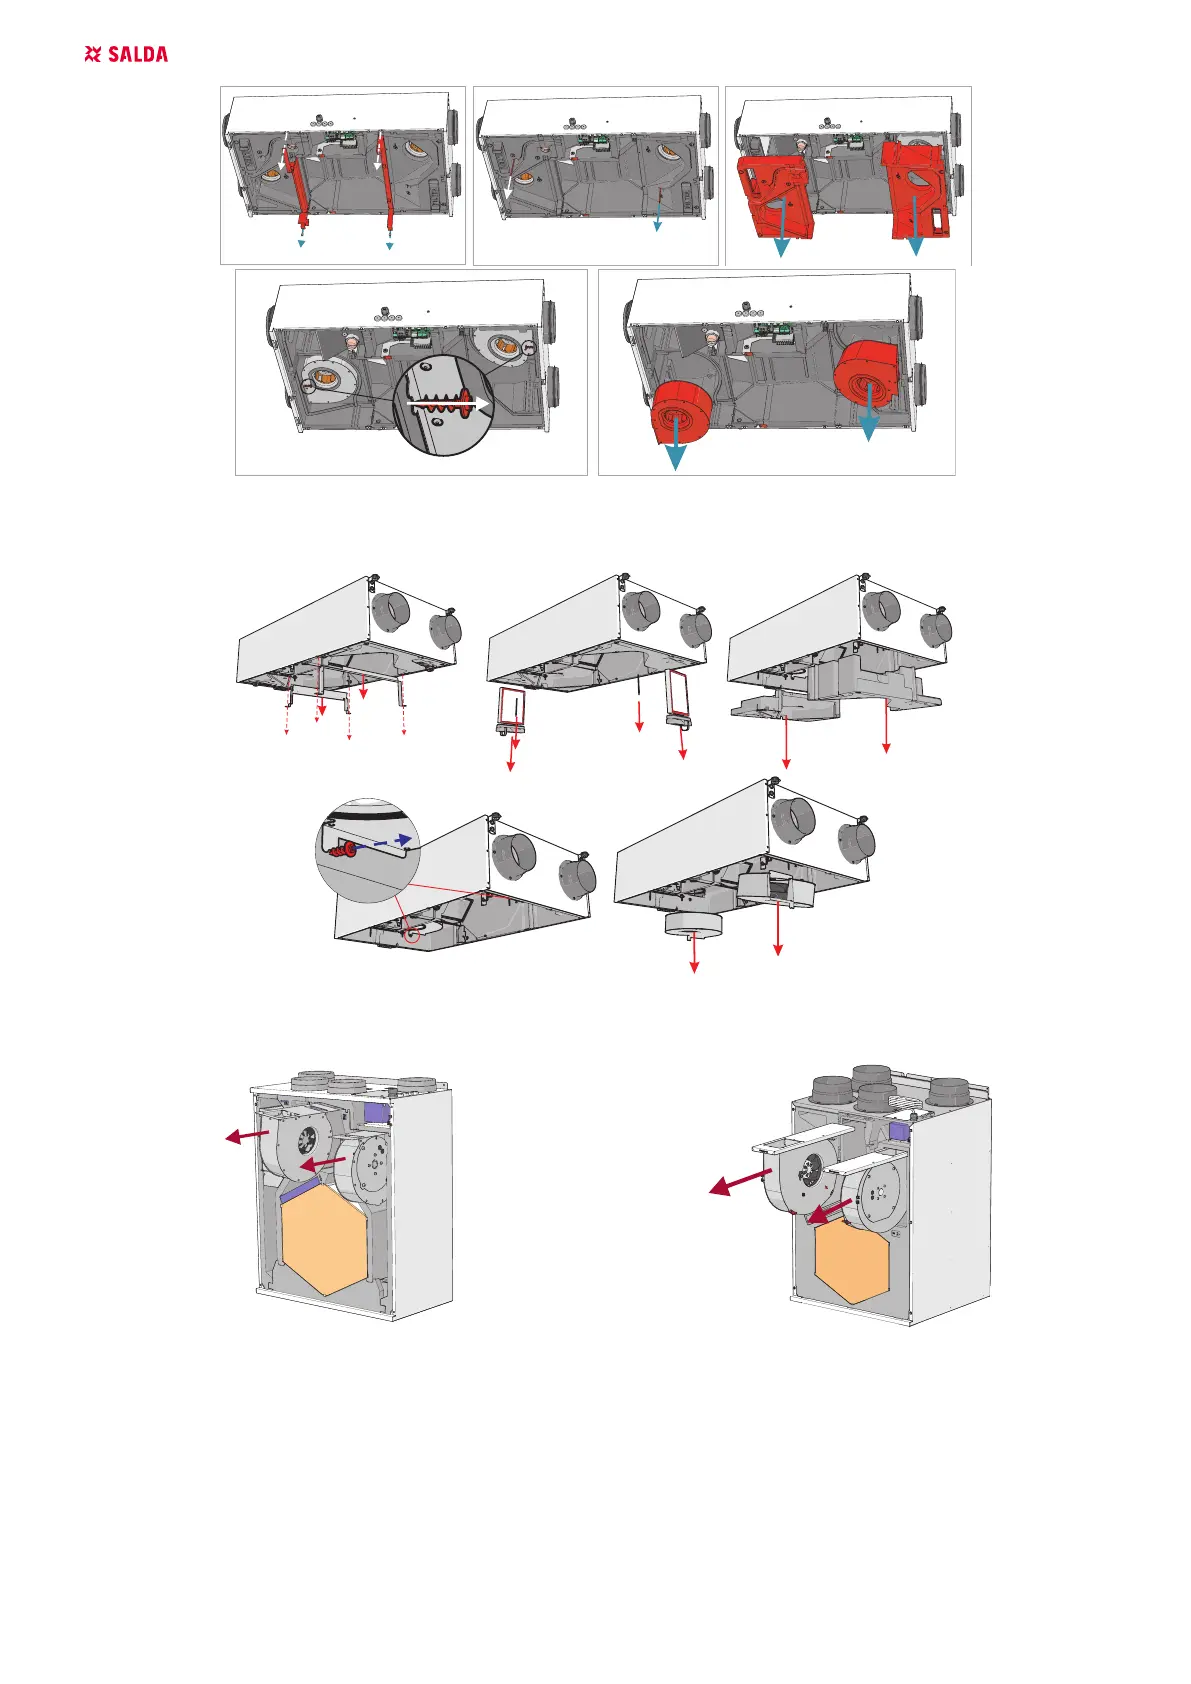
26 | EN SMARTY v2023.2
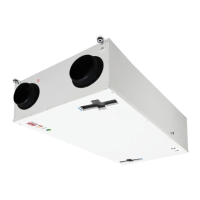
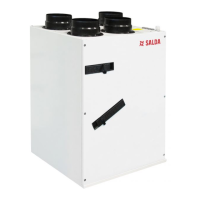
Figure 6.6.7. Smarty 2X P
NOTE. Prior to performing steps in Figure 6.6.7, steps in Figure 6.3.1 (1-3) and Figure 6.5.1 (1-4) / Figure 6.5.2 (1-2) should be carried out.
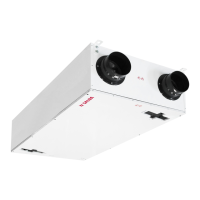
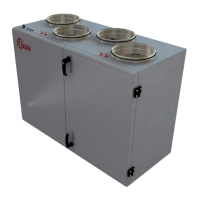
Figure 6.6.8. Smarty 3X P / 4X P
NOTE. Prior to performing step in Figure 6.6.8, steps in Figure 6.3.2 and Figure 6.5.4 (1-3) should be carried out.
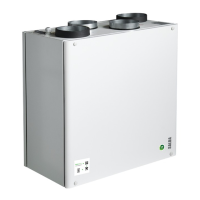
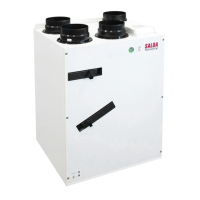
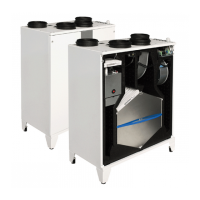
Figure 6.6.9. Smarty 2X V Figure 6.6.10. Smarty 3X V / 4X V
6.7. BYPASS DAMPERS AND PRE-HEATER (VERSION 1.1) MAINTENANCE
• Bypass damper must be disconnected from control board (connections X3 and X5 (version 1.1 / 1.2); connection X4 (version S300)).
• When removing the damper, steps in Figure 6.3.1 (1-3), Figure 6.5.1 or Figure 6.5.2 (1-3), Figure 6.6.7 (1-3) should be performed for Smarty 2X P,
and steps in Figure 6.3.2, Figure 6.5.3 or Figure 6.5.4 (1-3), Figure 6.6.8 (1-2) for Smarty 3-4X P.
• Having removed the damper, loosen the screw supporting lugs. Disconnect contacts from the rear switch.
• Remove sealant with the wires and connections.
• Remove the screws.
• Remove the drive with all the wires.
• Reassembling must be executed in the reverse order: insert the wires with a rear switch connection through a hole, install back the sealant,
insert the drive lug into the damper axis (the milled plate of the drive lug must be parallel to the damper axis plate, where the tightening screw
hole is located).
 Loading...