EB 5857 EN 5-1
Installation
5 Installation
5.1 Installation conditions
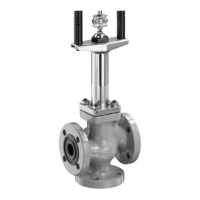
Work position
If not described otherwise in the valve docu-
mentation, the work position for the control
valve is the front view looking onto the oper-
ating controls.
Mounting orientation
The control valve can be installed in the
pipeline in any desired position. However, a
suspended mounting position of the actuator
is not permissible.
0...90°
0...90°
Fig.5-1: Mounting orientation
5.2 Preparation for installation
Before installation, make sure the following
conditions are met:
− The actuator is not damaged.
Proceed as follows:
Lay out the necessary material and tools to
have them ready during mounting.
The actuator will be destroyed if the actua-
tor housing is opened.
Î Do not open the actuator housing.
Î Do not remove the dots of varnish on the
screws.
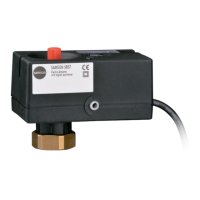
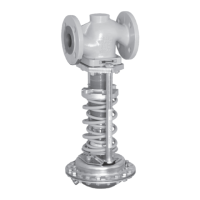
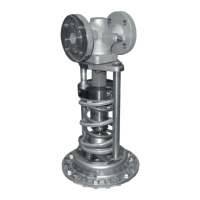
5.3 Mounting the actuator
The actuator is connected to the valve with a
coupling nut in the de-energized state (see
Fig.5-2).
1. Turn the handwheel (2) counterclockwise
to retract the actuator stem.
2. Place the actuator on the valve connec-
tion and fasten with the coupling nut (4).
Tightening torque 20Nm
NOTICE
!