2. In the Select Physical Drives diagram, click a drive to choose it for your spare. The
drive carrier will turn blue when you click it. The physical drive's ID number will
appear in the field below the diagram.
3. Click Next.
The Summary screen will display.
Task 4 – Summary
1. Review your choices of disk array, logical drives and spare drive.
• To make any changes, click Back to reach the appropriate screen.
• To accept, click Submit. Creating the disk array, logical drive, and spare drive
will take a few moments.
2.
In the Select Physical Drives diagram, click the desired drives to add them to
your array. Drive carriers turn blue when you click them. The physical drives' ID
numbers appear in the
field below the diagram.
3.
Click Finish to close.
REBUILDING A DISK ARRAY
When you rebuild a disk array, you actually rebuild data on one or more
physical drive sfrom redundant data maintained on other drives. If there
is no spare drive of adequate capacity, you must replace the failed drive
with an unconfigured physical drive, then perform a Manual Rebuild.
On the carrier with the failed drive, the drive power/ status LED will be
red.
Performing A Manual Rebuild
To perform a manual rebuild:
1. Click on the Background Activities icon.
2. Mouse-over Rebuild, then click Start.
3. From the Source Physical Drive drop-down menu, choose a Source disk array
and physical drive. Arrays have an ID number. Physical drives have a sequence
number.
4. From the Target Physical Drive drop-down menu, choose a Target physical drive.
5. In the Confirmation box, type the word "CONFIRM" in the field provided, then
click Confirm. While the disk array is rebuilding:
• The disk array will show a green check icon and a Rebuilding status.
• Logical drives under the disk array will continue to show a yellow “!” icon and
a Critical, Rebuilding status.
• If the buzzer is enabled, your G-RAID Shuttle device will emit two quick beeps
every
five seconds. When the beeps stop, the rebuild is complete.
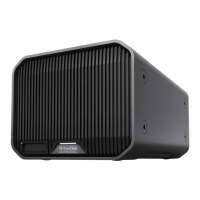
Managing the Disk Array and Logical Drive
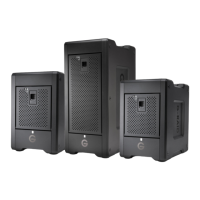
G-RAID Shuttle 4/8/SSD
User Manual
17
 Loading...