J
Jessica CooperJul 26, 2025
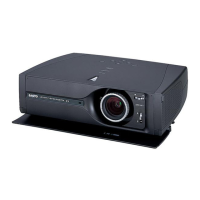
What to do if my Sanyo PLV-Z4 has no power?
- ZzhammondJul 26, 2025
If your Sanyo Projector isn't powering on, first, connect the AC cord, turn the projector on, and check the LED indicator. If that doesn't work, inspect the SS5V power supply line, Varistor (VA611), and the Power Board. Also, check the fuse (F601). Examine the power supply lines (S5V, S-5V, S16V, etc.) on the Main board for abnormalities. Inspect the fan control circuits (FN901/902/903/904/905) and connectors K8E/K8F from TH901/TH902. Finally, check the power starter signals: MAINON_SW, 5V_SW, 3.3V_SW, 15V_SW, FAN_SW.