18
Not all advanced functions can be used together. Tracker, Mixing, Auto
Dispensing, and Counter cannot be active at the same time, but Repeated
Blow-out (only in Picus® NxT) can be used together with all other advanced
functions. Excess Volume Adjustment doesn’t affect other advanced
functions.
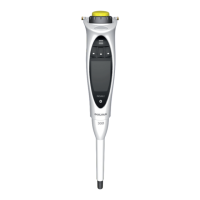
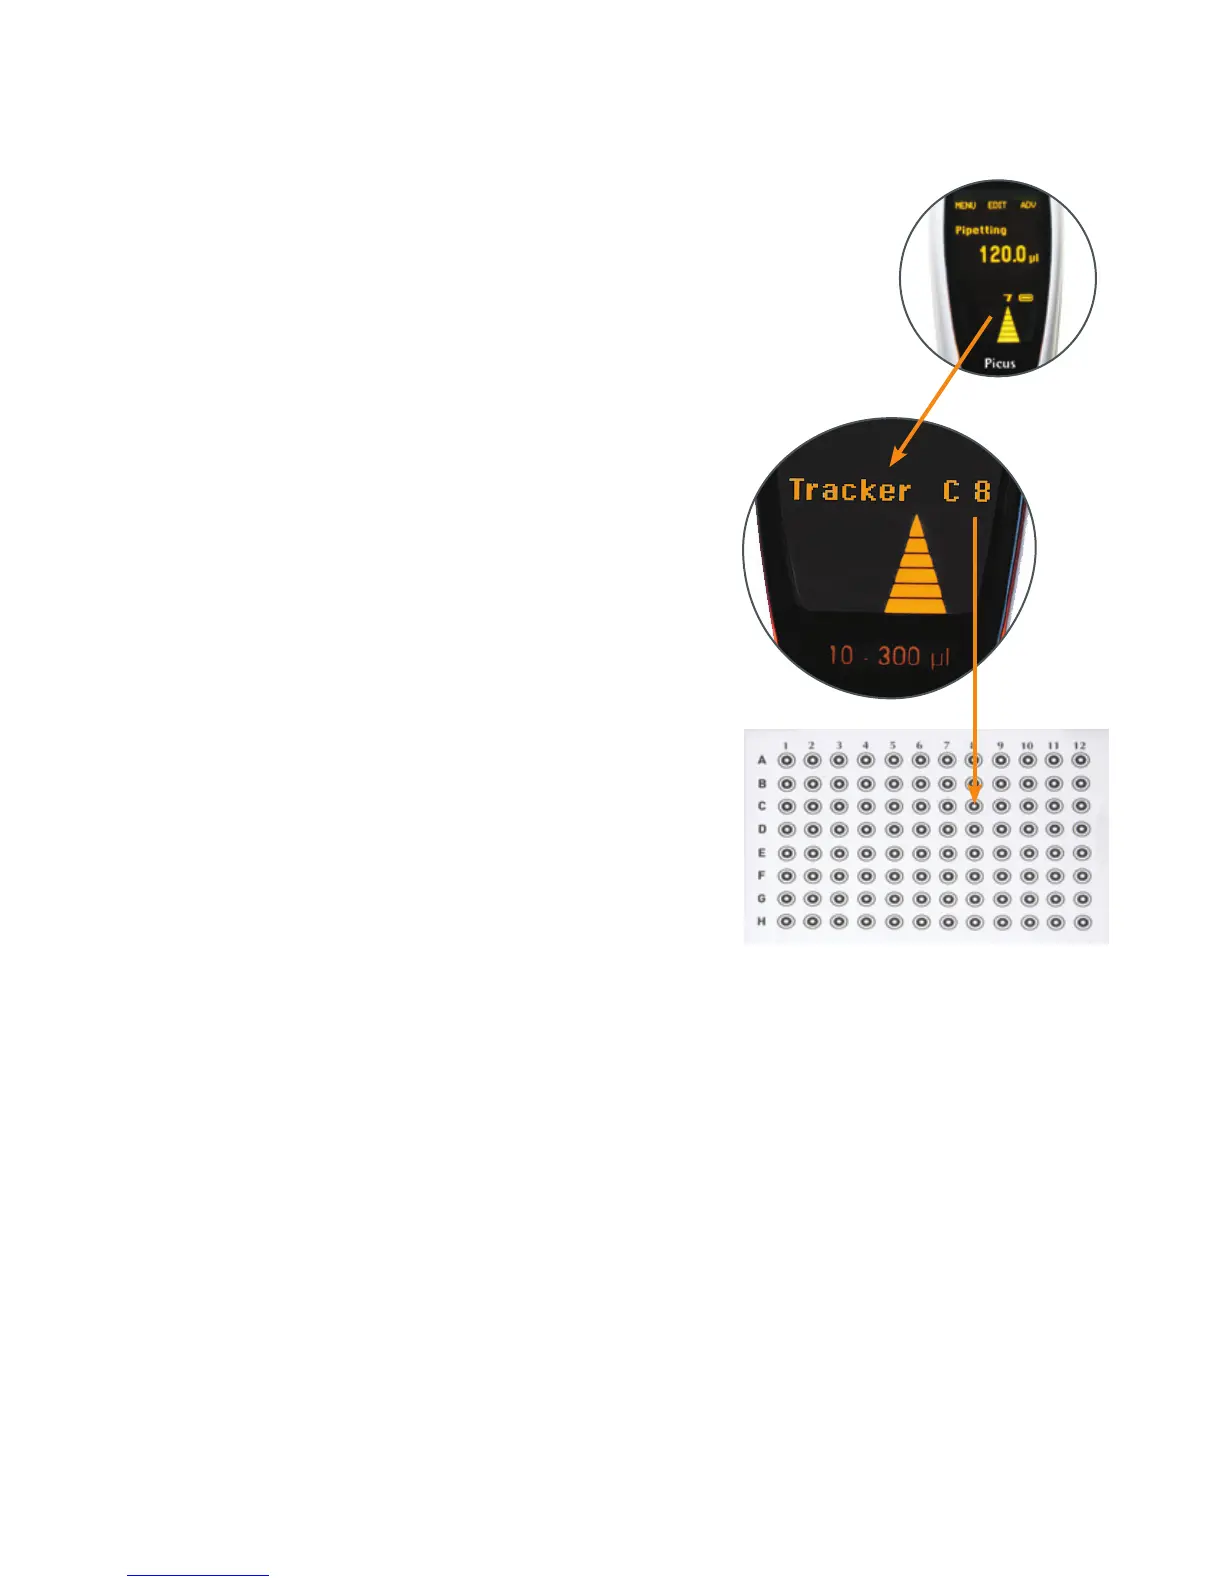
Tracker
Tracker helps users to dispense into the correct microplate wells. It is only
available on Picus® and Picus® NxT pipettes and can be used with the
following main modes: Pipetting, Reverse Pipetting, and Multi-Dispensing.
Once Tracker is activated, continue choosing the related settings.
Single-channel pipettes:
1. Select the microplate size (96 or 384 well plate) and the pipetting
direction (rows or columns) by scrolling the adjustment wheel.
2. Press the operating button or the right Softkey for OK to activate Tracker.
3. The well to dispense into is shown on the display:
a. If pipetting in rows: A1 - A2 - A3… B1 - B2 - B3… C1 - C2 - C3…is
displayed.
b. If pipetting in columns: 1A - 1B - 1C… 2A - 2B - 2C… 3A - 3B - 3C… is
displayed.
4.
The first dispensing location can be selected using the EDIT function of
each main mode.
8-channel pipettes:
1. Select the microplate size (96 or 384 well plate). Only pipetting in columns
is supported.
2. Press the operating button or the right Softkey for OK to activate Tracker.
3. The wells to dispense into are shown on the display:
For 96 well plates, columns 1, 2, 3… are shown.
For 384 well plates, columns are shown as follows:
1. pipetting: A1 – C1 – E1…
2. pipetting: B1 – D1 – F1…
3. pipetting: A2 – C2 – E2…
4. pipetting: B2 – D2 – F2…
etc.
4. The first dispensing column can be selected using the EDIT function of
each main mode.
12-channel pipettes:
1. Select the microplate size (96 or 384 well plate). Only pipetting in rows is
supported.
2. Press the operating button or the right Softkey for OK to activate Tracker.
3. The wells to dispense into are shown on the display:
For 96 well plates, rows are shown as A, B, C….
For 384 well plates, rows are shown as follows:
1. pipetting: A1 – A3 - A5…
2. pipetting: A2 – A4 – A6…
3. pipetting: B1 – B3 - B5...
4. pipetting: B2 – B4 – B6…
etc.
4. The first dispensing column can be selected using the EDIT function of the
main mode.