INSTALLATION GUIDE
8
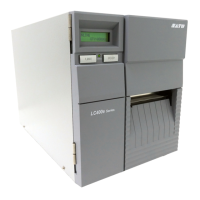
17. Remove the Lower Right Side Cover.
18. Remove the Controller and remove packing material around the controller.
19. Remove the Controller cover and confirm that all boards are securely seated.
20. Replace the Cover.
21. Unwrap the Printer Power Cord, Controller Power Cord, and the AC adapter, all located in the lower
printer compartment.
22. Refer to paragraph 5.3 for complete Controller Installation.
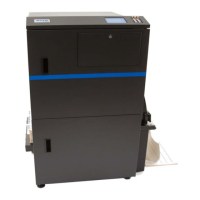
Controlle
Printer Power Cord
Controller Power Cord
AC Adapter
Figure 2-9
!
WARNING
Before installation, the Controller power supply voltage selector switch
must be set to the 230V position.
 Loading...