3. Cut along the forward edge of the tape, the edge
that would be closest to the rear seat, and
remove the rear portion of the panel.
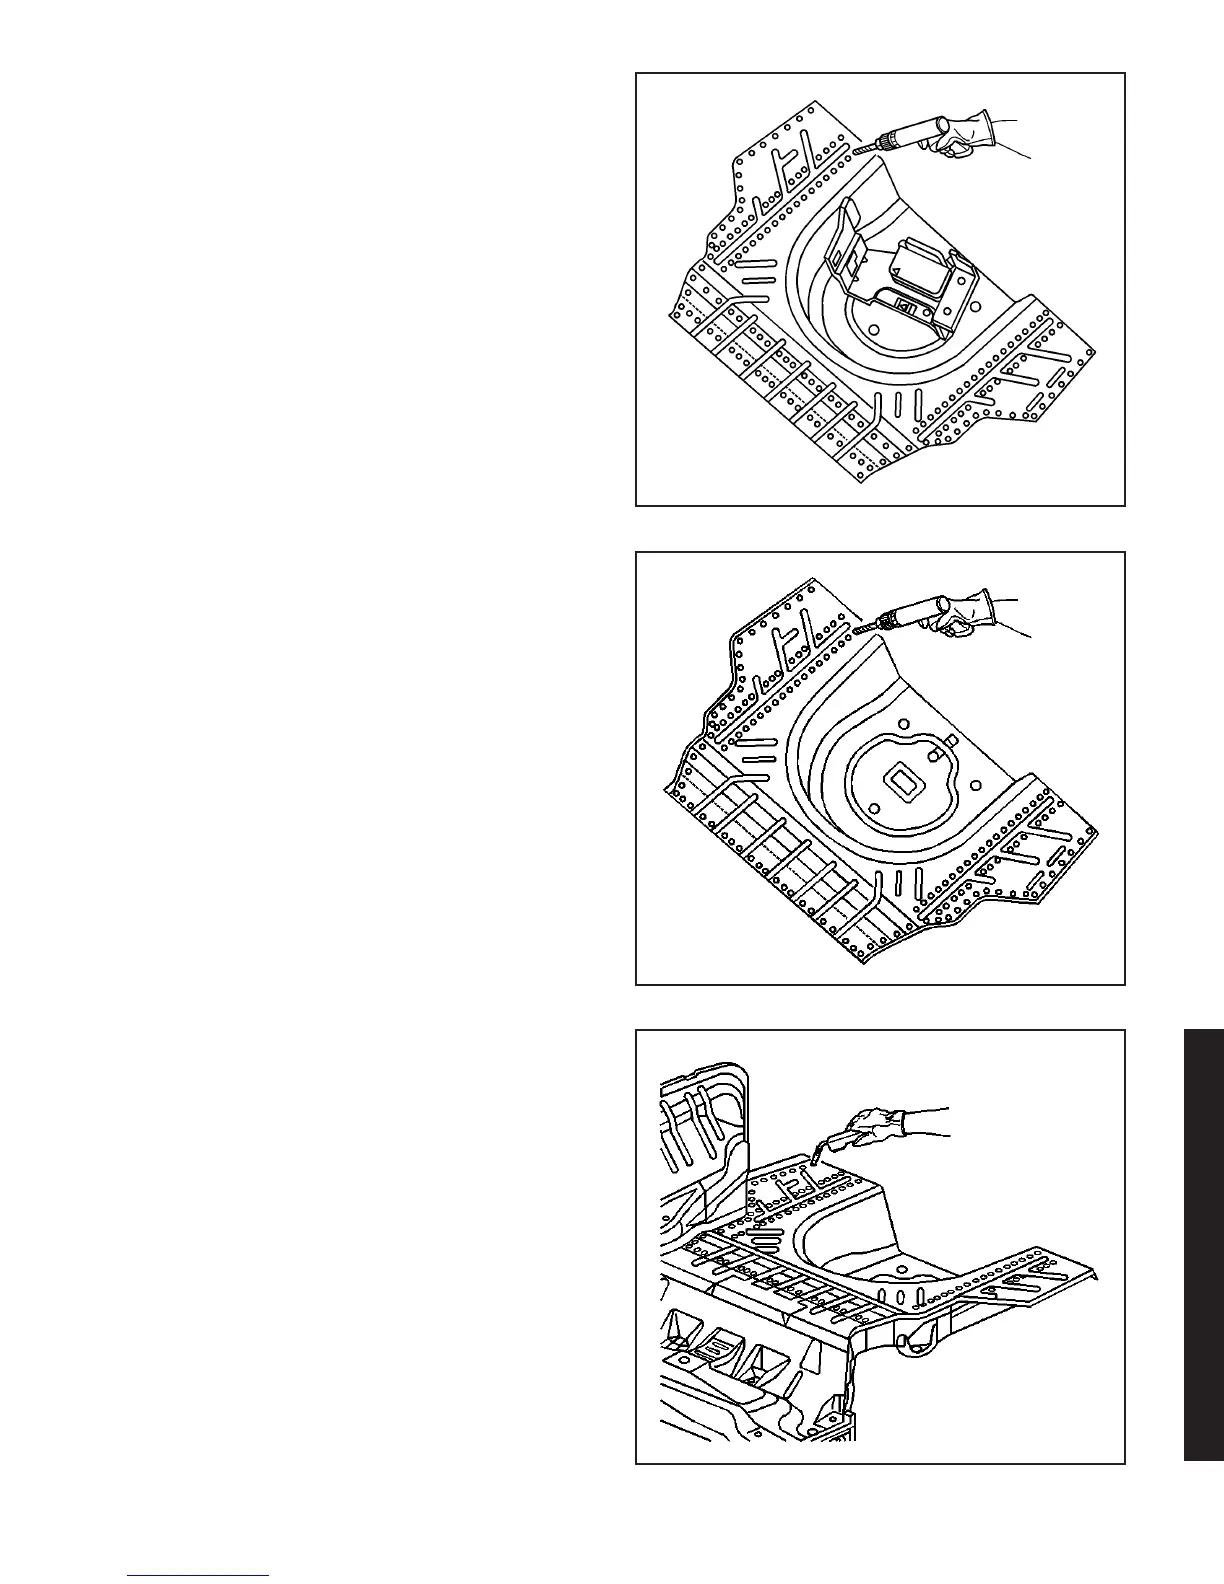
4. Drill 8 mm (5/16 in) plug weld holes in the service
part as necessary in the corresponding locations
noted on the original panel.
5. Lay out and drill 2 additional rows of 8 mm
(5/16 in) plug weld holes on top of the #5 bar weld
flanges.
6. Prepare all mating surfaces for welding as
necessary.
7. Apply 3M Weld-Thru Coating P/N 05916 or
equivalent to all mating surfaces.
8. Position the rear floor pan to the vehicle using
3-dimensional measuring equipment. Clamp the
part in place.
9. Plug weld accordingly.
872729
811139
811142
2003 Saturn Ion
3-129
2003 Saturn Ion

 Loading...