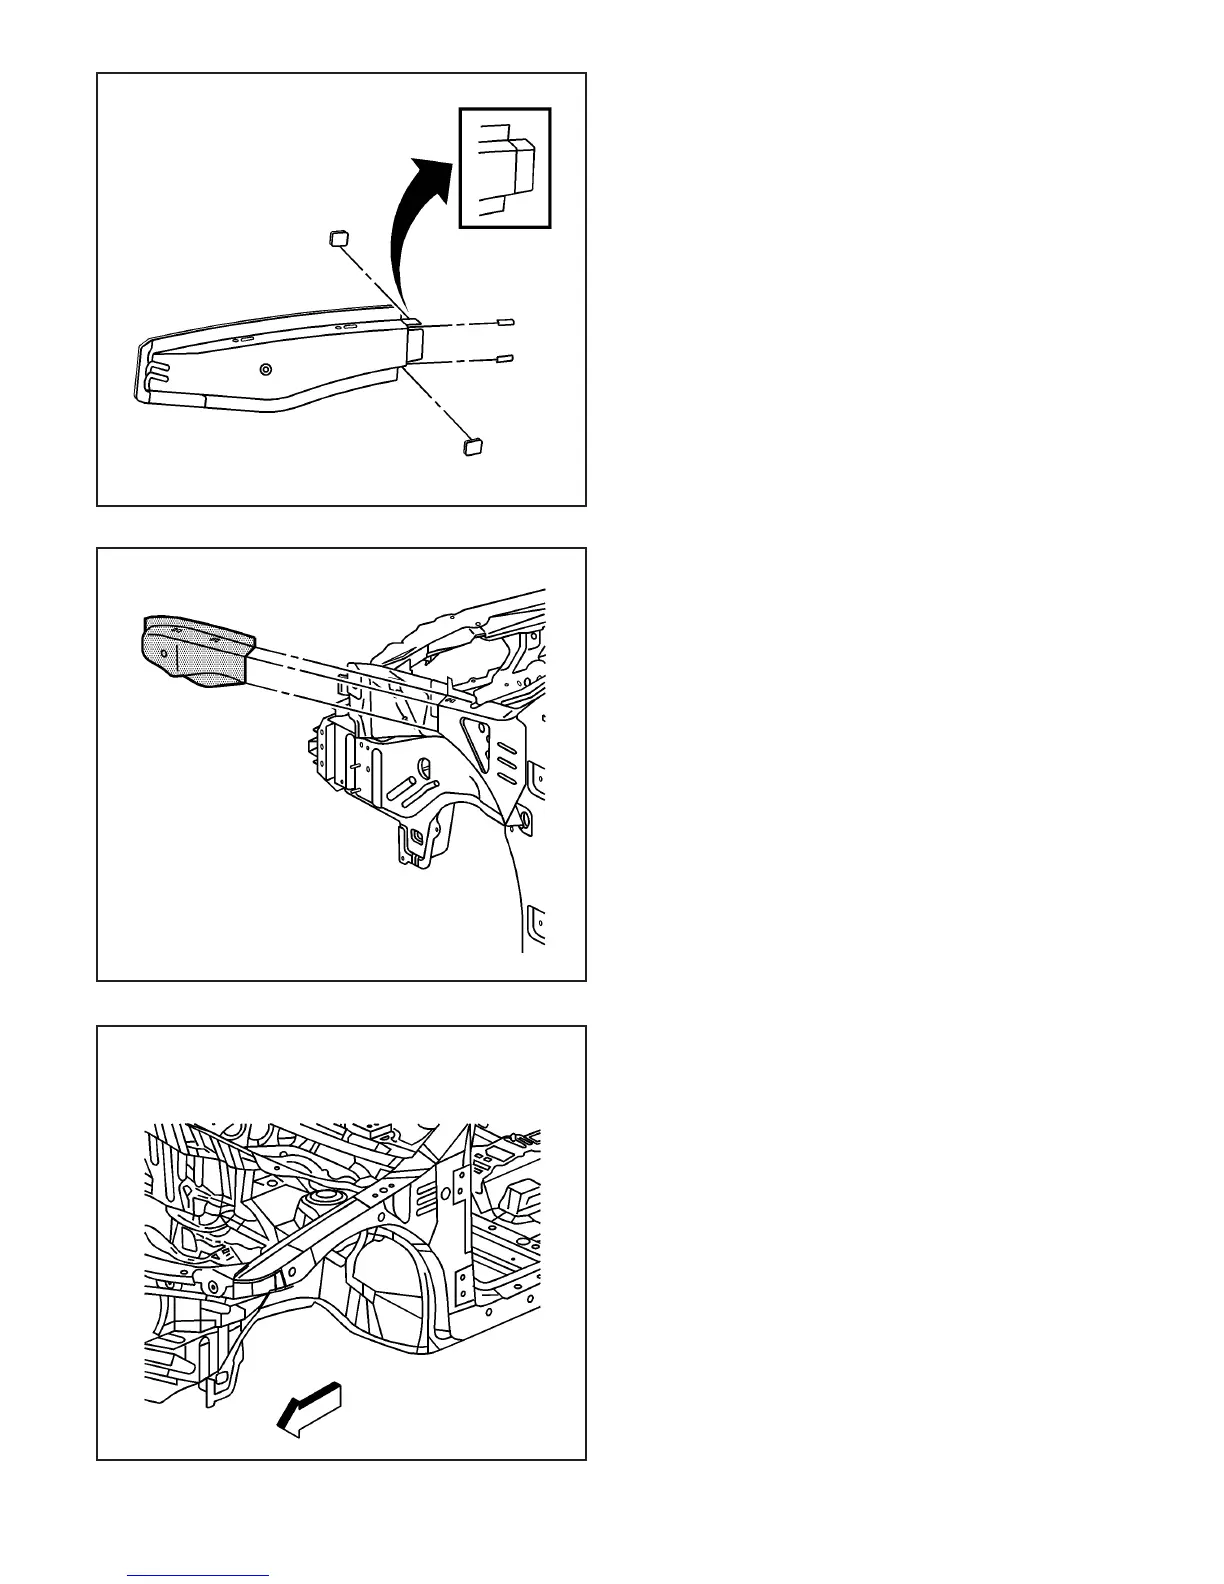
Important: Do not cut past the scribed line.
9. At the weld flange areas of the rail and at each
radius, cut toward the scribed line. This will aid
in the flange-forming process.
10. Bend the cut area of the rail inward to create a
25 mm (1 in) step flange for the weld joint.
Important: Flanges on the service part will slide
inside the rail portion of the vehicle.
11. Position the side upper rail to the vehicle using
3-dimensional measuring equipment. Clamp the
rail in place.
12. Stitch and plug weld accordingly.
13. Clean and prepare all of the welded surfaces.
14. Install all of the related panels and components.
15. Apply the sealers and anti-corrosion materials
to the repair area, as necessary.
16. Paint the repaired area.
17. Connect the negative battery cable.
18. Enable the SIR system.
875630
874299
868719
3-42 2003 Saturn Ion

 Loading...